1. Safety
•
In the event of
fi
re, use sand, CO
2
, or dry powder
fi
re extinguishers; never use water on an electrical
fi
re.
•
This product should never be placed near or over a radiator or heat register.
•
This projector should not be placed in a built-in installation or enclosure unless proper ventilation is provided.
•
Projection rooms must be well ventilated or cooled in order to avoid build up of heat.
On servicing
•
Do not attempt to service this product yourself, as opening or removing covers may expose you to dangerous voltage potentials
and risk of electric shock.
•
Refer all servicing to quali
fi
ed service personnel.
•
Fence off a restricted area of at least 3 meters around the projector using an eye-catching fence and “KEEP OUT” signs. This
to prevent unauthorized persons coming near the projector during servicing.
•
Unplug this product from the wall outlet and refer servicing to quali
fi
ed service technicians under the following conditions:
-
When the power cord or plug is damaged or frayed.
-
If liquid has been spilled into the equipment.
-
If the product has been exposed to rain or water.
-
If the product does not operate normally when the operating instructions are followed. Adjust only those controls that are
covered by the operating instructions since improper adjustment of the other controls may result in damage and will often
require extensive work by a quali
fi
ed technician to restore the product to normal operation.
-
If the product has been dropped or the cabinet has been damaged.
-
If the product exhibits a distinct change in performance, indicating a need for service.
•
Replacement parts: When replacement parts are required, be sure the service technician has used original Barco replacement
parts or authorized replacement parts which have the same characteristics as the Barco original part. Unauthorized substitu-
tions may result in degraded performance and reliability,
fi
re, electric shock or other hazards. Unauthorized substitutions may
void warranty.
•
Safety check: Upon completion of any service or repairs to this projector, ask the service technician to perform safety checks
to determine that the product is in proper operating condition.
1.3
Recycling guidelines
W
ARNING
:
Do not break or crush lamps because this may pose health and environmental risks when mercury
vapors are released.
C
AUTION
:
To avoid breaking the lamps, repack carefully when storing and transporting them.
C
AUTION
:
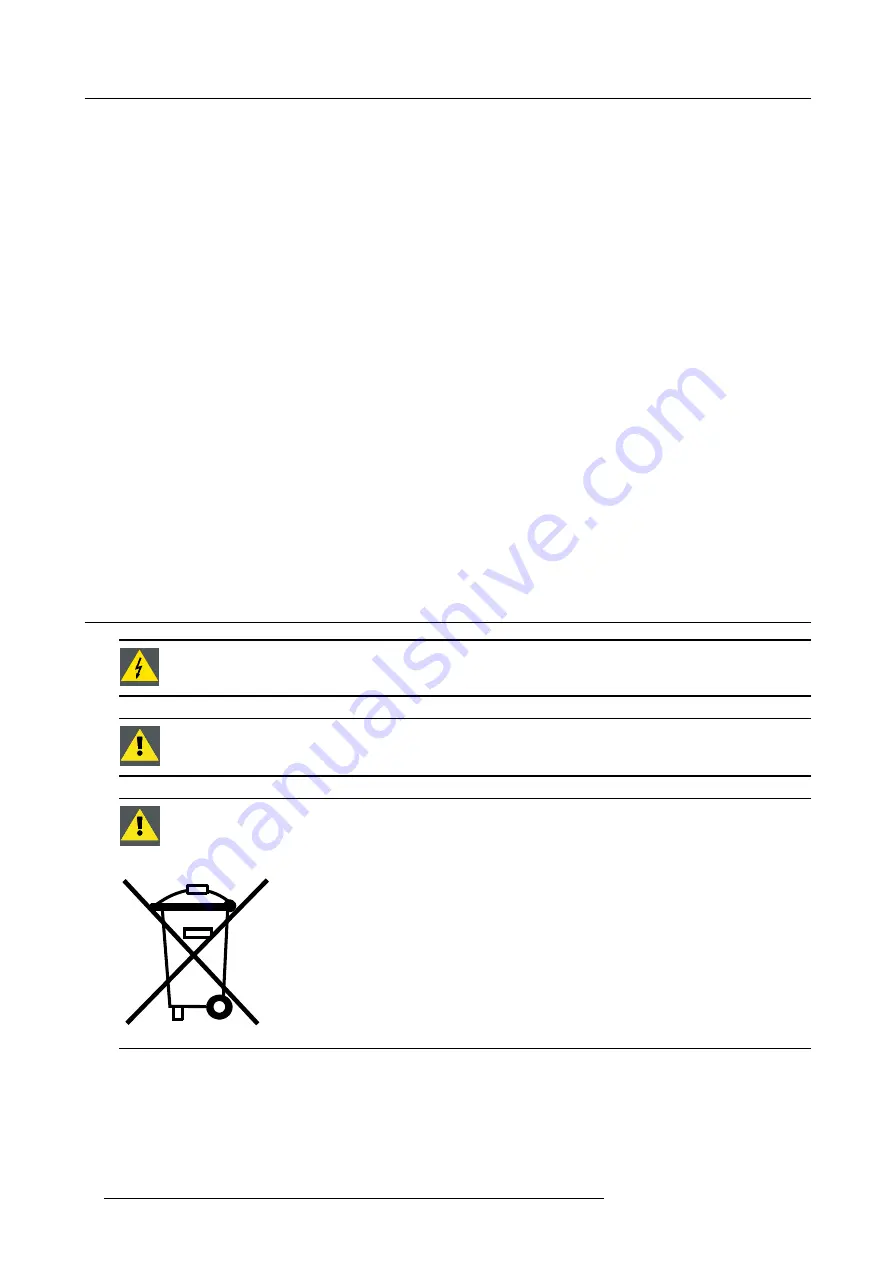
Lamps may not be disposed as normal household trash.
Contact your local waste disposal facility for information on the recycling program for HID (High Intensity
Discharge ) lamps in your area.
Image 1-1
Disposal options for mercury-containing lamps
•
Recycle through a municipal or solid waste district household hazardous waste collection program in accordance with local
regulations.
•
Direct shipment to lamp recycler
•
Shipment through a hazardous waste transporter
8
R59770021 CLM R10+ 11/10/2010
Summary of Contents for CLM R10+
Page 1: ...CLM R10 Users manual R9050100 R90501001 R90501005 R59770021 11 11 10 2010 ...
Page 14: ...1 Safety 10 R59770021 CLM R10 11 10 2010 ...
Page 22: ...2 General 18 R59770021 CLM R10 11 10 2010 ...
Page 36: ...3 Physical installation 32 R59770021 CLM R10 11 10 2010 ...
Page 41: ...4 Stacking CLM projectors Zoom Image 4 9 Zoom adjustment R59770021 CLM R10 11 10 2010 37 ...
Page 42: ...4 Stacking CLM projectors 38 R59770021 CLM R10 11 10 2010 ...
Page 50: ...5 Connections 46 R59770021 CLM R10 11 10 2010 ...
Page 66: ...7 Start up of the Adjustment mode 62 R59770021 CLM R10 11 10 2010 ...
Page 75: ...8 Input menu Image 8 26 Image 8 27 Image 8 28 R59770021 CLM R10 11 10 2010 71 ...
Page 76: ...8 Input menu 72 R59770021 CLM R10 11 10 2010 ...
Page 102: ...9 Image menu 98 R59770021 CLM R10 11 10 2010 ...
Page 169: ...14 Service menu Image 14 55 Image 14 56 Image 14 57 R59770021 CLM R10 11 10 2010 165 ...
Page 170: ...14 Service menu 166 R59770021 CLM R10 11 10 2010 ...
Page 184: ...16 Servicing 180 R59770021 CLM R10 11 10 2010 ...
Page 194: ...17 Projector covers removal and installation 190 R59770021 CLM R10 11 10 2010 ...
Page 202: ...C DMX Chart 198 R59770021 CLM R10 11 10 2010 ...
Page 212: ...E Troubleshooting 208 R59770021 CLM R10 11 10 2010 ...
Page 218: ...F Mounting optional Carry handle 214 R59770021 CLM R10 11 10 2010 ...
Page 220: ...G Order info 216 R59770021 CLM R10 11 10 2010 ...


