R5900049 /07
ClickShare CSE-800
78
5.
Click in the DNS Servers input field and fill out the preferred DNS servers (maximum 5) in a comma separated
list.
6.
Click
Save changes
to apply the settings.
Do not use IP address 192.168.2.x for a Subnet mask 255.255.255.0 and IP address 192.168.x.x
for a Subnet mask 255.255.0.0
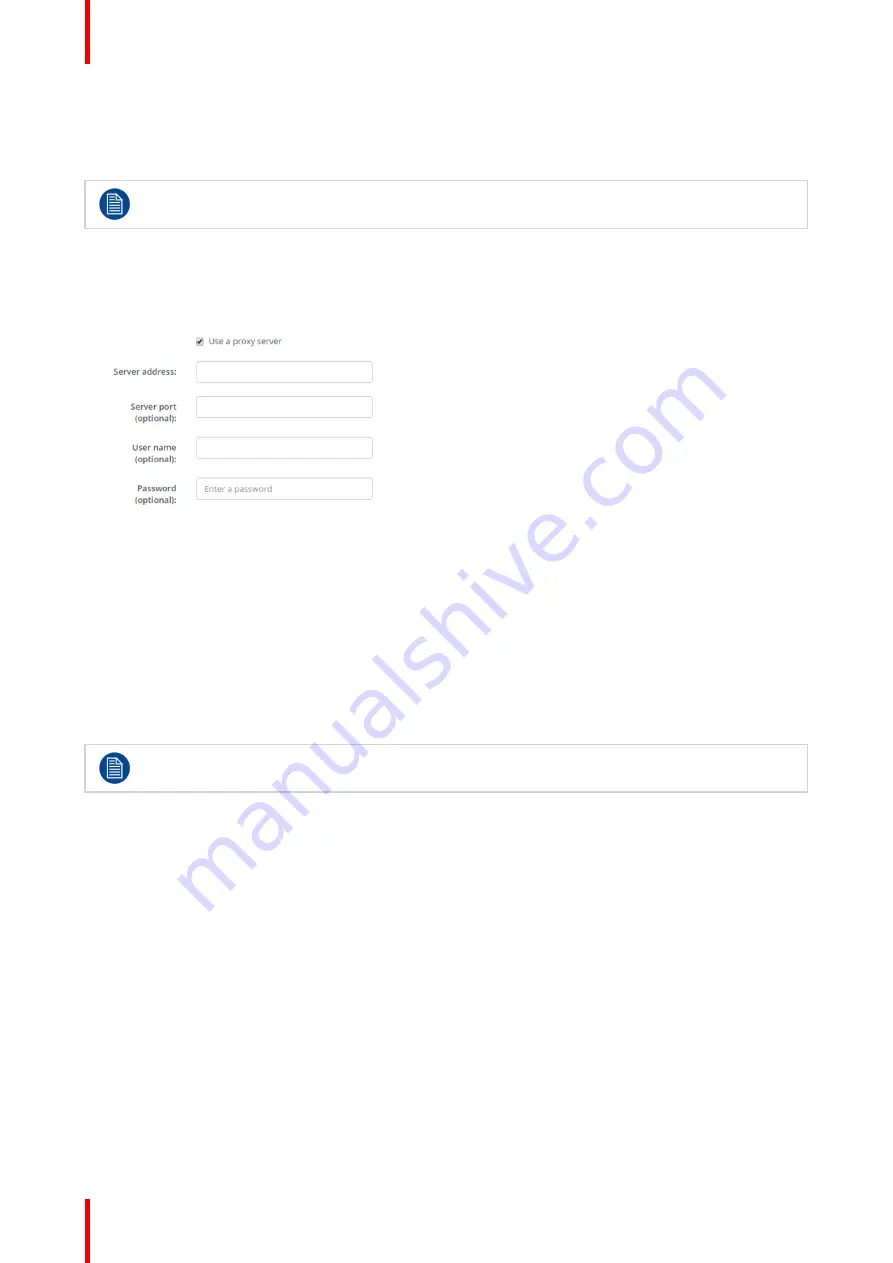
Use a proxy server
This setting is important for the auto-update feature of the Base Unit, which require internet access.
1.
Check the check box next to Use a proxy server.
Image 6-24: Proxy settings
The proxy settings become available.
2.
Enter the proxy server address. Enter the IP address or hostname.
Some proxy servers need a port number, user name and password, for others is this optional.
3.
Optionally, enter the used server port.
4.
Optionally, enter the user name.
5.
Optionally, enter the password.
6.
Click
Save changes
to apply the settings.
For the moment, only the primary network connector can be used for API, Management Suite and
Network Integration.
6.13 Network integration, activation
Introduction
“
ClickShare Network Integration
”
aims at deploying ClickShare in larger organizations without interfering with
the existing wireless network infrastructure. In a default stand-alone setup, the ClickShare Base Unit creates
its own wireless access point (AP) which the ClickShare Buttons use to connect. These so-called
“
rogue
”
APs
can become a nuisance in larger installations. Next to that, meeting participants who are sharing content from
mobile devices have to switch networks to connect with the ClickShare Base Unit.
This is where ClickShare Network Integration comes in. Once fully configured and enabled, the built-in AP of
the Base Unit is disabled. The Button or the mobile devices can then connect to a wireless access point that is
part of the corporate network. At this point, the Base Unit needs to be connected to the corporate network via
the wired Ethernet interface so that the Buttons and mobile devices can share their content on the Base Unit.
Summary of Contents for ClickShare CSE-800
Page 1: ...ENABLING BRIGHT OUTCOMES Installation manual ClickShare CSE 800...
Page 20: ......
Page 23: ...23 R5900049 07 ClickShare CSE 800 Introduction to the Installation Guide 1...
Page 25: ...25 R5900049 07 ClickShare CSE 800 CSE 800 Specifications 2...
Page 46: ...R5900049 07 ClickShare CSE 800 46 CSE 800 Installation...
Page 52: ...R5900049 07 ClickShare CSE 800 52 Preparing the buttons...
Page 105: ...105 R5900049 07 ClickShare CSE 800 Firmware updates 7...
Page 107: ...107 R5900049 07 ClickShare CSE 800 Troubleshooting 8...
Page 111: ...111 R5900049 07 ClickShare CSE 800 Environmental information 9...


