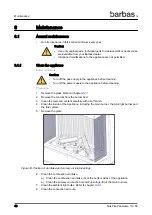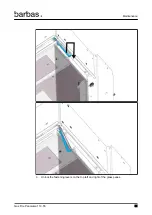
6.2.3
Disassembly of burners and burner bed
Warning: Before the start of this procedure make sure the appliance is off and
cooled down to room temperature.
Figure 40. Position of ceramic wood logs and burners
1. Remove the glass panes. Refer to chapter
2. Carefully remove the small decorative wood logs.
3. Carefully remove ceramic wood logs A and B.
4. Unscrew the 2 screws holding burners A and B.
5. Remove burners A and B.
6. Carefully remove ceramic wood logs C, D and E.
7. Unscrew the 3 screws holding burners C, D and E.
8. Remove burners C, D and E.
9. Remove the fire glass
10. Remove the 2 grates.
To assemble the burner and burner bed do the procedure above in reverse order. See
6.2.4
Clean the standard glass
Warning: Before the start of this procedure make sure the appliance is off and
cooled down to room temperature.
Caution:
If you have anti-reflective glass, refer to chapter
anti-reflective coating on the glass.
Maintenance
Gas Fire Panorama 110-55
61
Summary of Contents for Panorama 110-55 PF2
Page 1: ...Installation and maintenance manual Gas Fire Panorama 110 55 PF2 Serial number Production date...
Page 50: ...2 Remove the side panels and front panel Maintenance 50 Gas Fire Panorama 110 55...
Page 71: ...9 3 Gas Fire Panorama 110 55 PF2 with 4 cm frame Dimensions Gas Fire Panorama 110 55 71...
Page 73: ...9 5 Gas Fire Panorama 110 55 PF2 with 6 cm frame Dimensions Gas Fire Panorama 110 55 73...
Page 75: ...9 7 Gas Fire Panorama 110 55 PF2 with 10 cm frame Dimensions Gas Fire Panorama 110 55 75...
Page 78: ...9 10 Operating unit Dimensions 78 Gas Fire Panorama 110 55...
Page 81: ...11 EU Declaration of Conformity EU Declaration of Conformity Gas Fire Panorama 110 55 81...
Page 82: ...EU Declaration of Conformity 82 Gas Fire Panorama 110 55...
Page 83: ...EU Declaration of Conformity Gas Fire Panorama 110 55 83...


