Note: Switch between Live Mode and Demo Mode any time by going to Main Menu > System > Mode.
Live Mode Overview
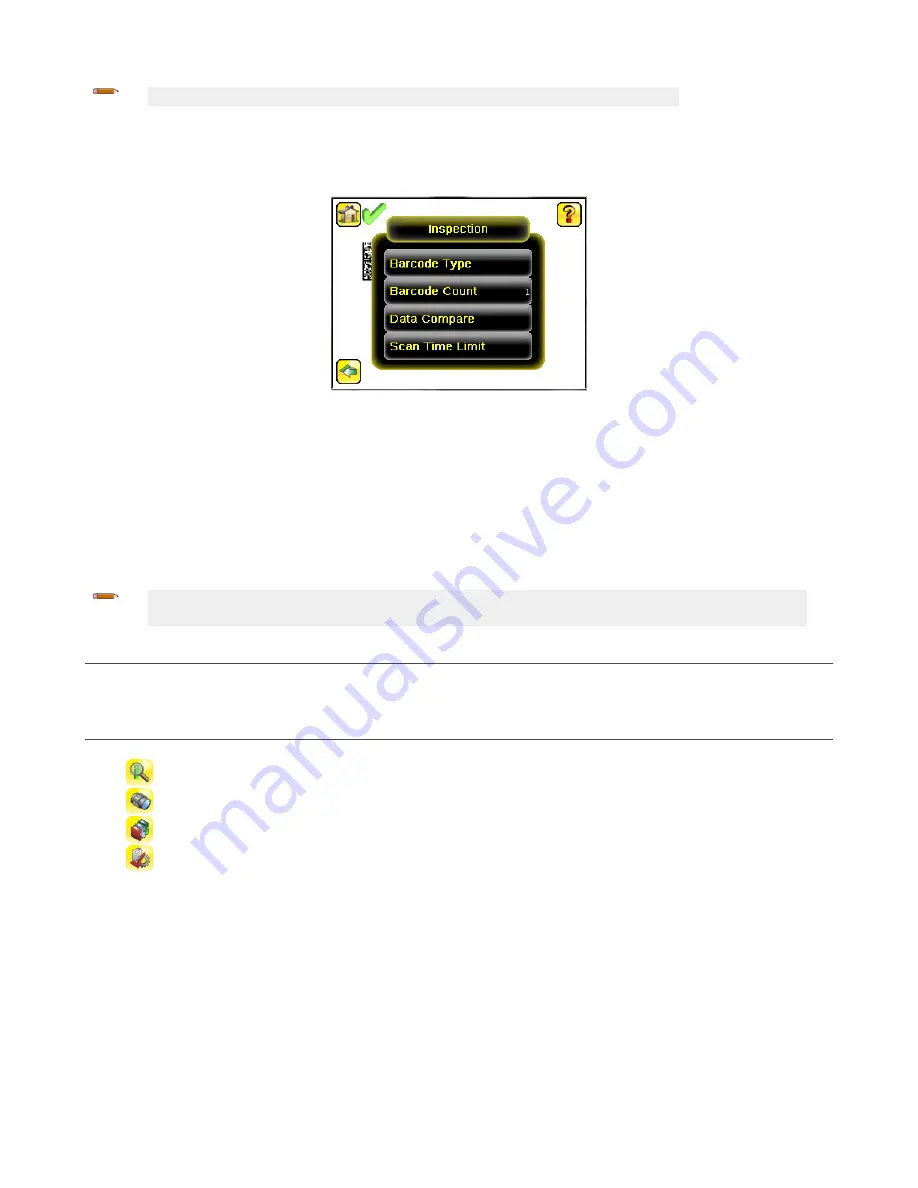
The iVu BCR can be configured to evaluate one or more of the supported barcode types and can look for a specific number of barcodes from 1 to
10. Select the barcode types by going to Main Menu > Inspection > Barcode > Barcode Type. Select the barcode count by going to Main Menu >
Inspection > Barcode > Barcode Count.
Read/No Read, Pass/Fail, Match/No Match
• A Read condition occurs when the configured number of barcodes are found in a scan. These barcodes must be error-free.
• A No Read condition occurs when the configured number of barcodes are not found in a scan.
• If the device is configured where Data Compare is disabled, Pass and Fail are the same as Read and No Read.
• If the device is using the Data Compare feature, Pass indicates that a good barcode was found and the data compared.
• If the device is using the Data Compare feature, Fail indicates that either no good barcode was found or the data did not compare.
• A Match condition occurs when the required number of barcodes are found and the compare is successful.
• A No Match condition occurs when the required number of barcodes are found, but the compare is not successful.
Output 1, Output 2, and Output 3
Configure the three output signals for Pass, Fail, Read, No Read, Match, No Match, System Error, and Missed Trigger. The default settings are Pass
for Output 1, Fail for Output 2, and Pass for Output 3.
Note: For all outputs, the default setting is Latched, which means that the signal is active until the results of an inspection cause
a change in the signal output. If Pulsed is selected, the default pulse width is 50 ms.
Device Home Screen
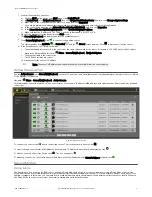
Use the Home screen on the iVu BCR display to monitor inspections and to configure the iVu BCR. Typically, the part being inspected is centered on
the screen with the feature of interest bounded by the Region of Interest (ROI), a rectangle as shown below. The ROI can be rotated and resized, and
is highlighted when selected for adjustment.
Device Main Menu
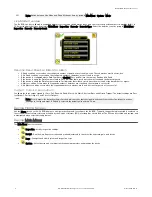
The Main Menu has four sections:
•
Inspection—Modify inspection settings
•
Imager—Run the Auto Exposure routine and make adjustments to functions like exposure, gain, and strobe
•
Logs—Configure and view System and Inspection Logs
•
System—Set output signals, communication channel parameters, and manage the device
iVu Plus BCR Gen2 Series Sensor
4
www.bannerengineering.com - Tel: +1-763-544-3164
P/N 178443 Rev. C


