Bandit
Copyright 11/10
PAGE
MODEL 490
CHIPPER SECTION
CHIPPER SECTION
TROUBLE SHOOTING CHIPPER PROBLEMS
Knives should be replaced in sets. These sets are determined by the amount of resharpening
done to the knives. It should be reinstalled with another knife of comparable usage. It helps to keep
the disc/drum balanced, and it helps maintain chip quality.
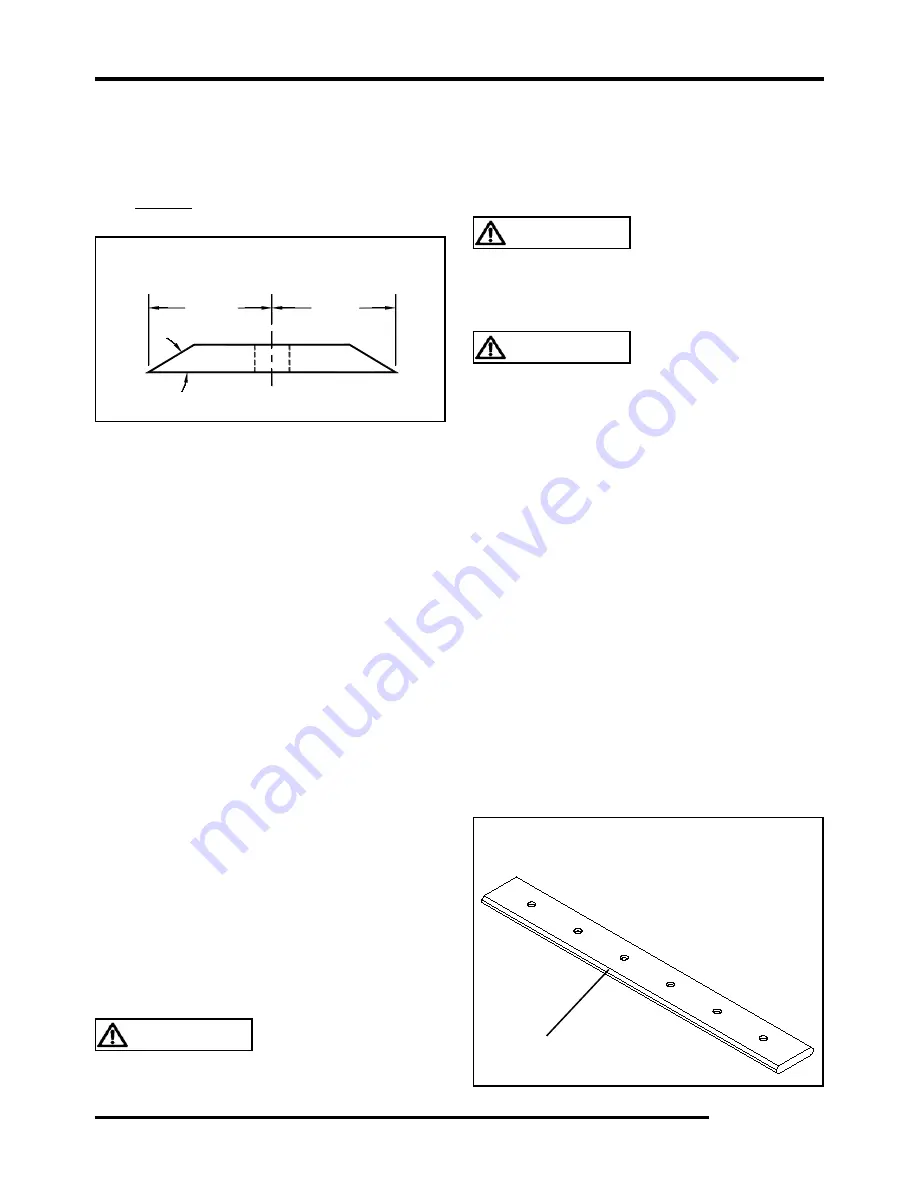
NEVER allow these knives to wear beyond absolute specified minimum distance from the center
line of bolt.
3) Discharge Plugs or Does Not Throw Chips
Properly.
A. Lugging engine on large material - keep
engine RPM up.
B. Knives are dull or worn to minimum size.
C. Obstruction in discharge chute.
Patches welded into the chute can cause
obstruction of chip flow. Anything causing
an obstruction will cause the chute to plug.
D. Chipping rotting material that has little
substance can also plug the discharge chute.
4) Chipper Bearings Running Too Hot.
A. Improper lubrication - purge bearings once a
day with EP- Lithium type grease.
B. Chipper drum operating at too high RPM’s.
DO NOT exceed recommended RPM’s.
C. Bearings worn out (REPLACE).
D. Bearing lock collar is loose.
1) Chipper Makes Poor Quality Chips or Does
Not Feed Properly.
A. Knives have lost their edge. File, grind or
replace knives.
DO NOT
operate the Bandit
with dull knives.
B. Knife anvil worn or needs adjustment.
Rotate, repair or replace (see below).
C. Chipper drum is not operating properly.
D. The throat/base opening is a high-wear
area. The feed plate anvil takes much
of this wear but other areas wear as
well. Attention must be paid to any areas
where outer, noncutting edges of chipper
knife are exposed. These areas must be
built up with weld to maintain the original
integrity.
E. Knives are at the wrong angle. Knives must
be ground at a 0° to 0 1/° angle.
F. Material being chipped is very small, dry
or rotting. This type of material does not
produce good chip quality.
2) Chipper Knife Hits Anvil.
A. Check the anvil clearance at both sides
of the knife by using a feeler gauge, the
clearance should be approximately
.0” to .06” (1.1 to 1.7 mm) from the
highest knife.
B. Check the chipper bearing bolts for
tightness (SEE TORQUE CHART).
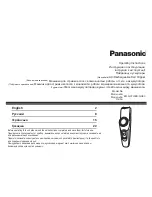
If the anvil has only slight nicks or marks, the working edge
can be touched up with a file. If it has any further damage, flip
the anvil to one of the other four working edges.
1/8” (3mm) x 45° chamfer
on each working edge
Chipper knives are sharp and can be dangerous.
It is always necessary for your protection to be extra
careful and wear proper hand protection when handling
knives.
DANGER
The knives must be securely fastened and torqued
in position. If one comes loose or breaks during
operation, someone or something may get injured.
DANGER
Make sure the knife bolt heads clear the anvil anytime
the chipper knives are changed/flipped or if the anvil
has been adjusted.
DANGER
1/4” x 2 1/16” x 15 3/4” (6.4 mm x 52.4 mm x 400.1 mm)
Chipper Knife - Model 90
1/”
(.6 mm)
Min.
0°
1/”
(.6 mm)
Min.
The knife can be machined or touched up with a knife saver.


