


FREQUENTLY-USED FUNCTIONS
18
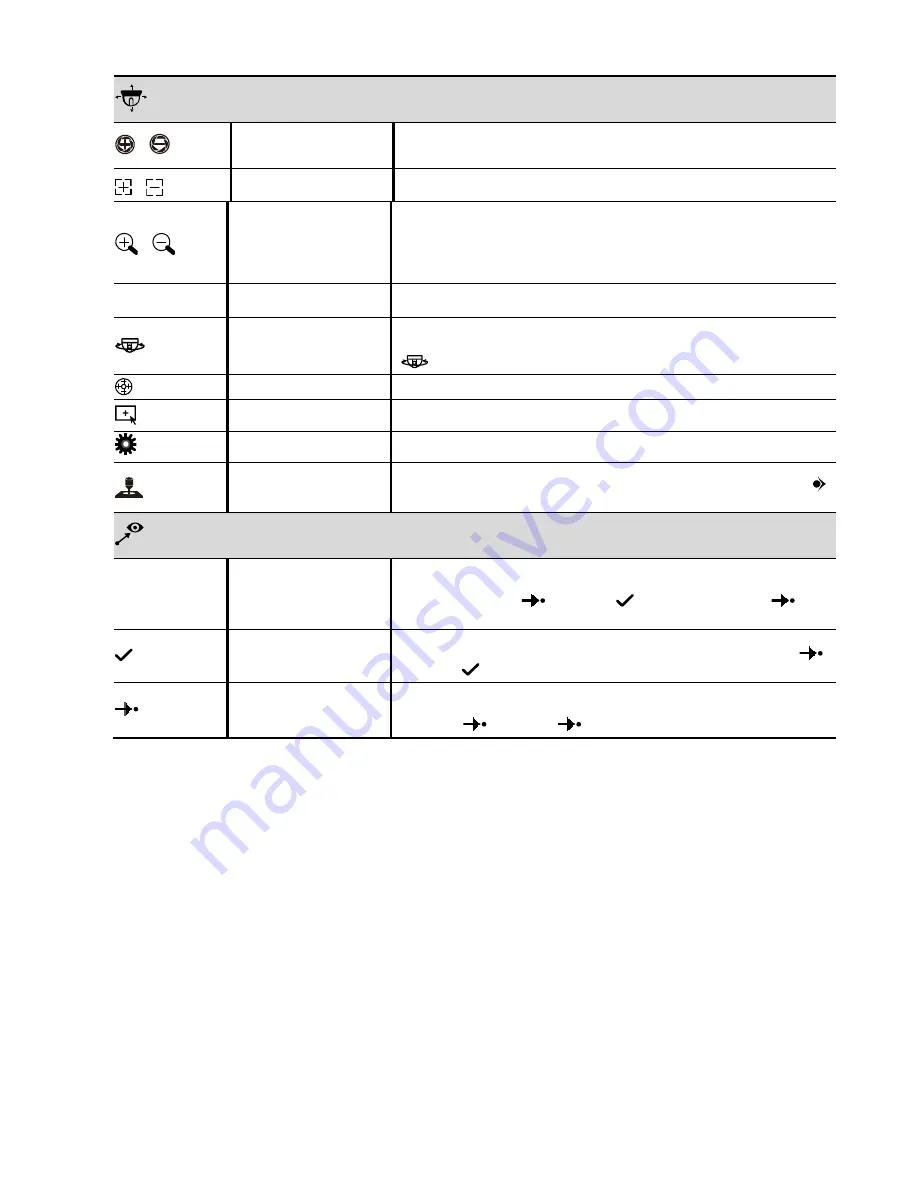
Camera Control
/
Iris + / Iris -
These two buttons are designed for the PTZ camera which uses Pelco-D to control.
To know the actions after clicking Iris + and Iris -, please refer to the camera’s user
manual.
/
Focus near / far
Click to adjust the focus of the image.
/
Zoom in / out
Click to zoom in / out on the image.
Users could also zoom in / out on the image by simply drawing a square on the
screen, and the zoom ratio depends on how large the square is.
Zoom in: Draw the square from top left to bottom right.
Zoom out: Draw the square from bottom right to left top.
+
/
-
Zoom in / out max
Click to zoom in on the image to the largest / zoom out on the image to its original
size.
Auto mode
Click to activate the auto function.
Before using it, you need to assign a specific function that will be enabled when
is clicked. For details, please refer to the user manual of the camera.
Auto tracking
Click to start auto tracking when your speed dome camera supports this function.
Hot point
Click on the screen to move and center the camera view to the point you just
clicked.
Config.
Click to configure the speed to pan / tilt the speed dome camera.
Joystick
Click to control the movement of a speed dome camera or a motorized-pan camera.
Drag and hold the mouse on the screen to move the camera. You’ll see
and
on the screen. The farther these two icons, the faster the movement.
Preset Point
01 ~ 10
Preset point 01 ~ 10
These ten buttons are used for preset point 1 ~ 10.
To set or go to other preset point (such as 15), please enter the numbering manually
in the input box next to
, and choose
to set the preset point, or
to go
to the preset point.
Set preset point
Move the camera view to the point you want to set, and click the numbering you
want from 01 ~ 10, or enter the numbering manually in the input box next to
.
Then, click
to confirm.
Go to preset point
To go to the preset point from 1 ~ 10, simply click the button.
To go to the other preset point out of 10, enter the numbering manually in the input
box next to
, and choose
to confirm.


