


CONNECTION
5
2.2.3 IP Camera
Note:
Check the specifications of your recorder and see if your recorder supports IP camera
connection.
Step1: Prepare a switch / router, and connect the recorder and the IP camera to the router with RJ45 network cables.
Step2: Make sure your camera supports DHCP function to allow the connected router to assign an IP address to the
camera.
If your camera doesn’t support this function, please check its user manual to know how to manually change
the IP address of your camera and make sure its IP address is in the same network segment as the one your
router uses.
Step3: Power on the camera.
Step4: On the recorder’s live view, find
on CH33 ~ CH36, and click
to go to the
IP SEARCH
page directly.
Note:
You can also access
IP SEARCH
from
MENU
CAMERA
CONNECTION
.
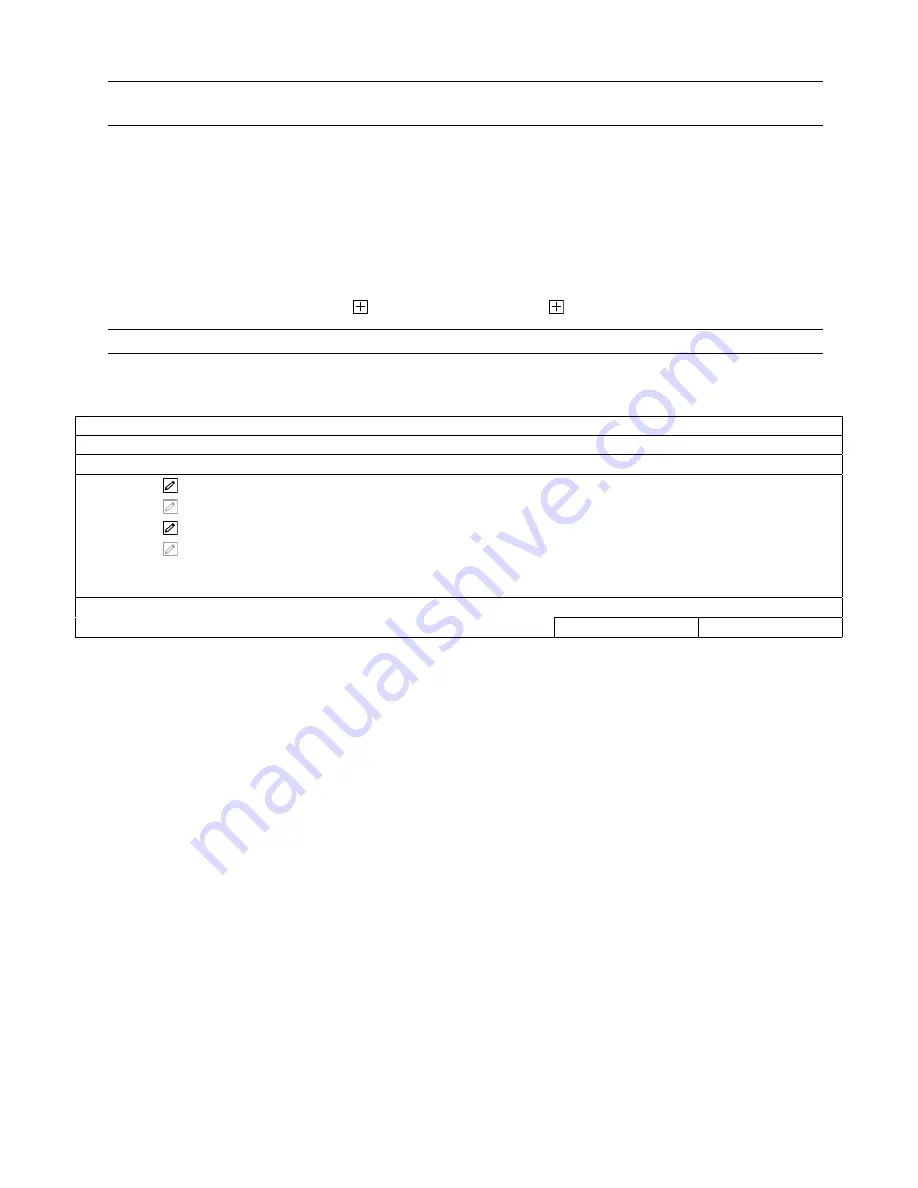
You’ll see the list of every connected IP camera with its connection status to this device and MAC address.
Click
to assign the camera to a channel from CH33 ~ CH36 automatically and choose
ADD
to complete.
IP SEARCH
ASSIGN
EDIT
DEVICE TYPE
IP
NETMASK
GATEWAY PRIMARY DNS
PORT MAC VENDOR
CH35
IPCAM 192.168.1.12 255.255.255.0 192.168.1.1
8.8.8.8 88
00:0E:53:31:06:E5 AVTECH
IPCAM 192.168.1.12 255.255.255.0
0.0.0.0 8.8.8.8 88
00:0E:53:31:06:E5
ONVIF
IPCAM 192.168.1.13 255.255.255.0 192.168.1.1
8.8.8.8 88
00:0E:53:31:15:D1 AVTECH
IPCAM 192.168.1.13 255.255.255.0
0.0.0.0 8.8.8.8 88
00:0E:53:31:15:D1
ONVIF
REFRESH ADD


