


21
When this function is activated, the other PC within the same domain as this camera will be
able to search this camera in “Network Neighbor” with the identification name set in “Friendly
name”. Double-click it to quickly open the web browser for camera access.
4.7 Camera
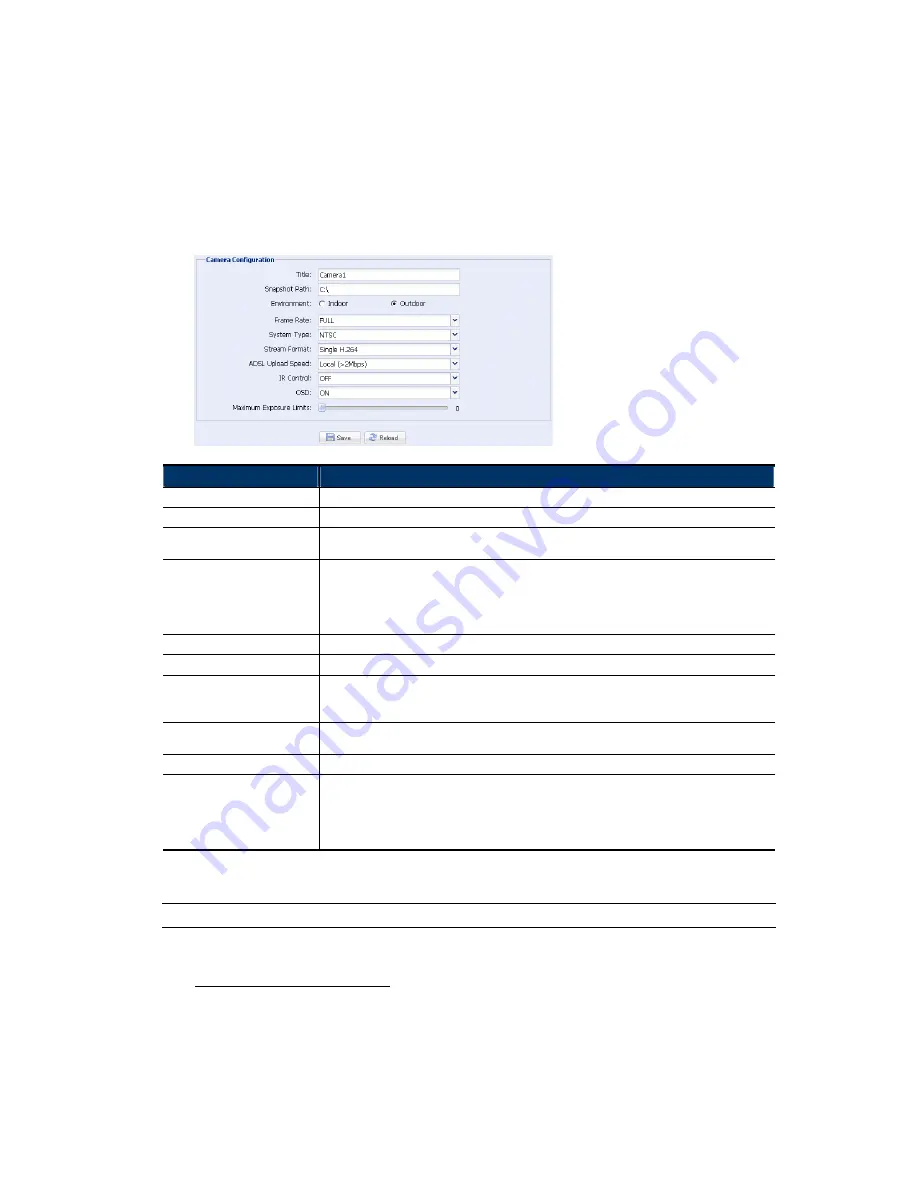
4.7.1 Camera
Adjust the camera parameters if necessary.
Item
Description
Title
Enter the title for the camera with up to 15 alphabetic characters.
Snapshot Path
Specify the location to save the snapshot pictures.
Environment
Select the current environment for the camera to automatically adjust itself to produce the images
suitable for the selected environment.
Frame Rate
The frame rate allowed to each viewer can be adjusted to adapt to the bandwidth on the network.
Set the desired image frequency to the maximum (FULL) or to a specified frame rate (1/2; 1/3;
1/4; 1/5; 1/10; 1/15).
The actual frame rate depends on the actual network connection, and may be lower than the
specified one.
System Type
It shows the current system type: NTSC or PAL.
Stream Format
Select the streaming format to H.264 / MPEG-4 / Motion JPEG.
ADSL Upload Speed
Select your Internet upload speed, and the system will automatically adjust your data flow.
The options are: Local (>2Mbps) / 2M (2000Kbps) / 1M (1000Kbps) / 640Kbps / 512 Kbps /
256Kbps / 128 Kbps / 64Kbps
IR Control
Select “AUTO” to automatically enable IR LEDs at night or in the dark environment, or “OFF” to
disable this function.
OSD
Select “ON” to show the camera title on the live view, or “OFF” to hide the camera title.
Maximum Exposure Limits
This function is used to extend the exposure time for clearer images when the light is not
sufficient.
Select 1 ~ 5 to extend the exposure time based on your current light condition. The larger the
value, the longer the exposure time, and the less the fps.
0 means function off.
4.7.2 Preset
Note:
Before using this function, make sure the DPTZ function is enabled.
You can set new preset points (up to 16) or check existing points here.
How to set a new preset point
Step1: Click to move to the point you want on the live view panel on the right side.
Step2: In “Current Position”, give a name to this point, and click “Add”.


