17
Step 4
Connecting to a Network
Network setup is for automatic Time, Time Zone,
DST adjustments.
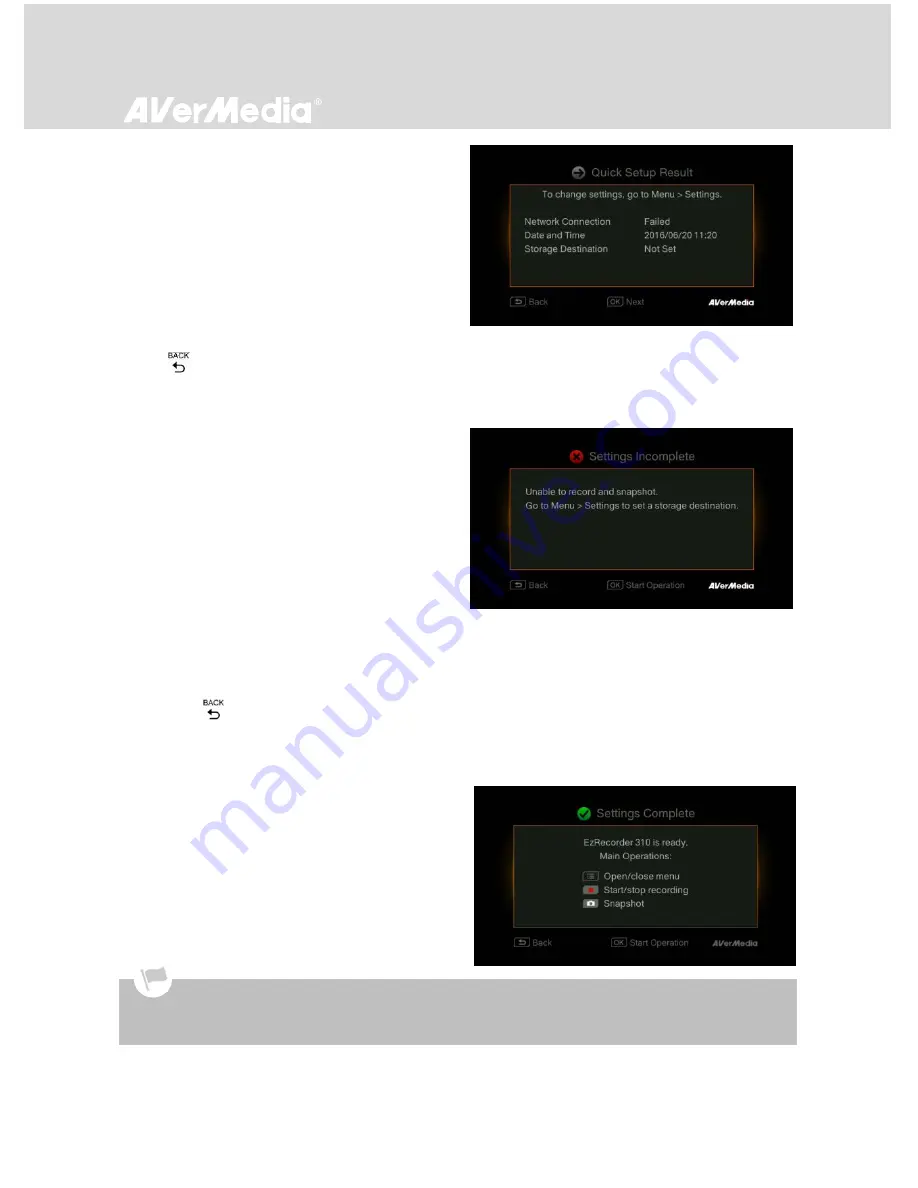
If you have not connected to a valid network, a
result of failed network connection will be shown.
You can skip this step now and set it up later at
Menu
>
Settings
>
Date and Time
. See page 44
for details.
Press
OK
to continue.
Press
to go back to the previous page.
Step 5
Installing a Storage Device
If you have already installed your storage device
beforehand, skip to
Step 6
.
If you have not yet installed any storage device,
install it before continuing the setup process.
* To install an internal HDD, disconnect the power supply
from EzRecorder 310 beforehand to avoid data loss.
* If you want to install an internal HDD, you can skip this
step and exit the Setup Wizard. The previous settings will
be saved and you can go back to
Menu > Settings >
Disk Management > Storage Destination
later to
select desired storage destination.
Then press
to go to the previous screen or
press
OK
to continue.
Step 6
Finishing Setup Wizard
Once a NTFS-formatted hard drive is connected, a
Settings Complete notice will be shown.
You can start to record and take snapshot right
away. Press
OK
to exit the wizard and start using
EzRecorder 310.
Unplug EzRecorder 310 from the power supply before installing an internal HDD.
Sometimes the connection test in Wizard will appear to be failed even though you have connected the
Ethernet cable to EzRecorder 310. Go to
Menu
>
Settings
>
Network
to set the network manually.


