15
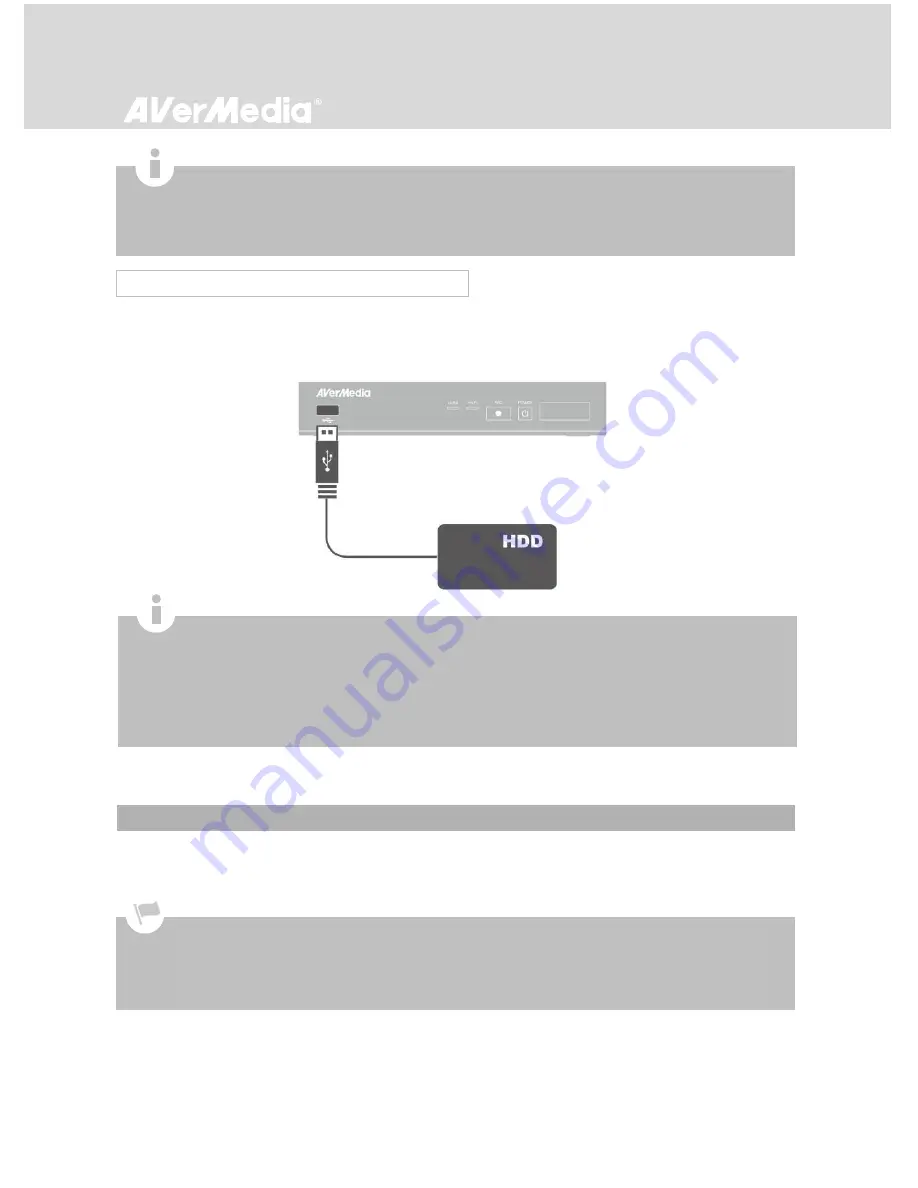
Connect your portable USB hard drive to the USB port on the front of EzRecorder 310
.
3.3 Setup Wizard
When the first time you power on EzRecorder 310 unit, the setup wizard appears. The following steps
guide you through the initial configuration process.
3.2.2 USB Storage Device Insertion
Make sure to install internal hard drive or external USB storage device beforehand.
For the first-time initialization, a short duration of black screen (approximately 20 seconds) is followed by an
AVerMedia logo. The blinking green status light indicates that EzRecorder 310
i
s starting up. Please wait
until the welcome screen appears.
It is highly recommended to use an NTFS-formatted internal hard drive.
If you would like to use an external hard drive, do not remove your portable USB hard drive before an incoming
schedule starts; otherwise, the scheduled task may fail to start.
If you connect another hard drive to EzRecorder 310, please go to
Menu > Settings > Disk Management >
Storage Destination
to re-select desired storage destination for both recorded files and snapshots.
To avoid data loss, please safely remove your external storage device before unplugging it from EzRecorder 310
(See p.31 for details).
If your hard drive is not detected, keep the hard drive connected and restart EzRecorder 310
or format current drive to
NTFS file system (p
lease download the free application of “HP USB Storage Format Tool” from the FAQ of AVerMedia
website)
.
If problem remains unsolved, refer to FAQ at www.avermedia.com for further troubleshooting.
It is common to have a hard drive with a slightly decreased capacity after formatting.


