


FXT 5000 Series Field Service Guide
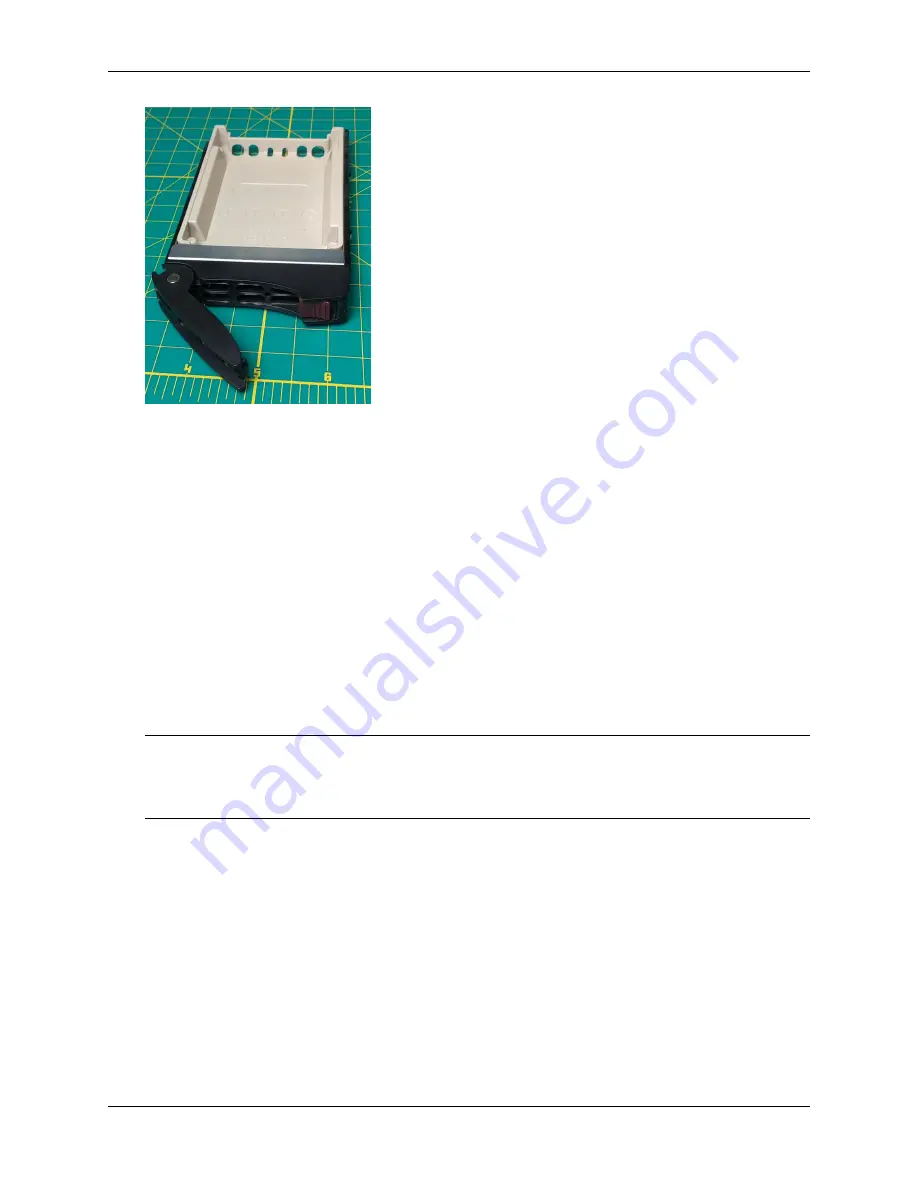
Dummy drive assembly
Refer to
Data Drive Removal and Replacement
(page 21) for help unlatching and removing drives.
3. Install the data drives from the old node in the drive slots of the replacement node. Be sure to install them in
the correct slots according to the numbered labels on the drive assemblies. Drive numbers and position are
shown in
FXT 5000 Series Front and Rear Illustrations
(page 10).
Refer to
Data Drive Removal and Replacement
(page 21) for help inserting and latching drives in the node
chassis.
4. Insert the six dummy drive assemblies into the drive slots of the failed node for return to Avere Systems.
5. Attach all network cables to the new node as they were connected to the failed node, and then attach the power
cords to the AC inputs on the new node’s power supply units.
6. Power on the FXT 5000 Series node by pressing the power button on the front of the node.
7. Using the Avere Control Panel, add the node back to the cluster, as described in
(page 37).
Note:
The replacement node will have a node name that was randomly assigned before shipping. When you
add the node to your cluster, it will be renamed according to your cluster naming scheme. The Avere OS
(http://library.averesystems.com/#operations) explains how to customize node names on the
Cluster > General Settings page of the Avere Control Panel.
8. Return the failed node to Avere Systems. Instructions for returning the failed node are included in the replace-
ment node’s shipping box, or can be emailed from Avere Global Services.
34
Chapter 7. Replacing a Complete FXT 5000 Series Node


