- 37 -
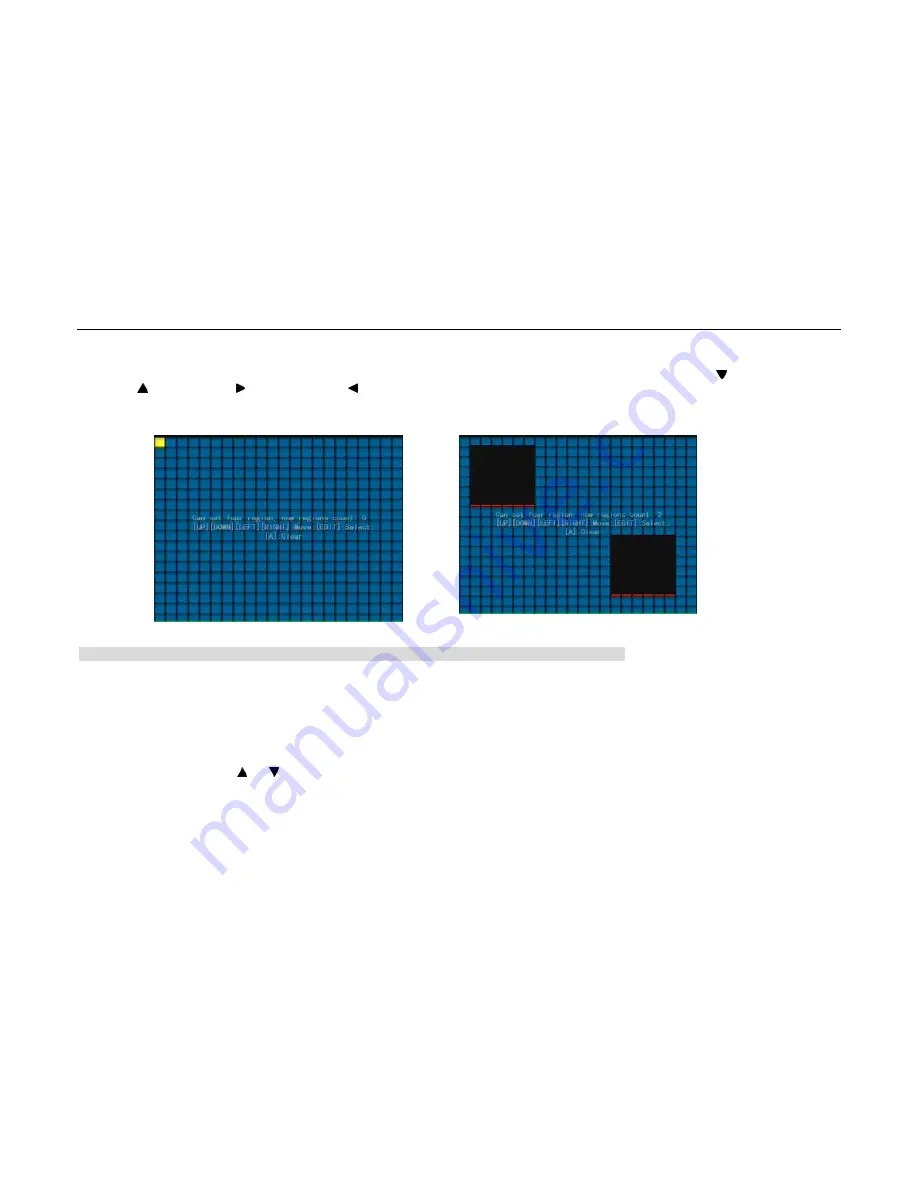
NTSC). Firstly, move the yellow pane to your hope position and press[EDIT]key, the yellow pane will be turned into red, then you can use[ ]to expand
downward ,[ ]to shrink upward,[ ]to expand rightward,[ ]to shrink leftward. After you make sure the red mask area, press[EDIT]key to save the mask area. The
area will be blacked in the preview image.(Fig.5.9) Press[ESC]key to cancel the mask area. The maximum mask area is the full screen and the minimum size is only
one pane. You can setup 4 mask areas at most. Press[A]key to clear all mask areas.
Note: The mask areas can not be copied to other cameras. There is no preview image and record image in the areas.
5.2.6
Preview Properties
In “Preview” menu, you can setup preview mode, screen switch time, enable or disable audio preview and preview layout.
Step 1: Enter into “Preview” menu. (Fig.5.10)
Step 2: Preview properties:
Preview mode:
You can use [ ] or [ ]key to select one mode. There are “1 Screen” and “4 Screen” option.
Fig.5.8 Mask Area Setup Interface
Fig.5.9 Preview Image with Mask
User Manual of DMB-04R Embedded Mobile DVR (V1.0)


