Creating and Grading Geometries
45
4.
Use the jog ball as a geometry mover and press the ALT and shot forward buttons to select
the geometries on the current active secondary layer.
5.
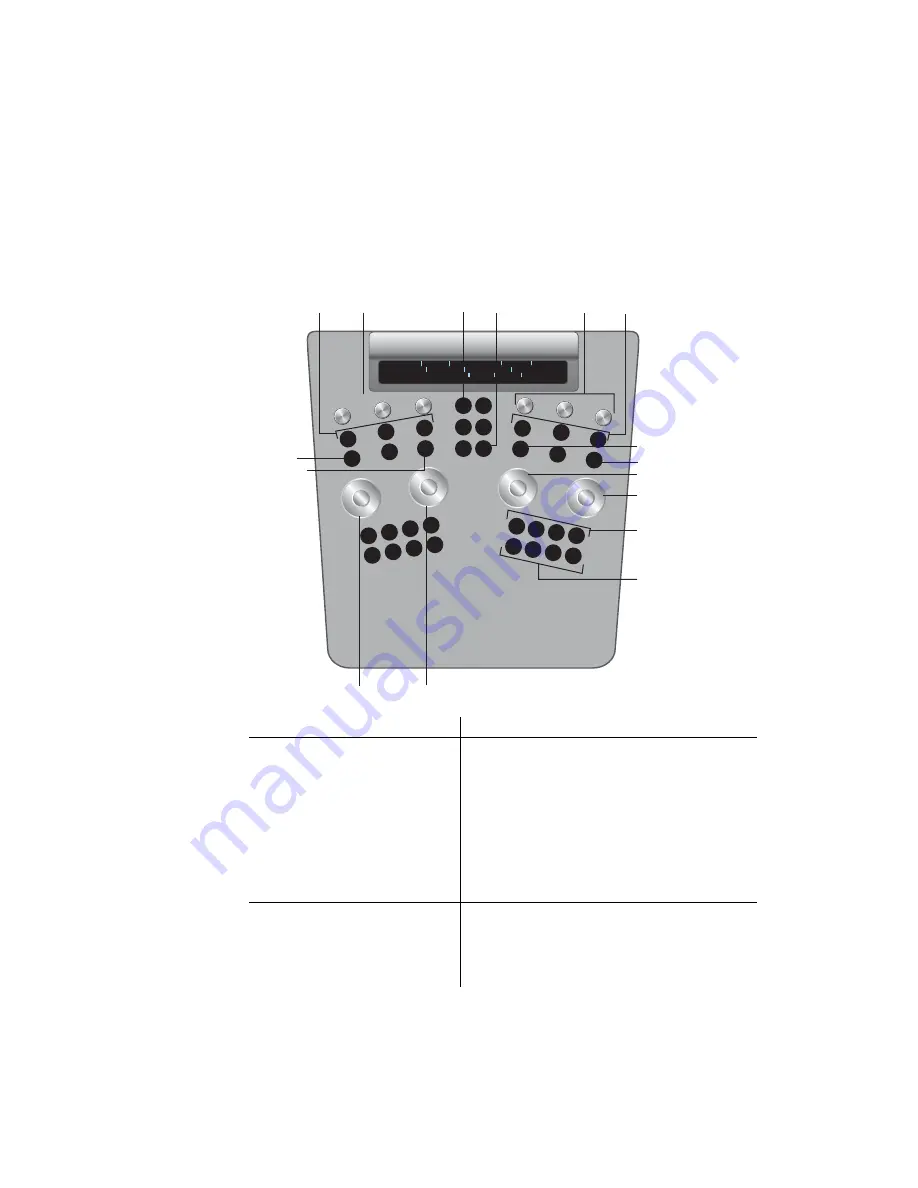
On the Function panel, use the following controls to adjust the geometry.
Use:
To:
Wheels
Modify the geometry’s blur, colour, opacity, and
softness.
Wheel 1=Blur
Wheel 2=Colour
Wheel 3=Opacity
Wheel 4=Softness
The direction for edge softness is inwards or
outwards depending on the direction that you
rotate the wheel. To reset a wheel, press the button
above it.
Knobs at top left
Scale the geometry.
Knob 1=Size X
Knob 2=Size Y
Knob 3=Master (scales in locked proportions)
To reset a knob, press the button below it.
Rot
Blur
Color
Opacity
Softness
OR
MINUS
AND
SizeX
SizeY
MoveY
MoveX
Size
INVlnk
In
Out
Softness:
Variable Softer
MULTI
MATTE
O/P
STILL
ALT
WIPE
SPLIT
PROXY
Layer link
buttons
Additional
softness
controls
Blur
Colour
Reset blur
Reset colour
Reset opacity
Reset softness
Opacity
Softness
Reset
scaling
Scaling
controls
Delete
Geom
Reposition
controls
Geom
UI
Reset
reposition
F1
F2
F3
F4
F5
F6
F7
F8
F1
F1
F2
F3
F4
F5
F6
F1
F2
F3
F4
F5
F6
F2
F3
F4
F5
SHOW
Summary of Contents for CP100
Page 1: ......
Page 4: ......
Page 76: ...The Tangent CP100 Control Surface 2 70 ...
Page 80: ...74 Index ...


