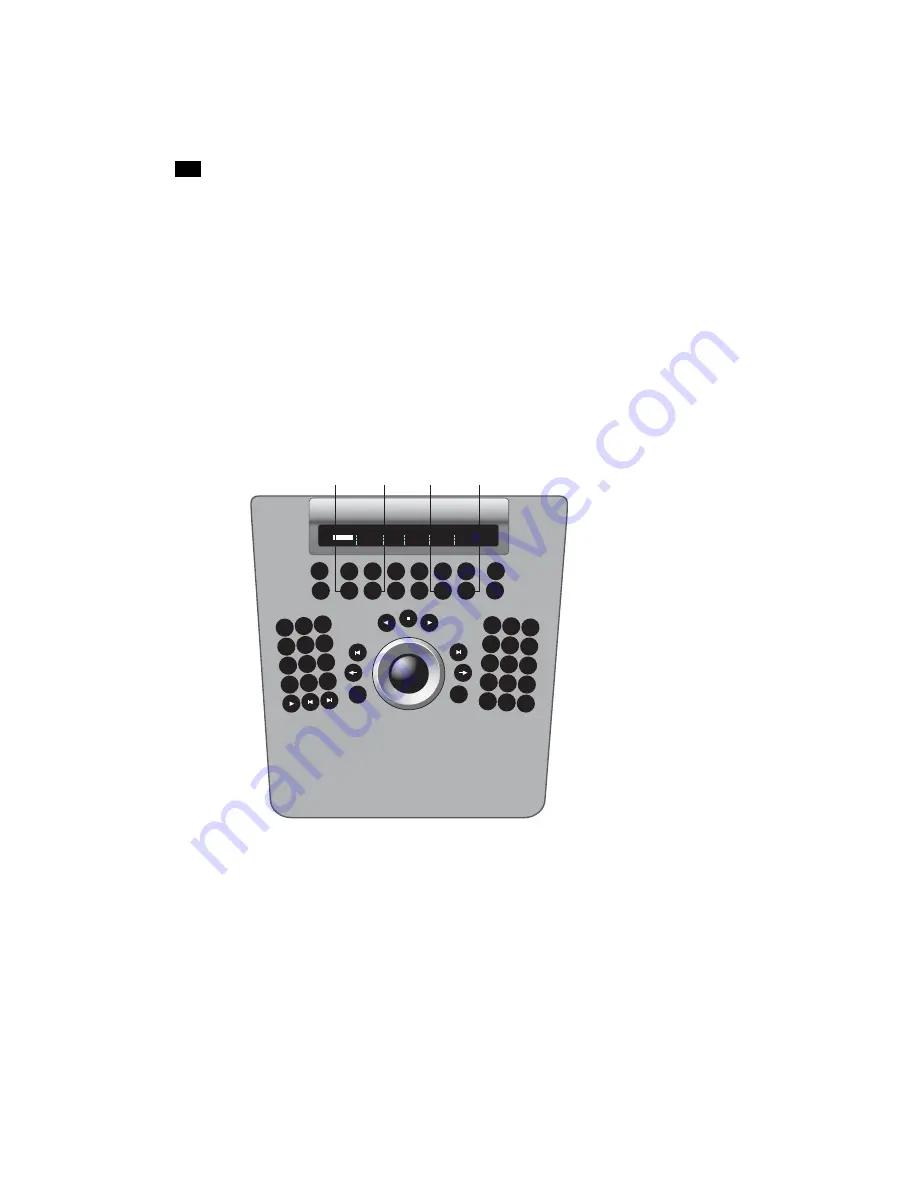
The Autodesk Control Surface
1
30
Grading in Logarithmic Mode Using the Function Panel
When the Grade menu is enabled, you can use the Function panel to:
•
Adjust overall hue, brightness, and saturation.
•
Balance brightness and contrast in the red, green, and blue channels.
•
Balance brightness of colours in the shadows, midtones, and highlights.
•
Adjust cutoff values.
•
Increase or decrease printer light settings.
To colour grade in Logarithmic mode using the Function panel:
1.
Press the Grade button on the Navigation panel.
The In Primary, Out Primary, Inside, and Outside options are activated.
2.
Do one of the following:
•
Press the F1 option button to work on the initial primary grade.
•
Press the F2 option button to work on final curve modifications.
•
If you are colour grading a secondary, either a key or a geometry, use the numeric keys on
the Navigation panel to select and enable a secondary layer. Press the number key once to
select the layer, and then press it a second time to enable it. To enable layer 10, press the
Curve
Key
P&S
Inside
Misc
Outside
#0001.000019
InPr
OutPr
Geom
Grade
In Primary Out Primary
Inside
Outside
.
GRADE
CURVES
KEY
GEOM
P&S
MISC
MORE
1
-
4
7
5
6
9
8
2
0
+/-
RECALL GRADE
3
ALT
ENTER
CURSOR
REVERT COMP
UNDO
REDO
DO
RESET OFFSET
SCROLL
CLIP
A/B
MARK
MORE
F1
F2
OUT
IN
MEM
F4
F3
BYPASS
Summary of Contents for CP100
Page 1: ......
Page 4: ......
Page 76: ...The Tangent CP100 Control Surface 2 70 ...
Page 80: ...74 Index ...


