


The Autodesk Control Surface
1
40
To generate a key:
1.
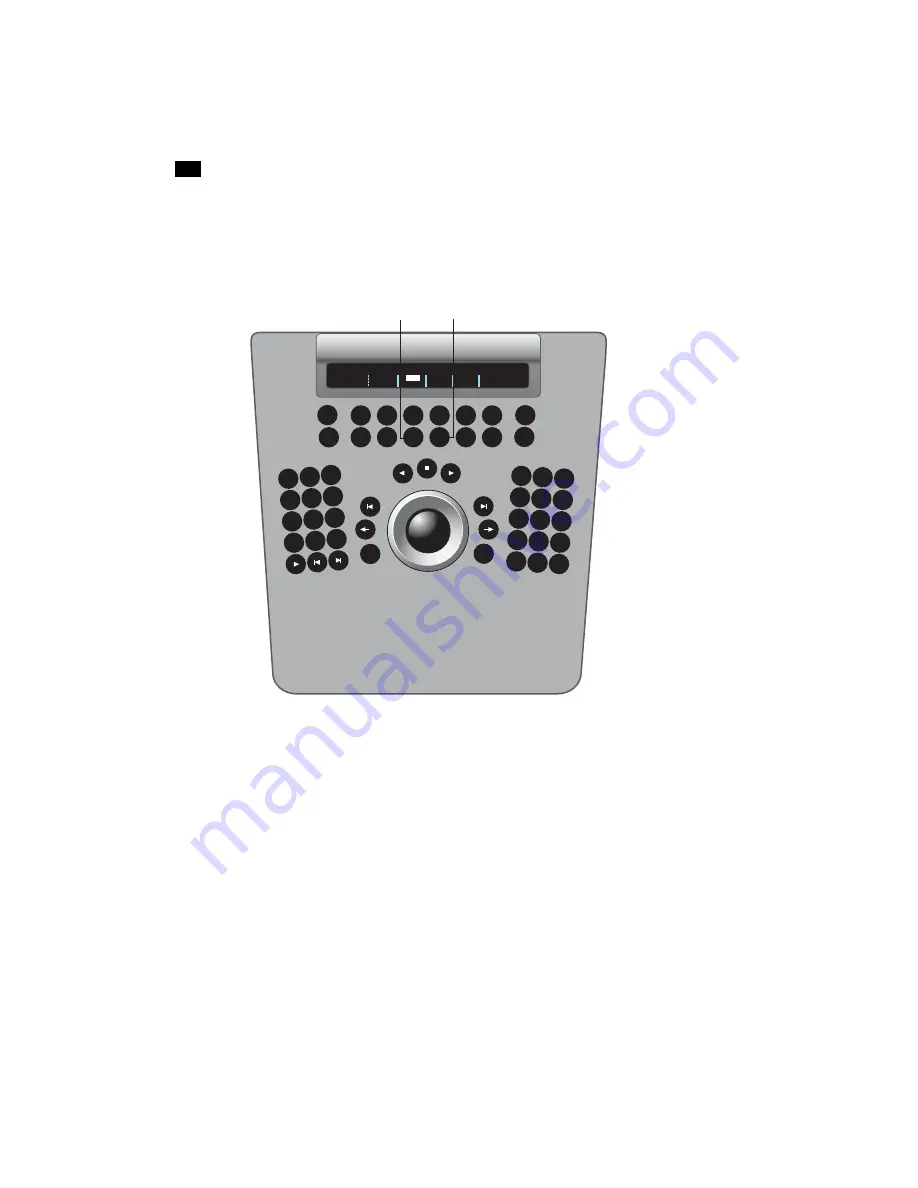
Press the Key button on the Navigation panel once to activate the Keyer menu, and a second
time to enable the Keyer channel.
The Pick and SrcPrim options are activated.
2.
Use the numeric keys on the Navigation panel to select and enable a secondary layer. Press
the number key once to select the layer, and then press it a second time to enable it. To enable
layer 10, press the minus button (-). To enable layer 11, press 0. To enable layer 12, press the
decimal button (.).
3.
To sample the image, press the F3 option button. The trackball on the Navigation panel is
activated as a picker, allowing you to move through the image. Press Pick again to pick the
current pixel for the sample. To sample an area of the image, hold down the ALT button
while in picker mode and draw a rectangular area of the image, and then release the ALT
button.
4.
To key after input primary grading has been performed and the input LUT has been applied,
press the F4 option button. To switch back to the primary-graded result, press the button
again.
Grade
P&S
Inside
Misc
Outside
#0001.000019
InPr
OutPr
Geom
SrcPr
Pick
Curve
Key
Pick
SrcPrim
.
GRADE
CURVES
KEY
GEOM
P&S
MISC
MORE
1
-
4
7
5
6
9
8
2
0
+/-
RECALL GRADE
3
ALT
ENTER
CURSOR
REVERT COMP
UNDO
REDO
DO
RESET OFFSET
SCROLL
CLIP
A/B
MARK
MORE
F1
F2
OUT
IN
MEM
F4
F3
BYPASS
Summary of Contents for CP100
Page 1: ......
Page 4: ......
Page 76: ...The Tangent CP100 Control Surface 2 70 ...
Page 80: ...74 Index ...


