Log on user
7.
Use
Up ▲ Down ▼
to select user:
Information: Required user level:
Specialist (4)
or higher
➥
The symbols have the following meaning:
-
black triangle:
▶
= current setting
-
white triangle:
▷
= selection (not saved yet)
8.
Press
Ok
.
➥
Display indicates:
Password 0***
9.
Enter password (
→
enter password).
➥
Display shows the set value.
➥
The bottom row indicates:
Edit Esc
10. Press
Edit
.
Change value
11. Enter new value for operating time via
Up ▲ Down ▼
.
Information: The adjustable operating time range is specified on the actuator
name plate and is indicated on the display in round brackets.
12. Save new value via
Save
.
➥
Operating time setting is complete
13. Return to step 4 (Selection): Press
Esc
.
10.6.
Test run
Only perform test run only once all settings previously described have been
performed.
10.6.1.
Direction of rotation at mechanical position indicator (self-adjusting): check
Valve damage due to incorrect direction of rotation!
→
If the direction of rotation is wrong, switch off immediately (press STOP).
→
Eliminate cause, i.e. correct phase sequence for cable set wall bracket.
→
Repeat test run.
1.
Move actuator manually to intermediate position or to sufficient distance from
end position.
2.
Switch on actuator in direction CLOSE and observe the direction of rotation:
Information: Switch off before reaching the end position.
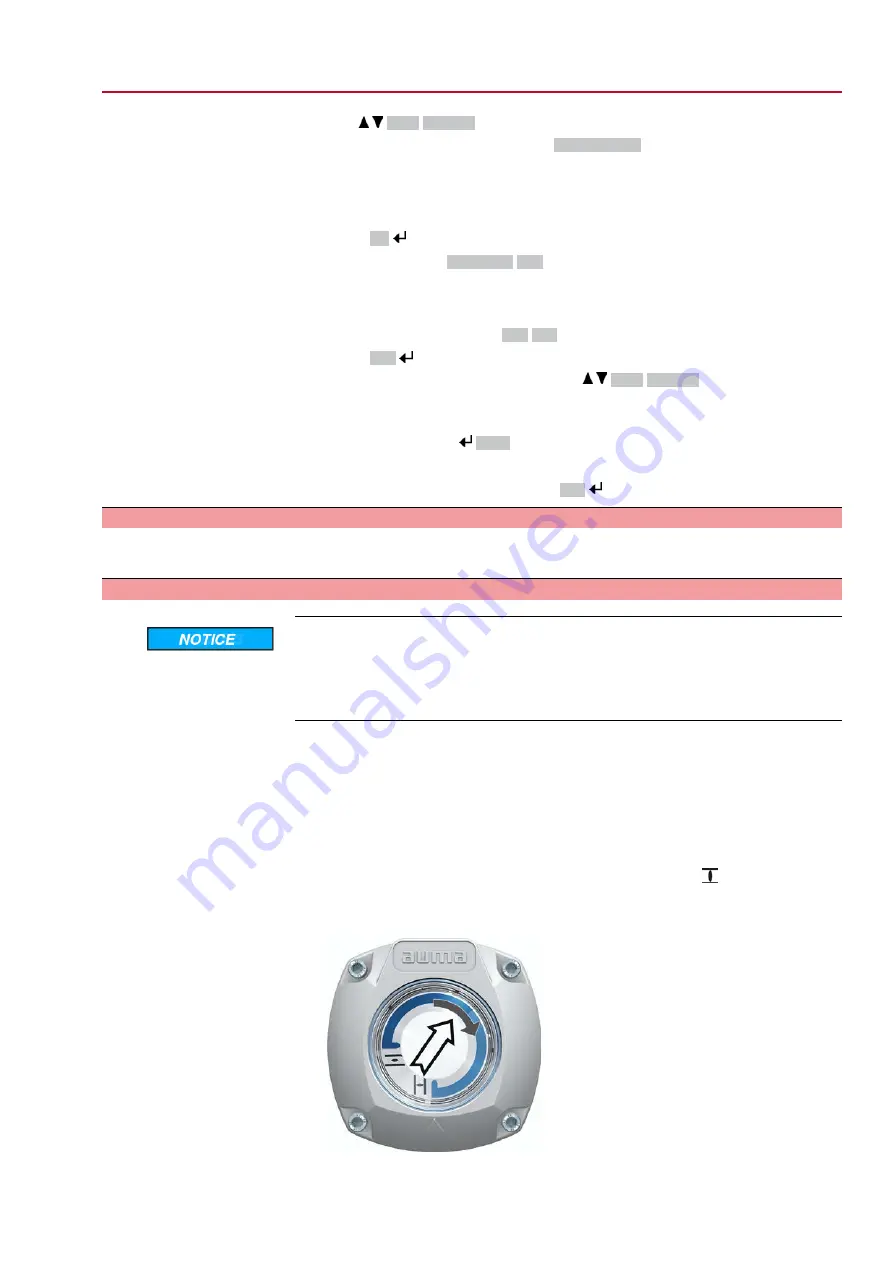
3.
Observe direction of rotation at mechanical position indicator:
➥
The direction of rotation is correct if the actuator operates in direction CLOSE
and arrow turns clockwise in direction CLOSE (symbol
).
Figure 81: Direction of rotation at mechanical position indicator (for clockwise
closing)
69
SQVEx 05.2 – SQVEx 14.2/ SQRVEx 05.2 – SQRVEx 14.2 Control unit: electronic (MWG)
ACVExC 01.2 Modbus RTU
Commissioning (basic settings)


