


Digital Video Recorder
47
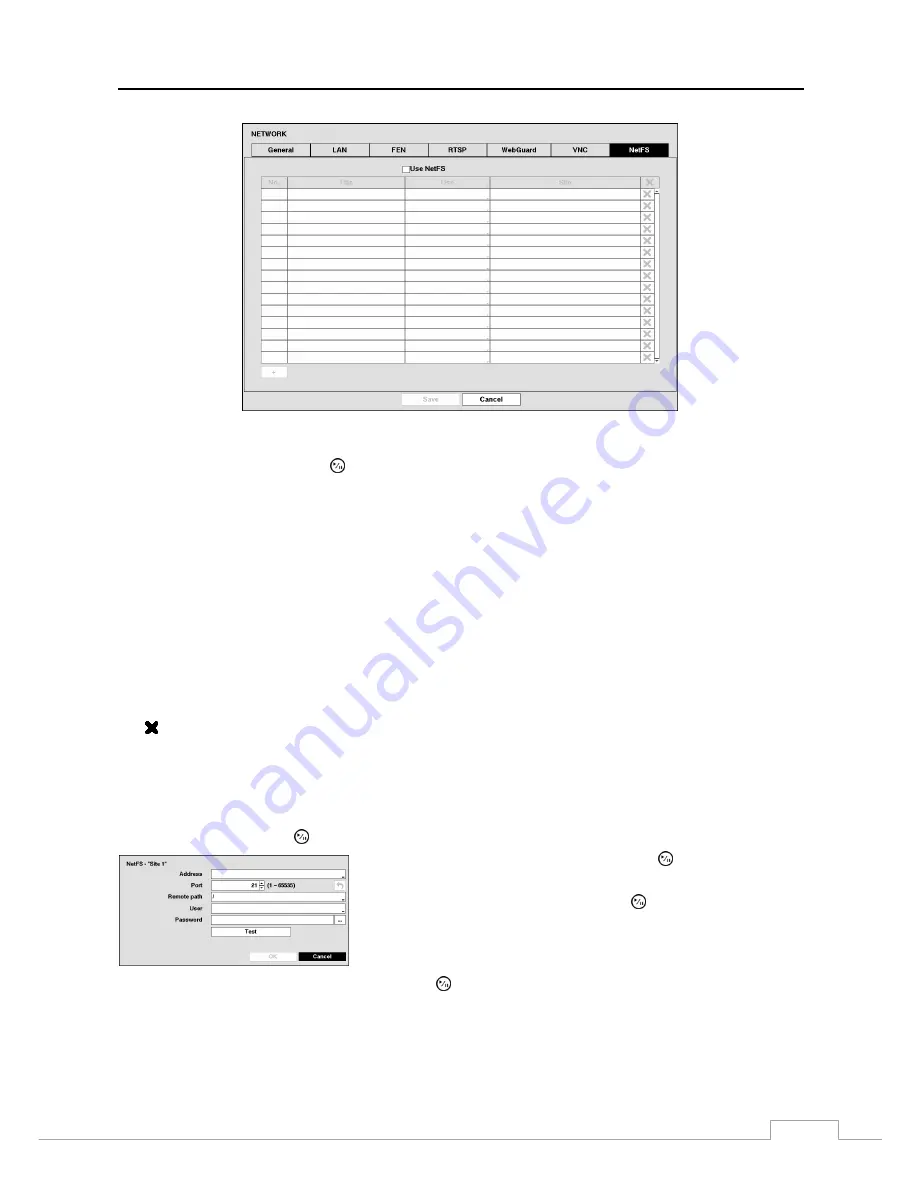
Figure 32: Network – NetFS.
Highlight
Use NetFS
and press the button to toggle between On and Off.
The
Title
box displays the NetFS site name. Use the virtual keyboard to enter the name.
The
Use
box allows you to select the usage of the NetFS function.
N/A –
It disables the NetFS function.
ALL –
It enables all NetFS functions.
Upgrade –
It allows you to use the upgrade file uploaded on the NetFS site.
Setup –
It allows you to import or export a setup file uploaded on the NetFS site.
System Log –
It allows you to save system log on the NetFS site.
Clip-Copy –
It allows you to manually copy video clips to the NetFS site or to automatically copy event-detected
video clips to the NetFS site.
Print –
It allows you to save images as a PDF file on the NetFS site.
The
Site
box displays the NetFS site information.
The box allows you to delete a NetFS site.
NOTE: When you delete an FTP site in the
NetFS
setup screen on the
Network
menu, the FTP site in the
FTP
setup
screen on the
Notification
menu will be deleted, too.
When you change the usage to other than
ALL
or
Clip-Copy
, an FTP notification function will be
disabled.
Highlight the
+
and press the button to register a NetFS site (max. 16).
Highlight the box beside
Address
and press the button. A virtual
keyboard appears allowing you to enter the NetFS address.
Highlight the box beside
Port
and press the button. Set the port
number used when accessing the NetFS site by using the
Up
and
Down
arrow buttons to increase or decrease the numbers.
Highlight the box beside
Remote path
and press the button. A virtual keyboard appears allowing you to enter a
folder path in the NetFS site.


