CL3800 / CL3700 / CL3100 User Manual
20
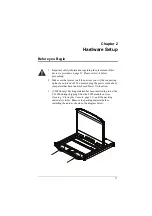
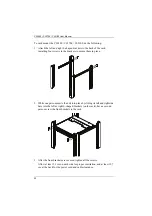
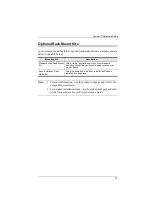
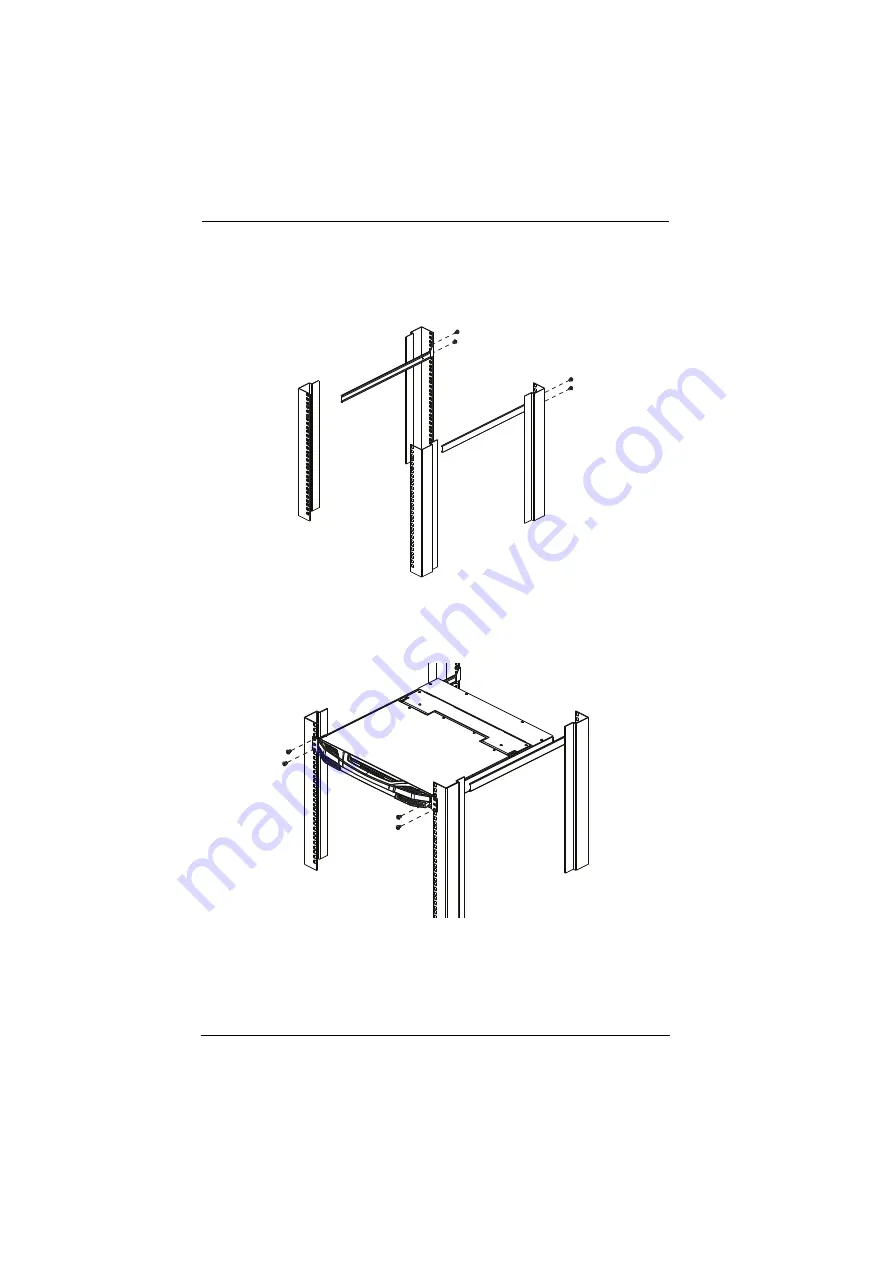
To rack mount the CL3800 / CL3700 / CL3100, do the following:
1. Attach the left and right L-shaped brackets to the back of the rack,
installing four screws in the brackets to secure them in place.
2. While one person inserts the unit into place by sliding its left and right side
bars into the left & right L-shaped brackets (on the rack), have a second
person screw the front brackets to the rack.
3. After the front brackets are secured, tighten all the screws.
Allow at least 5.1 cm on each side for proper ventilation, and at least 12.7
cm at the back for the power cord and cable clearance.
Summary of Contents for CL3100
Page 1: ...Short Depth WideScreen LCD Console CL3800 CL3700 CL3100 User Manual www aten com...
Page 26: ...CL3800 CL3700 CL3100 User Manual 16 This Page Intentionally Left Blank...
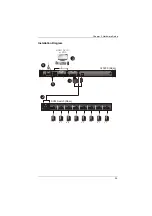
Page 37: ...Chapter 2 Hardware Setup 27 Installation Diagram 5 3 4 1 CL3700 Rear HDMI 2 KVM Switch Rear...
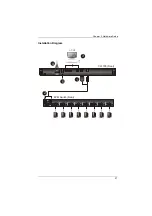
Page 39: ...Chapter 2 Hardware Setup 29 Installation Diagram 5 3 4 1 CL3100 Rear VGA 2 KVM Switch Rear...
Page 40: ...CL3800 CL3700 CL3100 User Manual 30 This Page Intentionally Left Blank...
Page 52: ...CL3800 CL3700 CL3100 User Manual 42 This Page Intentionally Left Blank...
Page 60: ...CL3800 CL3700 CL3100 User Manual 50 This Page Intentionally Left Blank...

