


ASUS TS110-E8-PI4
4-3
3.
Press <Tab> to switch to the
Drive
field.
4.
Press the Up/Down arrow keys to find the USB flash disk that contains the latest BIOS
then press <Enter>.
5.
Press <Tab> to switch to the
Folder Info
field.
6.
Press the Up/Down arrow keys to find the BIOS file then press <Enter>.
7.
Reboot the system when the update process is done.
4.1.2
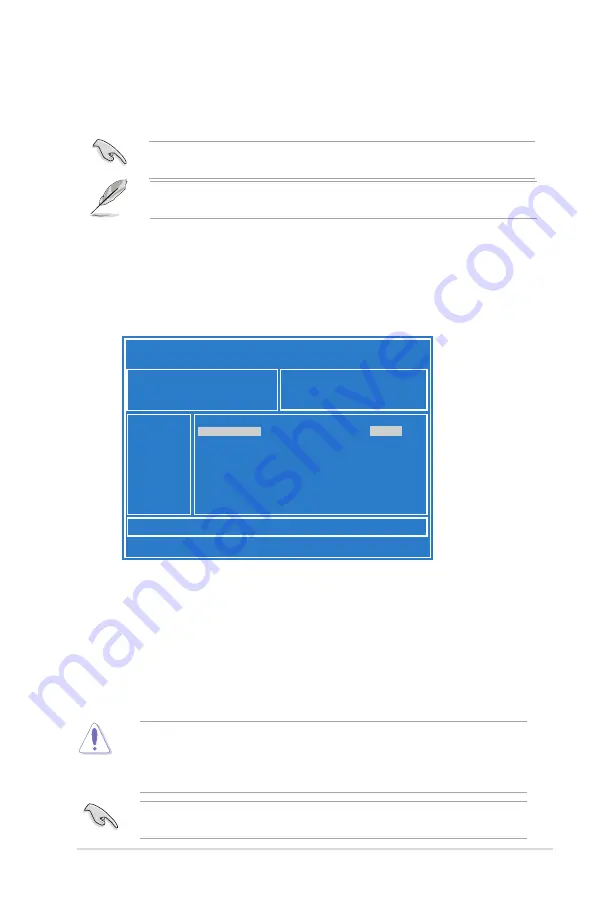
ASUS EzFlash Utility
The ASUS EzFlash Utility feature allows you to update the BIOS using a USB flash disk
without having to use a DOS-based utility.
ASUS Tek. EzFlash Utility
[Up/Down/Left/Right]:Switch [Enter]:Choose [q]:Exit
FS0
System Volume Information
<DIR>
P9D-X Bios
<DIR>
Windows <DIR>
P9D-X Bios
Current Platform
Platform : P9D-X
Version : 0060
Build Date :12/03/2014
New Platform
Platform : P9D-X
Version : 0077
Build Date :01/31/2014
The succeeding BIOS screens are for reference only. The actual BIOS screen displays may
not be the same as shown.
To update the BIOS using EzFlash Utility:
1.
Insert the USB flash disk that contains the latest BIOS file to the USB port.
2.
Enter the BIOS setup program. Go to the
Tool
menu to select
ASUS
EzFlash Utility
and press <Enter> to enable it.
Download the latest BIOS from the ASUS website at www.asus.com before using this
utility.
<DIR>
•
This function can support devices such as a USB flash disk with FAT 32/16 format and
single partition only.
•
DO NOT shut down or reset the system while updating the BIOS to prevent system
boot failure!
Ensure to load the BIOS default settings to ensure system compatibility and stability. Press
<F5> and select
Yes
to load the BIOS default settings.
Summary of Contents for TS110-E8-PI4
Page 1: ...Pedestal Server TS110 E8 PI4 User Guide ...
Page 12: ...xii ...
Page 44: ...Chapter 3 Motherboard information 3 2 3 1 Motherboard layout ...
Page 96: ...4 40 Chapter 4 BIOS setup ...
Page 114: ...5 18 Chapter 5 RAID configuration ...
Page 142: ...6 28 Chapter 6 Driver installation ...
Page 146: ...A 4 Appendix ...


