“Main” menu
Operating manual U 158 -
Version 10-2018A
page 24
DNS:
Enter a DNS server, if required, in the input fields.
SNTP server:
You can enter one or two time servers here (SNTP protocol).
Time Source:
Select the preferred time reference from the drop-down menu. The following
options are available for selection: “SNTP server” and “IP RX 1 - 16”.
To save your changes, click on the “Submit” button below the last table.
Configuring the base unit
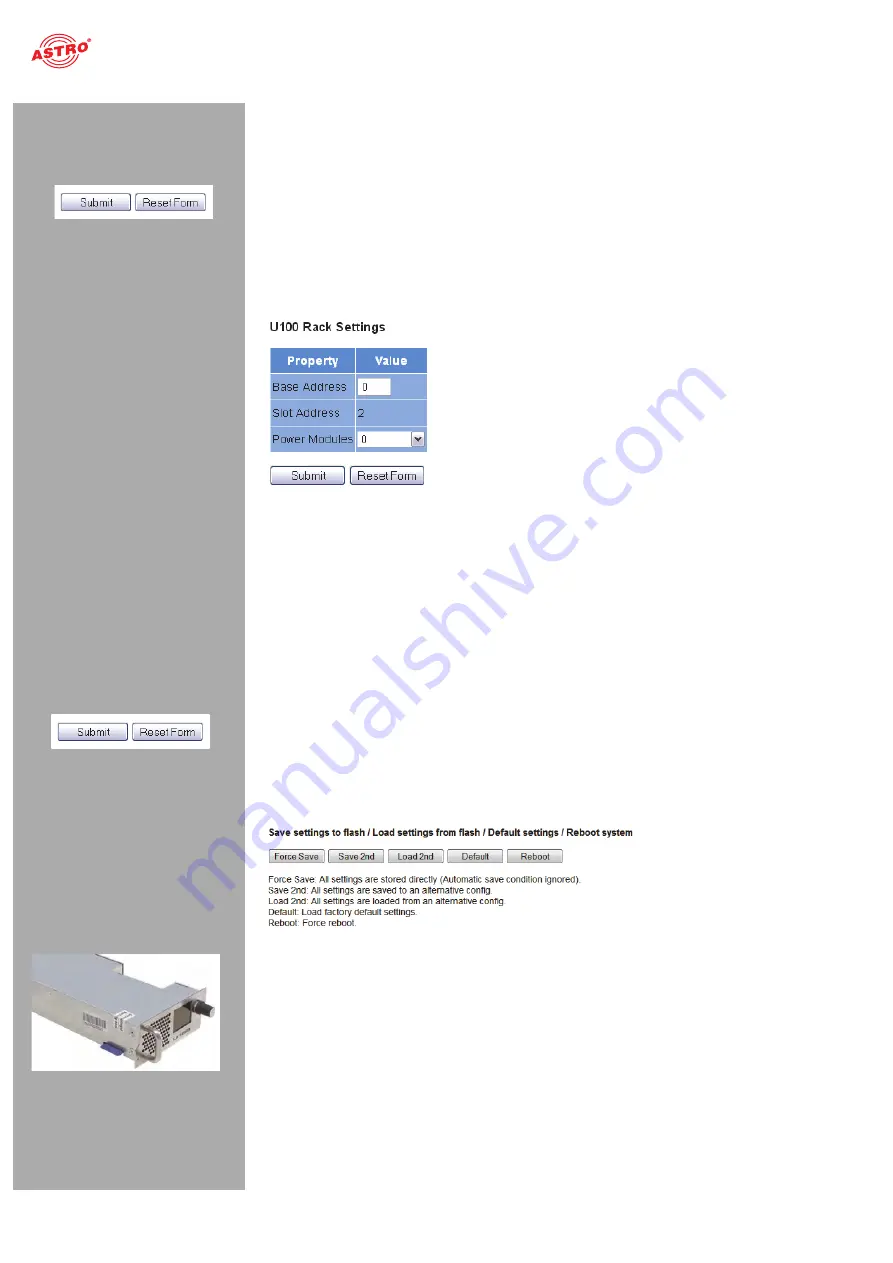
You can enter settings for the U 100 base unit in the third table (“U 100 Rack settings”).
Figure 21: Configuring the U 100 base unit
The following parameters are displayed, and can be configured:
Base Address:
Enter an address for the base unit being used here. If the
U 158 is managed using the U 100-C controller and several U 100 base units are being used, then
each base unit must be allocated an address of its own.
This setting only has to be entered for one module per base unit.
Slot Address:
In accordance with the coding of the backplane of the U 158 performed previ-
ously (see section “Installing and connecting”), the address corresponding to the slot in the base
unit is displayed here.
Power Modules:
Select the number of power modules used from the drop-down menu
(“0” for 48 V operation, “1” or “2” for 230 V power modules).
To save your changes, click on the “Submit” button below the last table.
Saving and loading configurations / default and reboot
Figure 22: Saving and loading configurations
Changes to the configuration of the U 158 are written to the device by clicking the “Submit” button, and
are activated immediately. If you wish to save the current status to a separate memory, click on the
“Save 2nd” button (below the tables). This current status is then saved to the SD card in the U 158.
(Please note that prior to installing the module, an SD memory card must be plugged
in; see figure at left.)


