4
Basics of programming with the KC 3
4.1 Basics
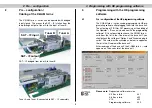
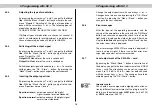
After plugging the KC 3 handheld on the base unit, the
start menu appears. The software version is displayed.
Please give this number to our customer service if you
have questions regarding the plug-in card. To see this
menu later once again, you have to plug the KC 3 out and
in again. By pressing the cursor keys
←
or
→
you get
into the menu for adjusting the parameters of the base
unit, and then to the
Programming of the specific parameters of the card
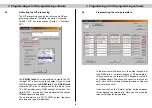
which consists of 4 lines. You can switch between these
lines with the
↑
and
↓
keys.
Line 1:
Type of card, here X-QAM twin A/B Status
OK
Line 2:
Choosing the input parameters
Line 3 / 4:
RF – output parameters
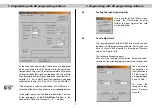
The programming of the parameters is made via key-pad
or as stepwise change of pre-defined parameters with the
cursor keys
↑
and
↓.
Please note:
Input values must be complete!
4.2
Order of programming
1. Choose the Plug-in card (line 1)
2. Type in the output parameters of the Plug-in card
(line 3/4)
3. Adjust the input parameters
4.
Store the settings by pressing the
“OK/Store” button
4.3 Store
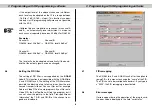
After finishing the data input, the new parameters have to
be stored by pushing the “OK/Store” button. After pushing
this button, the parameters are saved.
4 Basics of programming with KC 3
4 Basics of programming with KC 3
10
☞

