PROGRAMMING TABBER
22
Tip
: Selection for Backing (
liner
) does not denote type of tab material. Instead, it denotes density of the tab
and liner it is affixed to, as compared to the space between tabs. Rather than thinking of this setting as a
backing description, it is easier to identity if backing (
liner
) has a black bar between each tab or not (
is space
between tabs black or white?
)
See chart below.
Backing Setting
Color of Space Between Tabs
Detailed Description
Opaque
White space between tabs
Clear or translucent tab material
with black dot, in the liner below
each tab.
Paper tab stock (
white or colored
).
Stamps
Clear
Black space between tabs
Clear or translucent tab material
with black space (
line
), in the liner
between each tab.
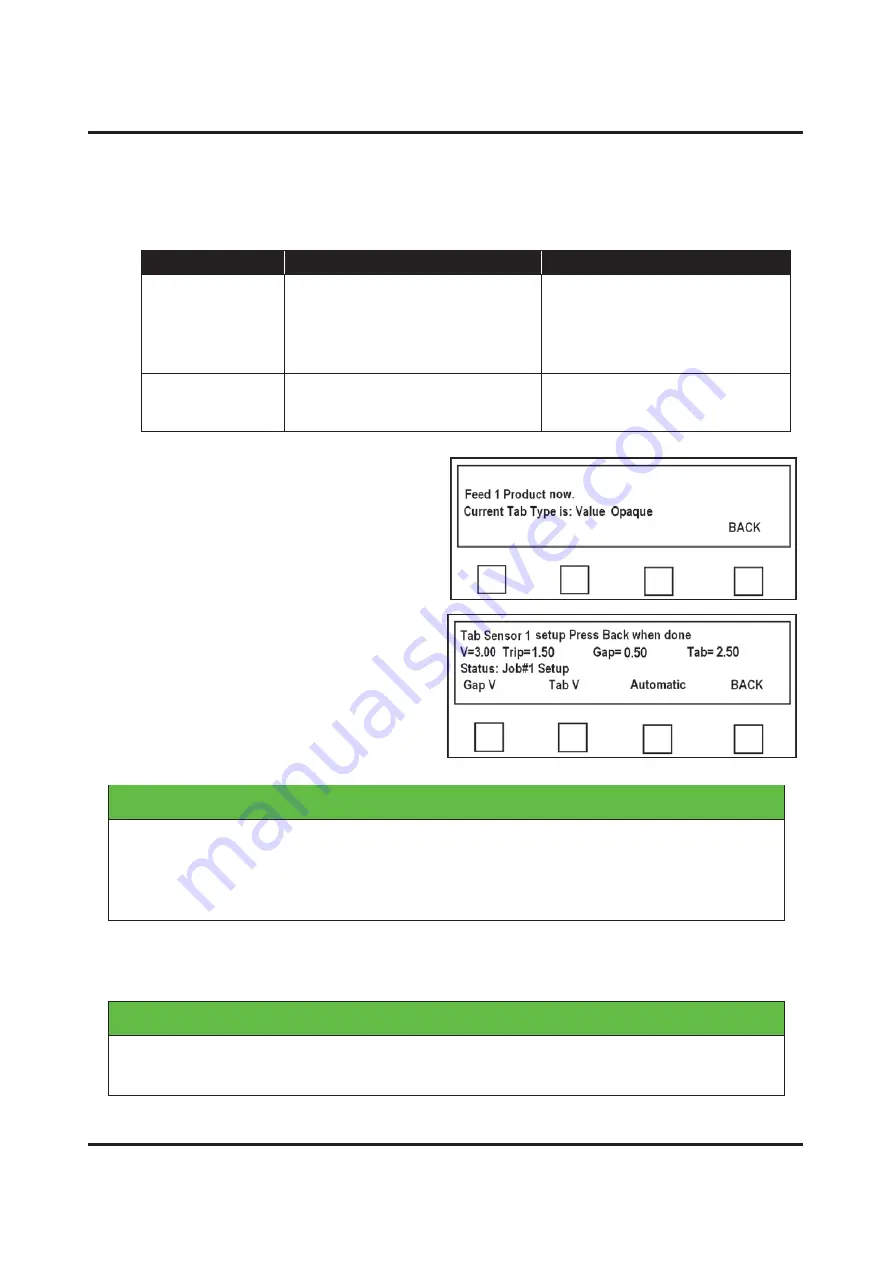
Once Tab Type is selected, Tabber
Transport starts and screen at
right appears. Adjust Speed Control on
Tabber up or down until
“
Feed 1
Product now
”
appears in display.
Feed one piece from Feeder into Tabber.
Two or three tabs will be applied to the
piece, then Tabber will stop and display
new V-Tab values. Tab Sensor is now
set up for this tab stock.
IMPORTANT
IN ORDER FOR TABBER TO DISTINGUISH BETWEEN TAB AND BACKING,
VOLTAGE DIFFERENCE BETWEEN GAP V AND TAB V SHOULD BE HALF
OF THE DIFFERENCE BETWEEN THE TWO VOLTAGES. IF TRIP VOLTAGE
IS LESS THAN 0.50 VOLTS, CLEAN THE SENSOR.
7.
Test Tabber for proper operation.
If you experience tab advancement or
positioning problems, verify proper threading, transport setup, media length, tab
type, and tab pitch settings.
IMPORTANT
IF TAB TYPE NEEDS TO BE CHANGED, THEN AUTOMATIC TAB SENSOR
ADJUSTMENT OR PITCH VALUES MAY ALSO NEED REPEATING.


