


50
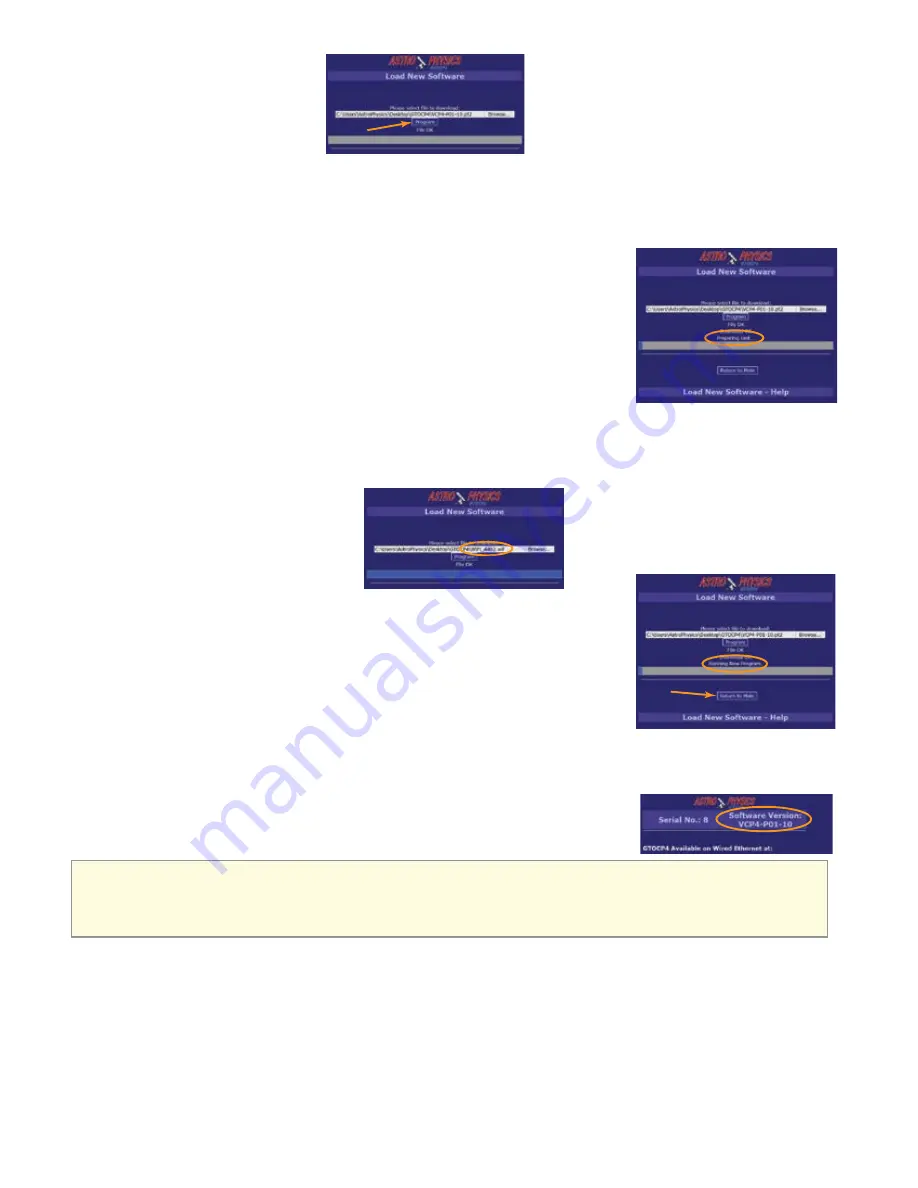
15. Click the Program button.
16. Wait approximately 10 seconds for Running New Program to be displayed.
When programming “part 2” of the
CP4/5 software, an indication of Preparing Unit… will appear. This means that the CP4/5 will need to re-boot and
execute “part 1” software while it over-writes the old part 2 software with the new. “Part 2” contains the mount control
functions. At this time, the front panel LED on the CP4/5 will begin to blink rapidly to indicate that the mount functions
are not active.
When the CP4/5 is ready, the Programming… indication will be shown.
When the “part 2” file has been programmed successfully, the indication Download
OK will be shown, followed by another indication of Preparing Unit… This means
that the CP4/5 must reboot itself again to execute the software that has just been
loaded.
When the CP4/5 is running the new software, it will indicate so by displaying, Run-
ning New Program. This will also be indicated by the CP4/5’s front panel LED, which
will stop blinking at this time.
In some cases, a software update may include additional parts, such as a “Wi-Fixxxx”, “part 3”, “part 4”, etc. If another
par” has been provided in the distribution, browse to it and load it by repeating the steps above for each additional part
provided in the software release.
○
Browse to file
○
Open
○
Allow verification
○
Program
○
Wait for Running New Program or Resumed Operation message.
○
IMPORTANT! Please note that some parts like the Wi-Fi update may take
several minutes to complete!
17. Click the Return to Main button to go back to the main window.
The completion
of the software update can be confirmed by clicking the Return to Main link.
18.
Confirm that the version shown has incremented to the new version loaded.
The original screen may be shown,
but will indicate the newly loaded CP4/5 software version. As the browser screens are improved over time, the main
page may look different following a software update.
19. Re-activate serial port connections to the CP4/5 and resume normal operation.
20.
IMPORTANT!! After Installing the new CP4/5 software, you will need to do a full initialization of the
mount INCLUDING resuming from the defined Park Position you selected when you started the
upgrade in order to reestablish calibration.
Finally


