7
8.5.
REASSEMBLY
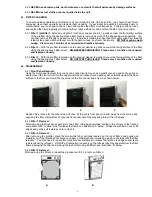
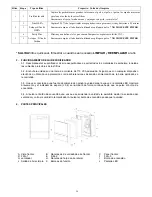
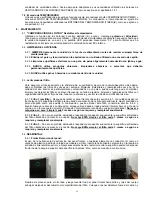
Working from the inside outwards, use these steps to reassemble your air purifier:
8.5.1.
Filter 3 Installation:
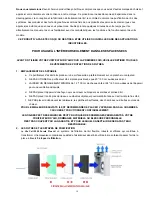
Place Filter 3 inside the unit with the white pull-tabs on top, facing out towards you, and with its bottom edge
resting on the back bottom edge of the filtering compartment. With your fingers only on the frame near the top,
gently push Filter 3 into the housing until it fully and firmly seats against the back of the filtering compartment;
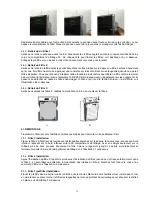
see illustration 1 below.
8.5.2.
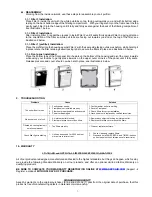
Filter 2 Installation:
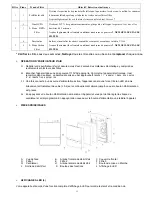
After installing Filter 3, repeat the process to install Filter 2 until it seats firmly against Filter 3, paying attention
to the orientation of the filter so white pull tabs are facing out towards you and at the top of the filter; see
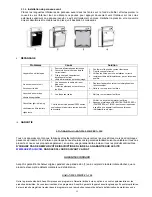
illustration 2 below.
8.5.3.
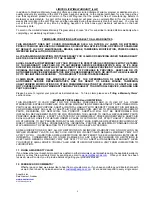
Filter 1 (prefilter) Installation:
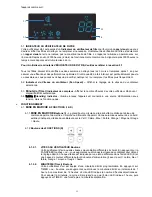
Place the prefilter into the housing against Filter 2 with the same side facing out as was before, while holding it
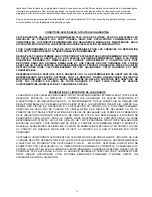
in place rotate the filter retaining swivel locking tabs to secure the filters in place; see illustration 3 below.
8.5.4.
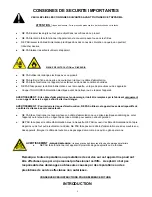
Front panel installation:
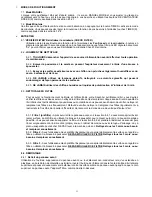
Place the bottom tabs of the front panel into the slots on the bottom of the housing and pivot the cover inwards
while using your thumbs to gently press inwards on the upper outer corners of the panel until it fully seats.
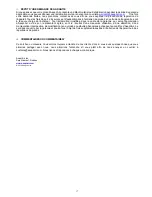
Release pressure and cover should now be held in place; see illustration 4 below.
9. TROUBLESHOOTING
Problems Cause
Solution
The unit will not turn on.
1. Faulty power source.
2. Front panel not installed properly.
3. Filters not properly seated and secured.
4. Power
cord
damaged.
1. Confirm power outlet is working.
2. Secure Front panel.
3. Check filters for correct installation.
4. Have power cord replaced by certified technician.
No air comes out of unit
1. Air inlets or outlet blocked.
2. Plastic protective cover still on filters.
1. Remove any objects blocking air inlets or outlet.
2. Remove protective cover around the filters.
Filtered air coming from unit
smells unpleasant
1. The filters are dirty.
1. Clean or replace the filters.
Check filter light is blinking
1. Unit has been used for 3,000 hours or
more since last timer rest.
1.
Check, clean and replace filters.
2.
Press and hold FAN SPEED
+
and TIMER
-
buttons
on front panel until unit chimes once to reset timer.
10. WARRANTY
STANDARD and OPTIONAL LIMITED LIFETIME WARRANTIES
All of our products are designed, manufactured and tested to the highest standards, but things do happen, which is why
we provide the following Standard Warranty on all our products, and offer an optional Limited Lifetime Warranty on
qualifying products.
BE SURE TO COMPLETE YOUR WARRANTY REGISTRATION ONLINE AT
WWW.ASEPT-AIR.COM
(Support
Æ
Register a product)
WITHIN 30 DAYS OF PURCHASE.
STANDARD WARRANTY
Asept-Air warrants, to the original purchaser, for a period of one (1) year from the original date of purchase, that this
product is free of manufacturing defects in materials or workmanship.

