DV
D+R/R
W
Rec
ord
er
Recording F
unctions
33
DV
D+R/R
W
Rec
ord
er
RW
R
R
W
W
Recording F
unctions
How To Record From i-Link Compatible Equipment
You can use this DVD Recorder to record live (real-time or from pre-recorded contents) from
DV Cameras & i-Link IEEE 1394 compatible equipment.
Preparations:
1. Connect the DVD Recorder to your TV, and connect the DV device to this DVD recorder via
i-Link IEEE 1394 cable. (For details please refer to the Quick Connection Guide.)
2. Remember to use an unfi nalized and recordable DVD+RW or DVD+R disc only.
1
Turn on
Power
of the DVD Recorder and your DV unit.
Power
Power
2
22
Press
Eject
to open the disc tray.
3
33
Place a recordable DVD+RW or DVD+R onto the disc tray.
Hold the disc without touching its surface, position it with the printed title facing up, align it
with the guides, and place it in its proper position.
4
Press
44
Eject
again to close the disc tray.
If you use a brand new DVD+RW or DVD+R disc, the fi rst reading will take about one minute.
If this DVD Recorder reads a new DVD disc, the disc will be formatted automatically and then
show one empty title with 100% free disc space. If this DVD Recorder reads a used DVD disc, a
Title menu will show the available title for play and available space left for recording.
5
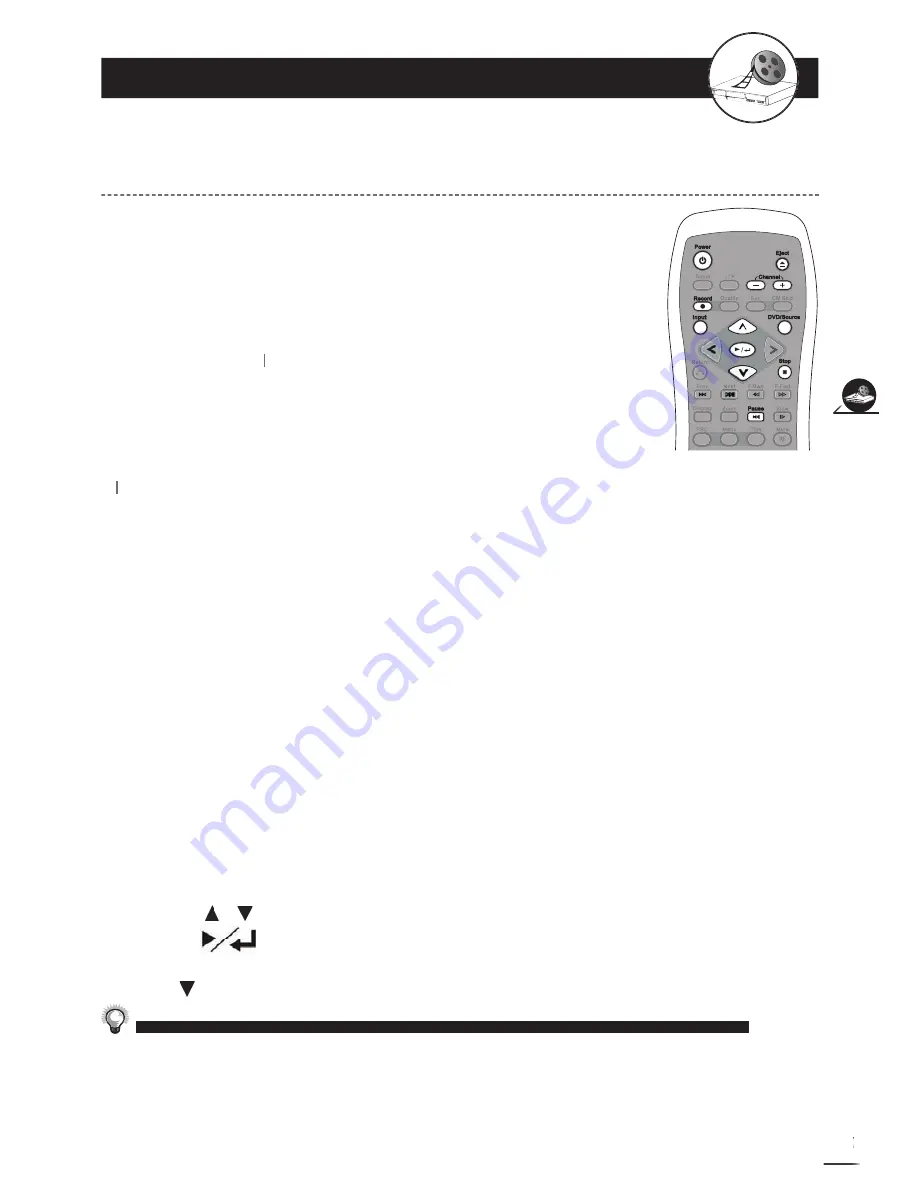
Press
DVD/Source
on the remote control to switch to Source mode.
6
66
Press
INPUT
on the remote control to toggle the DV input Source.
Press INPUT repeatedly until DV INPUT appears.
7
77
Switch your DV device to playback or record mode.
Your DV’s playback or record screen will appear both on your DV screen and TV screen, you
are ready to record.
8
88
Press
Record
on the remote control to start to record.
“REC” will appear on the right corner of the TV screen.
9
99
Press
Stop
on the remote control to stop recording.
“WAIT” will appear on the right corner of the TV screen. Wait until “LIVE” appear on the right
corner of the TV screen, representing that re cord ing has completed.
10
Press
DVD/Source
on the remote control to switch to DVD mode.
Recorded titles will be shown on the TV screen.
11
Press
/
to choose the titles just recorded.
12
Press
to play back the titles.
It can show three title boxes on the TV screen at one time. If there are more than three title
boxes, press
to the next page.
Note 1:
Unlike S-Video and standard composite connections, recording via i-Link cable will cease to record once the
connection has been disconnected for more than 5 seconds.
Note 2:
On some DV models, you must press PLAY before you try to record otherwise, it may cause the recorder to freeze.
In this case, disconnect and reconnect the AC power, Press Cancel when the “Unexpected Power Off Detected; Recover
Last Recording?” message appears.
2-4
Recording
-continued


