


6
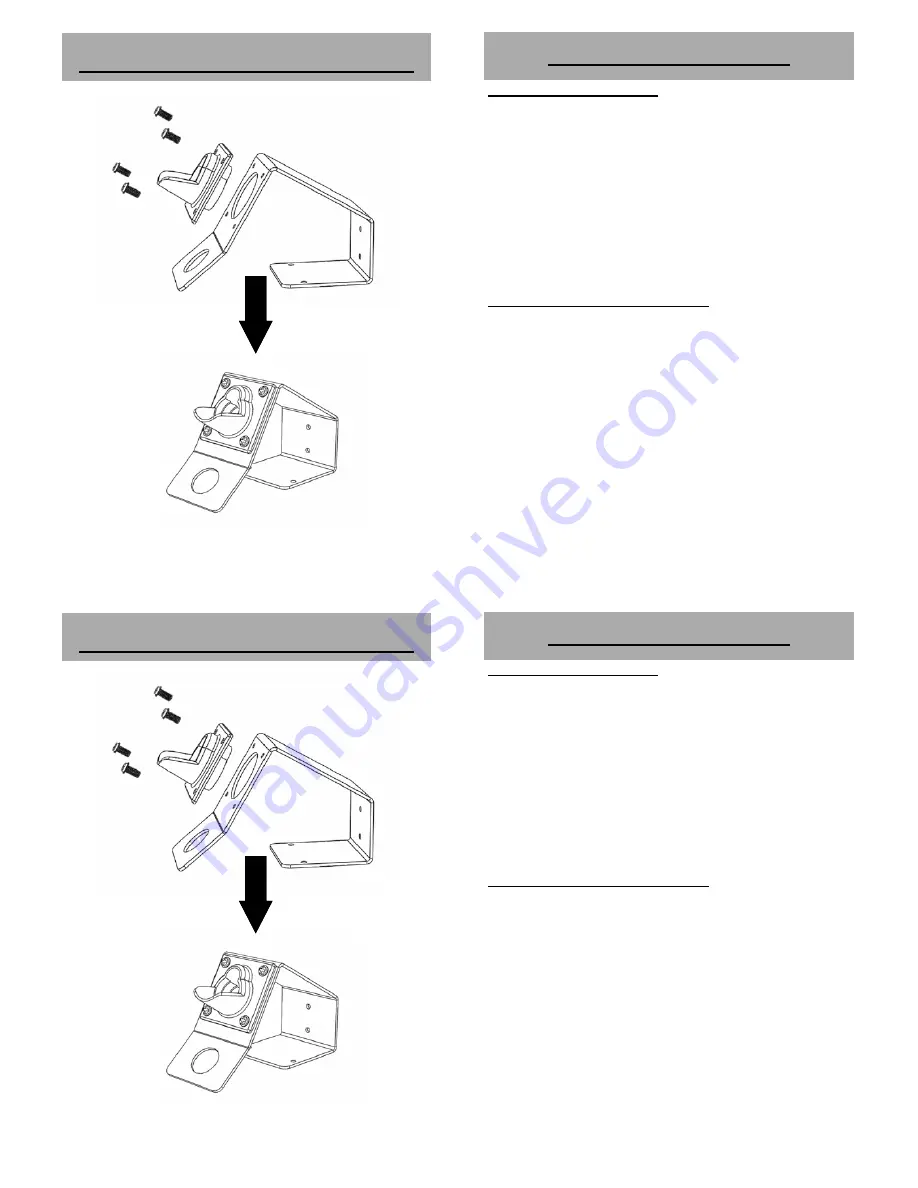
HOLDER ASSEMBLY INSTRUCTION
23
OPERATING GUIDELINES
To enter advanced options
Advanced option mode can be accessed via a pass code. The
pass code is “110”
1. Press and hold both up and down button while plugging in
the Ritocco the display would show “001” indicating the
user to enter the pass code.
2. Press the up button to select pass code 110. Press both up
and down button to enter the pass code. If correctly done
the display would show “-1-” indicating it is now in the
mode lock selection screen.
To Select and lock between modes
Upon accessing the mode lock selection screen we can now
select the modes.
1. Press the up or down button to select between modes 1 to
4. (see page 19 for mode functions)
2. After selection wait for 10 seconds for the system to save
and register the selected mode.
3. Selected mode will be saved into memory.
4. To change system to other modes enter advanced options
and selection modes again.
6
HOLDER ASSEMBLY INSTRUCTION
23
OPERATING GUIDELINES
To enter advanced options
Advanced option mode can be accessed via a pass code. The
pass code is “110”
1. Press and hold both up and down button while plugging in
the Ritocco the display would show “001” indicating the
user to enter the pass code.
2. Press the up button to select pass code 110. Press both up
and down button to enter the pass code. If correctly done
the display would show “-1-” indicating it is now in the
mode lock selection screen.
To Select and lock between modes
Upon accessing the mode lock selection screen we can now
select the modes.
1. Press the up or down button to select between modes 1 to
4. (see page 19 for mode functions)
2. After selection wait for 10 seconds for the system to save
and register the selected mode.
3. Selected mode will be saved into memory.
4. To change system to other modes enter advanced options
and selection modes again.


