I n s t a l l a t i o n G u i d e
T o u c h P a n e l s
Battery Replacement
& Firmware Upgrade
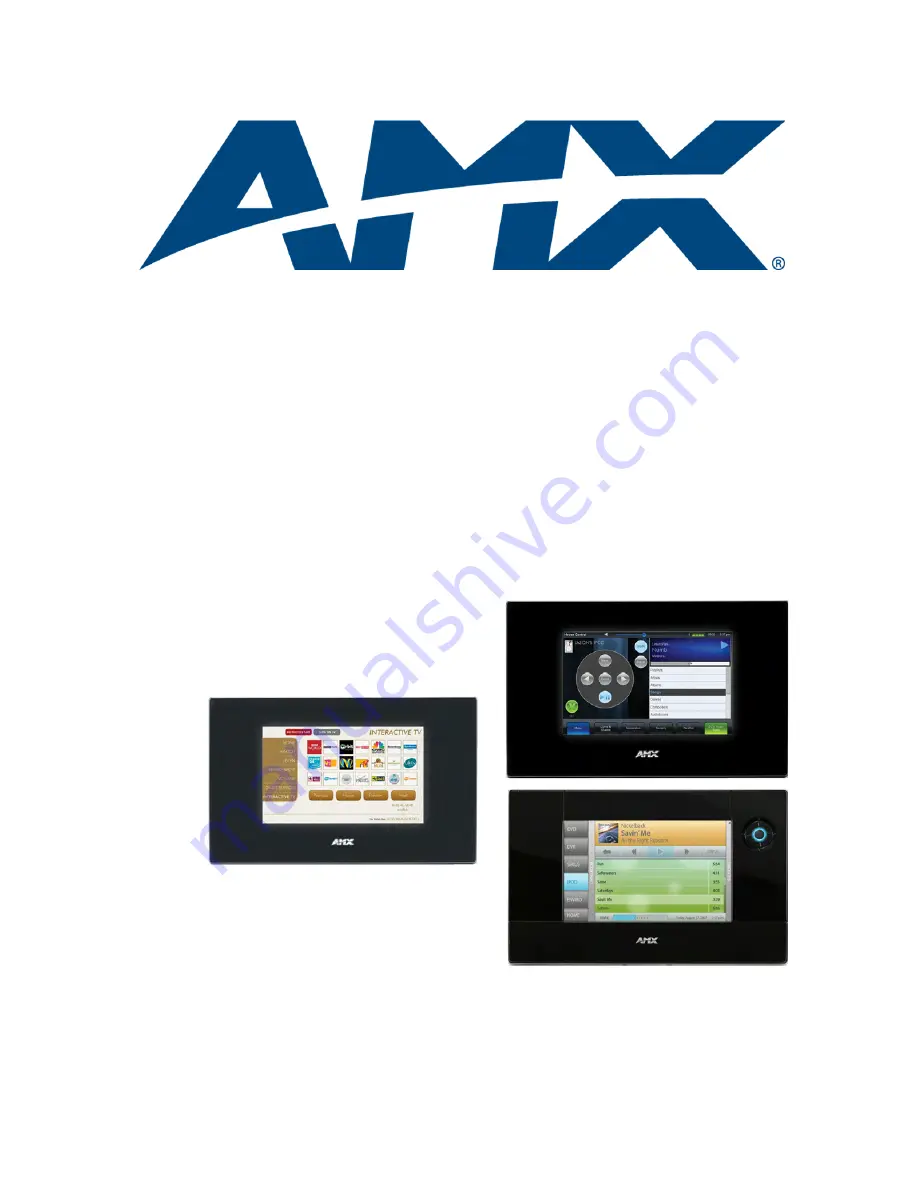
5.2" Modero® ViewPoint® Touch Panels
MVP-5200i
MVP-5150MVP-5100
I n i t i a l R e l e a s e : 1 2 / 1 7 / 2 0 0 9
Page 1: ...Installation Guide Touch Panels Battery Replacement Firmware Upgrade 5 2 Modero ViewPoint Touch Panels MVP 5200i MVP 5150 MVP 5100 Initial Release 12 17 2009 ...
Page 2: ...rked on the outside of each box The RMA is valid for a 30 day period After the 30 day period the RMA will be cancelled Any shipments received not consistent with the RMA or after the RMA is cancelled will be refused AMX is not responsible for products returned without a valid RMA number AMX is not liable for any damages caused by its products or for the failure of its products to perform This incl...
Page 3: ...MPLIED WARRANTIES OF MERCHANTABILITY AND FITNESS FOR A PARTICULAR PURPOSE WITH REGARD TO THE AMX SOFTWARE THIS LIM ITED WARRANTY GIVES LICENSEE SPECIFIC LEGAL RIGHTS Any supplements or updates to the AMX SOFTWARE including without limitation any if any service packs or hot fixes provided to Licensee after the expiration of the ninety 90 day Limited Warranty period are not covered by any warranty o...
Page 4: ......
Page 5: ...pgrade Paths 10 MVP 5200i Firmware Versions 10 MVP 5200i Firmware Upgrade Paths 10 Determining the Current Panel Firmware Version 11 Determining the Current Panel Firmware Version on the Panel 11 Determining the Current Panel Firmware Version in NetLinx Studio 11 Downloading Firmware ZIP Files From www amx com 12 MVP 5100 Firmware File to upgrade Firmware to v2 66 21 12 MVP 5150 Firmware File to u...
Page 6: ...tery to the MVP 5200i 19 MVP 5100 MVP 5150 Battery Removal and Installation 21 Removing the Old Battery From the MVP 5100 or MVP 5150 21 Installing the New Battery 22 Battery Return Process 24 Reloading Panel Files 25 Overview 25 Reloading Panel Files 25 Validation Final Step 29 Overview 29 Operation Complete 29 ...
Page 7: ...quire these additional steps Requirements The following will be needed to complete this procedure Sufficient knowledge of the network configuration to be able to connect a laptop to the LAN on which the NetLinx Master and Touch Panel s reside The IP Address of the NetLinx Master A laptop PC equipped with the latest version of the NetLinx Studio software application available to download from the T...
Page 8: ... Serial Number label black 91 5966 01BL FG5966 02BAT MVP BP 5X Battery Pack Kit for MVP 5200i white Replacement battery 57 0016 SA 1 Back Cover white MA5966 01WH Note that the replacement battery is pre installed in the Back Cover 1 Residual Voltage Discharge Adaptor SAA5966 27 A Rubber Foot grey Bottom 60 5966 12GR Rubber Foot grey Small 60 5966 13GR 2 Upper Screws 4 40 X 0 437 80 0125 01 3 Lower...
Page 9: ...his document focuses on TCP IP since it is generally the fastest and easiest method to transfer files in a NetLinx System NetLinx Studio Since the NetLinx Studio software application can handle all types of file transfers including retrieving reloading the Touch Panel files from the panel as well as upgrading the Firmware on the panel AMX recommends using NetLinx Studio for all file transfers invo...
Page 10: ... and click Select If the IP address is not present in the List of Addresses then it needs to be added a Click New to open the New TCP IP Setting dialog FIG 4 b Enter the IP Address of the target NetLinx Master in the TCP IP Address field c Enter a friendly name for this connection i e NetLinx Master in the Description field FIG 2 NetLinx Studio Communication Settings dialog FIG 3 NetLinx Studio TC...
Page 11: ...e they need to be restored after the Firmware upgrade Battery replacement process 1 Select Tools File Transfers to open the File Transfer dialog and open the Receive tab FIG 5 2 Click the Add command button to open the Select Files For File Transfer dialog FIG 6 The Port should always be set to 1319 default setting Do not change the Port assignment If you already have access to a copy of the curre...
Page 12: ...et directory and enter a filename for the retrieved file FIG 7 5 Click Save to close this dialog and open the Enter Device Mapping Information dialog 6 In the Enter Device Mapping Information dialog enter the Device Port and System numbers for the source Touch Panel FIG 8 FIG 6 Select Files for Transfer dialog Other tab FIG 7 Save As dialog Select the TP4 Touchpanel Design file type ...
Page 13: ...ransfer dialog The file that you added should now appear in the Files To Receive queue of the Receive tab 9 In the File Transfer dialog click the Receive command button FIG 10 FIG 8 Enter Device Mapping Information dialog If you do not already know the Device Number assignment for the Touch Panel you can get it from the panel s online Protected Setup page See the Determining the Device Mapping Inf...
Page 14: ... from the panel s online Protected Setup page To access the Protected Setup page 1 Press the center button of the navigation wheel and hold for 3 to 5 seconds to access the main Setup page 2 Select the Protected Setup button on the left side of the screen 3 Using the on screen keypad enter the correct password to access the page the default password is 1988 4 Click OK to open the main Protected Se...
Page 15: ... Paths for 5 2 Modero ViewPoint Panel Firmware The following tables describe the various upgrade paths for 5 2 Modero ViewPoint Panel Firmware based on the current Touch Panel Firmware loaded on each Touch Panel type MVP 5100 MVP 5150 Firmware Versions MVP 5100 Firmware Upgrade Paths Panel Firmware Files are provided for download in the AMX online product catalog at www amx com Refer to the Downlo...
Page 16: ...ase User settings System Settings Wireless Settings etc are not affected by these firmware upgrades Upgrade Path 1 User Touch Panel Pages Must Be Reloaded Step 1 Install SW5966 01 A MVP5200i_PrepFor_v2 60 64 kit Step 2 Install SW5966 01 A MVP5200i_v2 60 64 kit Step 3 Install SW5966 01_MVP5200i_v2_66_21 prep kit See NOTE below Estimated Time Required for Firmware Upgrade 1 hour Upgrade Path 2 User ...
Page 17: ...ion button slide from the left 3 Press Panel Information to access the Panel Information page The current version of panel firmware is indicated under Firmware Version in the left column FIG 1 Determining the Current Panel Firmware Version in NetLinx Studio Another way to determine the current version of Firmware loaded on your Touch Panel is to view the panel in NetLinx Studio s Online Tree 1 In ...
Page 18: ...e panel The Firmware ZIP files also include basic upgrade instructions MVP 5100 Firmware File to upgrade Firmware to v2 66 21 SW5966 08_MVP5100_v2_66_21 zip MVP 5150 Firmware File to upgrade Firmware to v2 66 21 SW5966 07_MVP5150_v2_66_21 zip MVP 5200i Firmware Files to upgrade Firmware to v2 66 21 SW5966 01_MVP5200i_v2_66_21 zip Panel Firmware Files are provided for download in the AMX online pro...
Page 19: ...irmware Files that you will need according to the specific Touch Panel types 1 Click on the link under Firmware Files on the appropriate Touch Panel catalog page Click here to download the latest MVP 5200i Firmware Click here to download the latest MVP 5150 Firmware Click here to download the latest MVP 5100 Firmware 2 This takes you to the AMX License Agreement Read the License Agreement and clic...
Page 20: ...set the Target information a Enter the Device Port and System numbers for the target Touch Panel in the text fields b Review the communications settings indicated in the Comm read only field If these are not correct set the Master Communication Settings see the Connecting to a NetLinx Master Via TCP IP section on page 3 c Leave the Reboot Device checkbox selected enabled 4 Click Send to begin the ...
Page 21: ...irmware versions to the point that the latest v2 66 21 can be loaded SW5966 01_MVP5200i_v2_66_21 kit this file is the actual Firmware that will ultimately be loaded on the Panel For panels currently running Firmware versions 2 60 64 2 65 13 or 2 65 21 1 Transfer the SW5966 01_MVP5200i_v2_66_21 prep kit file via NetLinx Studio s Firmware Transfers function see the Upgrading the Firmware on the Pane...
Page 22: ...Upgrading Panel Firmware 16 Battery Replacement Firmware Upgrade 5 2 Modero ViewPoint Touch Panels ...
Page 23: ... product please contact AMX To Avoid Injury Never Use near open flame or other heat source Puncture or disassemble battery Damage external contacts Dispose of battery in fire water or container with temperature above 100ºC 212ºF Always Use only with AMX approved battery charger Store in dry place with temperature between 0 C 32 F and 40 C 104 F IMPORTANT NOTES This installation requires opening th...
Page 24: ...ace the device face down on a surface that will not scratch the unit and remove the five screws from the back cover FIG 1 Two of the screws are at the upper corners of the device underneath rubber feet that also act as screw covers Remove the rubber feet to access the screws Lift up the kickstand and remove the label to reach the remaining three screws Do NOT discharge the battery before installin...
Page 25: ...om left of the battery placement FIG 3 2 Make sure to seat fully the battery plug to the connector in the device FIG 2 If fingers cannot be used use a clean nonconductive stick or probe to seat the connectors FIG 2 Interior of MVP 5200i including female battery connector Battery Connector Attach the residual voltage discharge adaptor SAA5966 27 A to the old battery and allow any remaining charge t...
Page 26: ...the new battery is functioning correctly Special care must be taken to seat the battery plug so that it does not damage or rub against the two resistors near the battery connector When connecting the battery do not allow the battery plug to rub against the circuit board When reassembling the device take care not to pinch or squeeze the connector wiring or the battery Do not force the back cover on...
Page 27: ...he back cover FIG 5 Two of the screws are at the upper corners of the device underneath rubber feet that also act as screw covers Remove the rubber feet to access the screws Remove the lower rubber foot to reach the remaining three screws 3 Discharge all static electricity that may have built up on your body either by using a static discharge strap or by touching a nearby piece of metal Do NOT dis...
Page 28: ...ductive stick or probe to seat the plug in the connector 3 Reattach the back cover engaging the hook on the lower left of the case near the speaker and using it to swing the back down into place FIG 6 Interior of MVP 5100 including female battery connector Battery Connector Attach the residual voltage discharge adaptor SAA5966 27 A to the old battery and allow any remaining charge to dissipate Not...
Page 29: ...t over the three lower screws using the replacement large rubber foot included in the Battery Pack Kit 6 Restart the device to confirm that the new battery is functioning correctly When reassembling the device take care not to pinch or squeeze the connector wiring or the battery Do not force the back cover onto the device as this can damage the device FIG 8 MVP 5100 back cover installation Rubber ...
Page 30: ...provided on the BATTERY RETURN PROCESS form that came with the Battery Replacement Kit Affix the supplied preprinted bar coded serial number label in the space provided on the BATTERY RETURN PROCESS form Place the old rear housing with attached battery and attached discharge adaptor into the original packing bag and then seal Place the sealed bag into the packaging sleeve from the original packing...
Page 31: ...ction on page 3 At this point it assumed that NetLinx Studio is already in communication with the NetLinx Master see the Connecting to a NetLinx Master Via TCP IP section on page 3 Reloading Panel Files The following steps describe reloading the Panel Files to the Touch Panel after the Firmware upgrade Battery replacement process is complete 1 Select Tools File Transfers to open the File Transfer ...
Page 32: ... Touch panel Design File and click Add 4 In the Open dialog locate and select the retrieved TP4 file FIG 3 5 Click Open to close this dialog and open the Enter Device Mapping Information dialog FIG 4 FIG 2 Select Files for Transfer dialog Other tab FIG 3 Open dialog Select the TP4 Touchpanel Design file type ...
Page 33: ...le Transfer dialog and return to the File Transfer dialog The file that you added should now appear in the Files To Send queue in the Receive tab 8 In the File Transfer dialog click the Send command button FIG 6 FIG 4 Enter Device Mapping Information dialog If you do not already know the Device Number assignment for the Touch Panel you can get it from the panel s online Protected Setup page See th...
Page 34: ... every file listed in the Files list in the order in which they are listed top to bottom The progress and status of each file transfer is indicated in the Transfer Status Window FIG 6 File Transfer dialog Send tab Click to initiate the transfer of the TP4 file from the specified Touch Panel to the selected directory on your PC ...
Page 35: ...e tab of the Workspace Bar FIG 1 The Online Tree tab of the Workspace Bar displays an Online Device tree for the NetLinx Master Controller This tab displays a list of devices detected to be currently online by the Master Controller and the firmware version for each 2 Click the Refresh button and select Refresh System Online Tree 3 Check that the panel is listed as a connected device under the NetL...
Page 36: ...cation knowledge In the ever changing AV industry continual education is key to success AMX University is dedicated to ensuring that you have the opportunity to gather the information and experience you need to deliver strong AMX solutions Plus AMX courses also help you earn CEDIA NSCA InfoComm and AMX continuing education units CEUs Visit AMX University online for 24 7 365 access to Schedules and...