


Temposonics
®
R-Series
V
POWERLINK
Operation Manual
I 42 I
OUTPUT
INPUT
SENSOR
24V DC
Fig. 54: Connection of TempoLink
®
smart assistant with the plug-in power supply
6.1.2 Connection of TempoLink
®
smart assistant to smartphone,
tablet or computer
Connect to a smartphone, tablet or computer to display the graphical
user interface of the TempoLink
®
smart assistant.
Connecting a Wi-Fi enabled device to the integrated
Wi-Fi access point
3
Activate Wi-Fi on the device and choose the network
“TempoLink
®
_xxxx” (xxxx indicates the last four digits of the serial
number). The default password is the serial number printed on the
label on the bottom of the TempoLink
®
smart assistant.
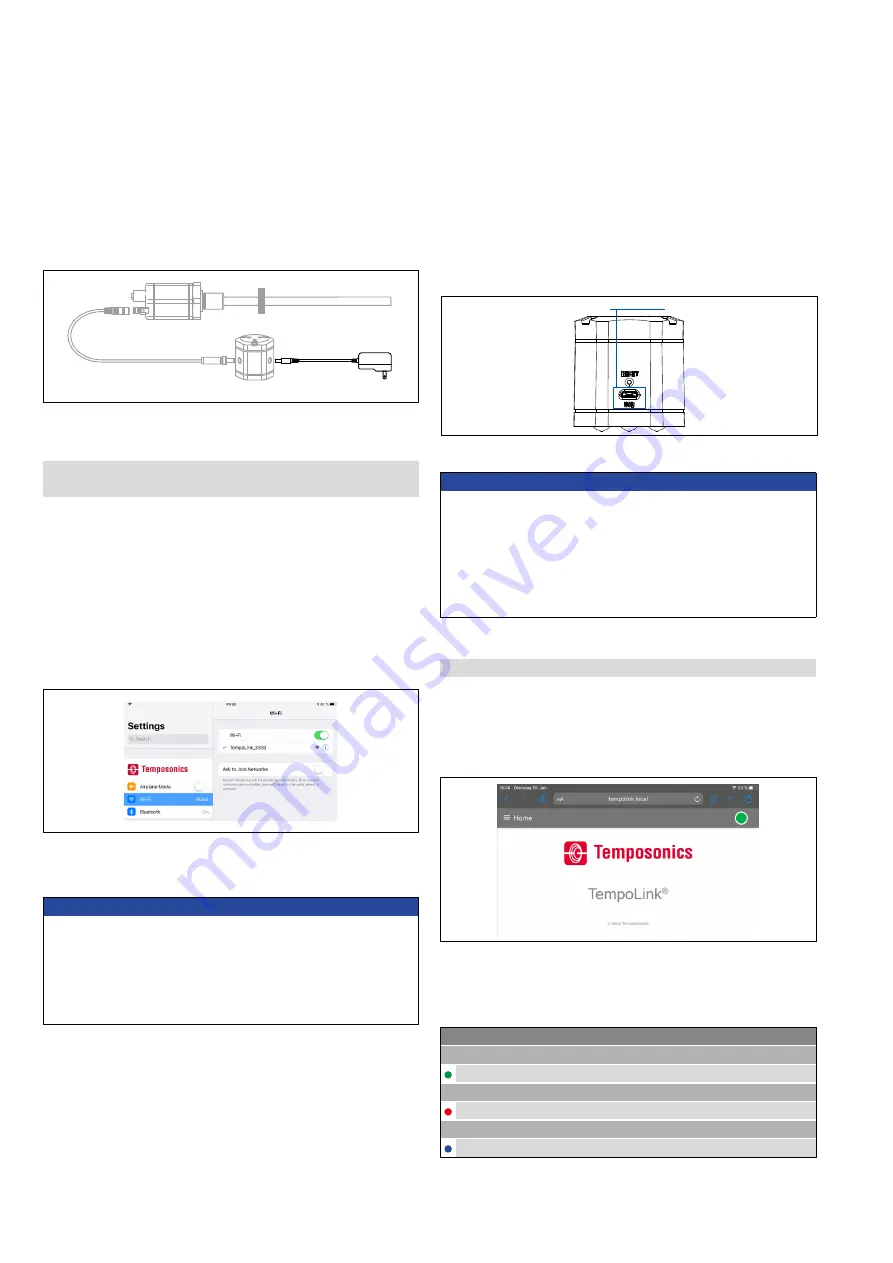
Fig. 55: Choose the network “TempoLink
®
_xxxx” in the Wi-Fi settings of the Wi-Fi-enabled
device
Connect the USB cable with the micro USB connector to the port
labeled “USB” on the TempoLink
®
smart assistant. Next, connect
the USB type-A connector to a free USB port of the computer. The
USB connection simulates a network card. In the folder “network
connections” on the computer the connection is shown as “IP-over-
USB” or “Remote NDIS”.
USB connector
Fig. 56: USB port on the TempoLink
®
smart assistant
6.1.3 Establishing a connection via browser
After the connection via Wi-Fi or USB is established, open the browser
and go to the website-URL:
http://tempolink.local
It is recommended to use the browser Mozilla Firefox, Google Chrome,
Microsoft Edge or Apple Safari.
Fig. 57: Start page of the graphical user interface
The connection icon in the top right shows the status of the
connection between the TempoLink
®
smart assistant and the sensor.
3/
The integrated Wi-Fi access point does not provide internet access
Fig. 58: Connection status
Connection status
Green
Information
ON Connection to sensor is established
Red
Information
ON Connection to sensor is not established
Blue
Information
ON Sensor in command mode
NOTICE
• Only one device can be connected to the TempoLink
®
smart
assistant at a time in order to display the graphical user interface.
• Disable all Wi-Fi and LAN connections before connecting
TempoLink
®
smart assistant via USB. Connecting to the user
interface may take longer if Wi-Fi and LAN connections are active.
• It may be useful to press CTRL + F5 to delete cached text and
images from prior to launching the
http://tempolink.local
website.
NOTICE
If you are using a mobile device, ensure cellular data is off.
Depending on your operation system, message can appear, that
there is no internet access. TempoLink
®
smart assistant does not
need internet access. Connecting to the user interface may take
longer if other Wi-Fi and mobile data connections are active within
range.
Connect the TempoLink
®
smart assistant to the power supply using
the plug-in power supply with plug adapters. Connect the barrel
connector to the “INPUT 24 VDC” port on the TempoLink
®
smart
assistant. Next, insert the plug into the outlet. Additional outlet
adapters are supplied to support regional requirements.
Connecting a computer via USB connection
The TempoLink smart assistant can also be connected via USB. If the
computer is Wi-Fi enabled deactivate Wi-Fi on the computer before
setting up the USB connection.