Installation Instructions
Page 25
Pub. No. 41-5016-12
^
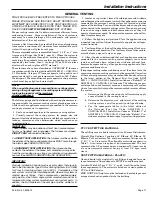
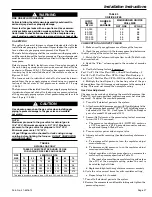
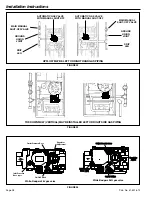
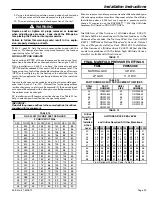
NOTE:
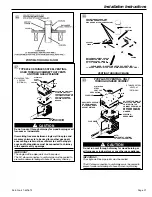
The manifold pressure must be referenced to the burner box.
The burner box pressure tap equalizes the gas valve pressure
regulator. Manifold pressure is checked by installing a tee (field
supplied) in the tubing, between the tee coming from the burner
box tube and the gas valve, in addition to the regular gas valve
pressure tap on the outlet side of the gas valve. See Figure 46.
▲
CAUTION
!
Replace manifold pressure tap threaded plug and leak check
after checking/adjusting manifold gas pressure.
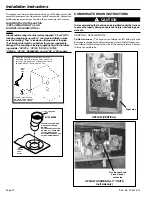
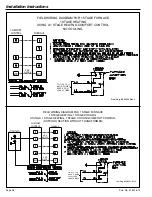
ELECTRICAL CONNECTIONS
Make wiring connections to the unit as indicated on enclosed wiring
diagram. As with all gas appliances using electrical power, this
furnace shall be connected into a permanently live electric circuit.
It is recommended that furnace be provided with a separate
“circuit protection device” in the electric circuit. The furnace must
be electrically grounded in accordance with local codes or in the
absence of local codes with the National Electrical Code, ANSI/
NFPA 70 or CSA C22.1 Electrical Code, if an external electrical
source is utilized.
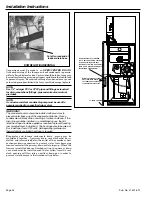
The integrated furnace control is polarity
sensitive
.
The hot leg of the 120V power supply must be connected
to the black power lead as indicated on the wiring diagram.
Provision for hooking up an electronic air cleaner and or humidifier
is provided on the integrated control.
Refer to the literature and unit wiring diagram attached to furnace
diagram attached to furnace.
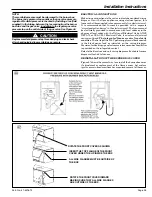
&
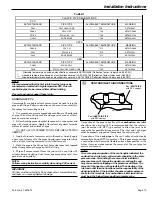
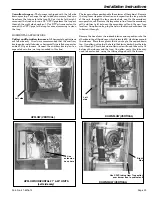
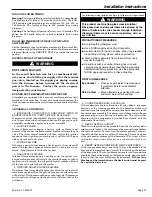
ROTATE THE FRONT COVER INWARD
MAKING SURE THAT ALL SIDE FLANGES
ARE OUTSIDE OF THE BOX.
INSERT THE TOP FLANGE OF THE FRONT
COVER UNDER THE LIP INSIDE THE BOX
ALL SIDE FLANGES MUST BE OUTSIDE OF
THE BOX
ROTATE THE FRONT COVER AS SHOWN
REINSTALLATION OF THE BURNER BOX COVER
Figure 47 shows the correct way to reinstall the burner box cover
if adjustment or replacement of the flame sensor, hot surface
igniter, or main burner orifices have required removal of the cover.

