5. Operating the displaying unit
This section describes the functions in the user interface of the displaying unit. It is a prerequisite that the system is
turned ON and an Ambu visualization device is connected to one of the two connector ports, as described in section 3.1
and section 3.8 respectively.
5.1. Live View (main screen)
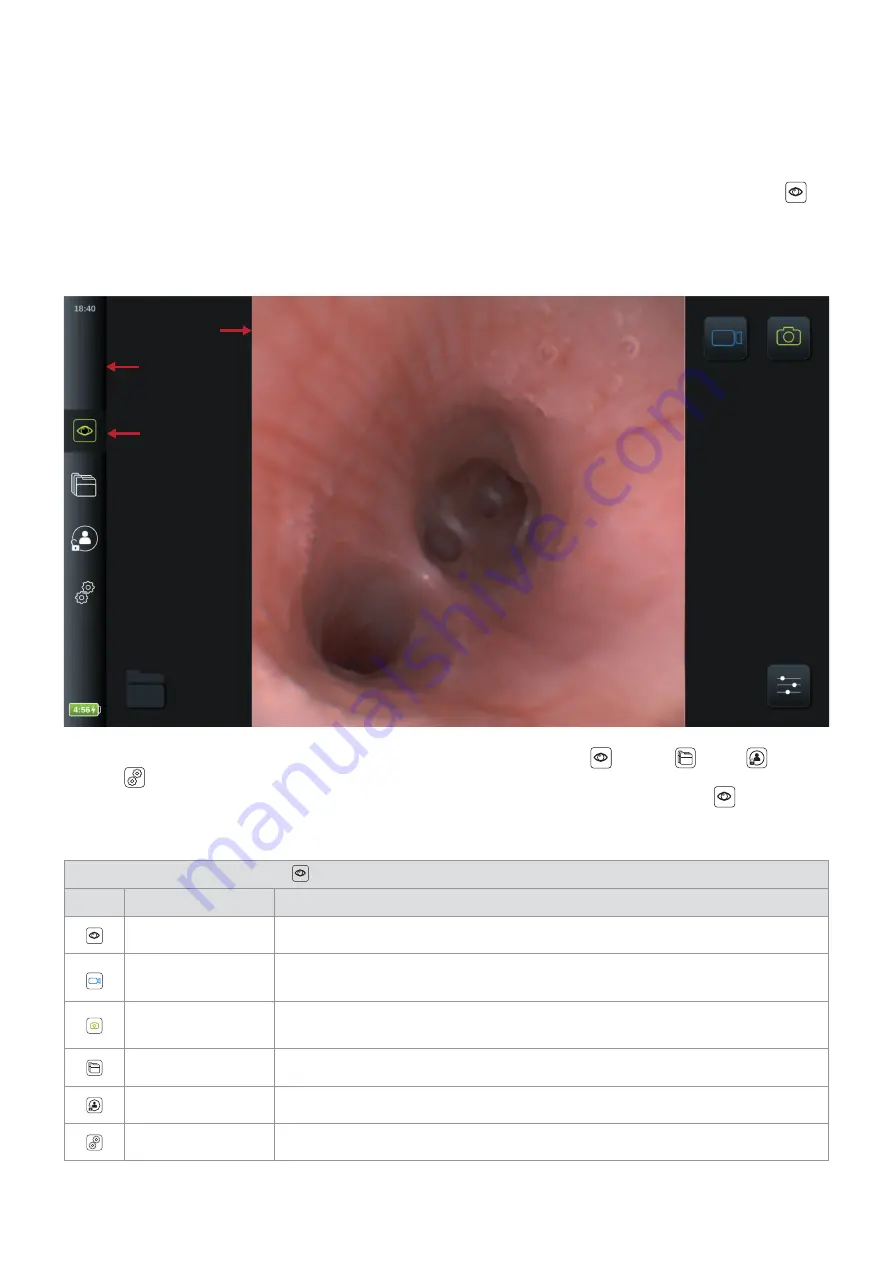
When the displaying unit is turned ON and the user interface has loaded after approximately 20 sec, the
Live View
menus appears. If an Ambu visualization device is not connected, an animation is playing in the live image area showing
how to correctly connect an Ambu visualization device. If a visualization device is connected, the live image is available as
soon as the displaying unit is turned on. Even if a network error or other problems in the system occur, the live view will
still be available making it possible to use the displaying unit for clinical purposes.
Image area
Tool bar
Live View
is active
The toolbar is always located in the left side of the screen. It contains the
Live View
,
Archive
,
Login
and
Settings
tabs. The active tab in the tool bar is always highlighted in green colour. The toolbar is always visible when
sub menus are opened. It is always possible to go back to Live View with one click on the
Live View tab
.
The icons in the Live View are described in the table below. The functions, except battery icon, are explained in the
following sections.
Explanation of icons in
Live View
Icon
Name
Function
Live View
This tab shows the live image from the connected Ambu visualization device.
Video Recording
Press the blue Video Recording button to start recording video during the procedure.
Press again to stop recording.
Snapshot
Press the green Snapshot button to take a still image during the procedure or
video recording.
Archive
Access recordings. Manage and export files. Login may be required.
Login
Login is required to access settings, archive and export files with DICOM.
Settings
Access system settings. Login as administrator is required to gain access.
22


