

Installation & Systems Manual RUBIDIUM SERIES
Page 29
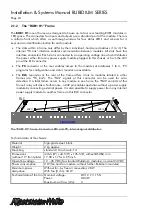
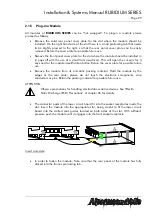
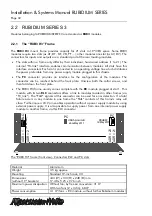
2.1.5
Plug-In a Module
All modules of
RUBIDIUM SERIES
can be “hot swapped”. To plug-in a module please
proceed as follows:
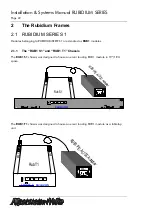
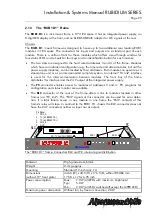
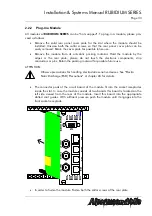
Remove the solid rear panel cover plate for the slot where the module should be
installed: On the right hand side of the slot there is a small protruding tab that needs
to be slightly pressed to the right, so that the rear panel cover plate can be easily
removed. Retain the cover plate for possible future use.
Remove the front panel cover plate for the slot where the module should be installed in
(it pops off with the use of a small flat screwdriver). This will open the cut-outs for 4
keys and for the module identification button. Retain the cover plate for possible future
use.
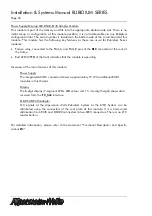
Remove the module from its anti-static packing material. Hold the module by the
edges or the rear plate; please do not touch the electronic components, strip
conductors or pins. Retain the packing material for possible future use.
ATTENTION:
Observe precautions for handling electrostatic-sensitive devices. See “Electro
Static Discharge (ESD) Precautions” at chapter A5 for details.
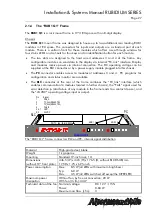
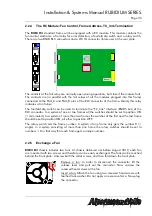
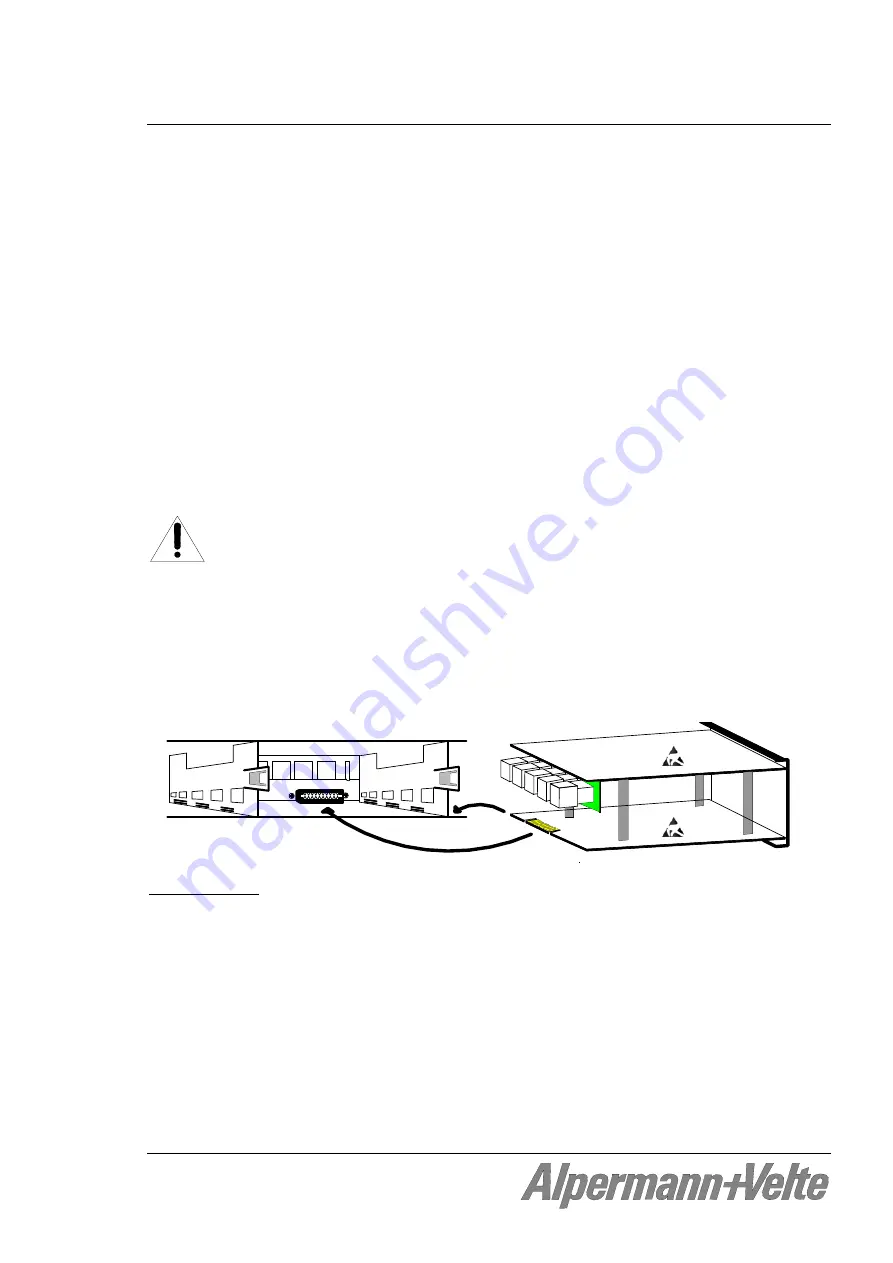
The connector pads of the lower circuit board fit into the socket receptacles inside the
slot. Insert the module into the appropriate slot, being careful to fit the lower circuit
board into the slotted card guides located on both sides of the slot. With sufficient
pressure push the module until it engages into the front socket receptacle.
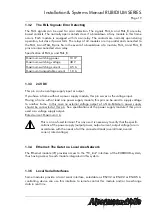
rear2_02
Insert a module
In order to fasten the module: Take care that the rear panel of the module has fully
clicked into the frames protruding tab.