Akura AHH17LCDVD User Manual Download Page 7


10


To use GENERAL MENU 

You can adjust LANGUAGE, BLUE SCREEN, NOISE 

REDUCE, INPUT SOURCE and RESET in this menu. You 

can conduct the following adjustment when the “GENERAL 

MENU” is open. 

Press <LCD-MENU> four times, the screen displays 

“GENERAL MENU”. “INPUT SOURCE” displays the current 

mode


LANGUAGE                                                                                       

1. Open “GENERAL MENU”, press <

>/<

> to select 

“LANGUAGE” item. 

2. Press <

>/<

> to select the menu language. 


BLUE SCREEN                                                                                   

1. Open “GENERAL MENU”, press <

>/<

> to select 

“BLUE SCREEN” item. 

2. Press <

>/<

> to select “ON” or “OFF”. 

ON

Display the blue screen when there is no signal. 


NOISE REDUCE                                          

1. Open “GENERAL MENU”, press <

>/<

> to select 

“NOISE REDUCE” item. 

2. Press <

>/<

> to select “ON” or “OFF”. 

ON

Reduce the noise of the picture, provide clearer 

picture.


RESET                                                 

1. Open “GENERAL MENU”, press <

>/<

> to select 

“RESET” item. 

2. Press <

>, the TV recovers the various kind of default 

sets when it is out of factory. 

GENERAL MENU 

LANGUAGE ENGLISH
BLUE SCREEN 

ON

NOISE REDUCE 

ON

INPUT SOURCE 

TV

RESET 

GENERAL MENU 

LANGUAGE ENGLISH

BLUE SCREEN 

ON

NOISE REDUCE 

ON

INPUT SOURCE 

TV

RESET 

GENERAL MENU 

LANGUAGE ENGLISH

BLUE SCREEN 

ON

NOISE REDUCE 

ON

INPUT SOURCE 

TV

RESET 

GENERAL MENU 

LANGUAGE ENGLISH
BLUE SCREEN 

ON

NOISE REDUCE 

ON

INPUT SOURCE 

TV

RESET 

GENERAL MENU 

LANGUAGE ENGLISH
BLUE SCREEN 

ON

NOISE REDUCE 

ON

INPUT SOURCE 

TV

RESET 


11


The usage of menu on PC mode 

On PC mode, press <LCD-MENU> continually

  the screen displays “PC MENU”


“AUDIO MENU” and “GENERAL MENU” respectively. “AUDIO MENU” and “GENERAL 

MENU” ’s operation methods are the same as that of the TV mode. 
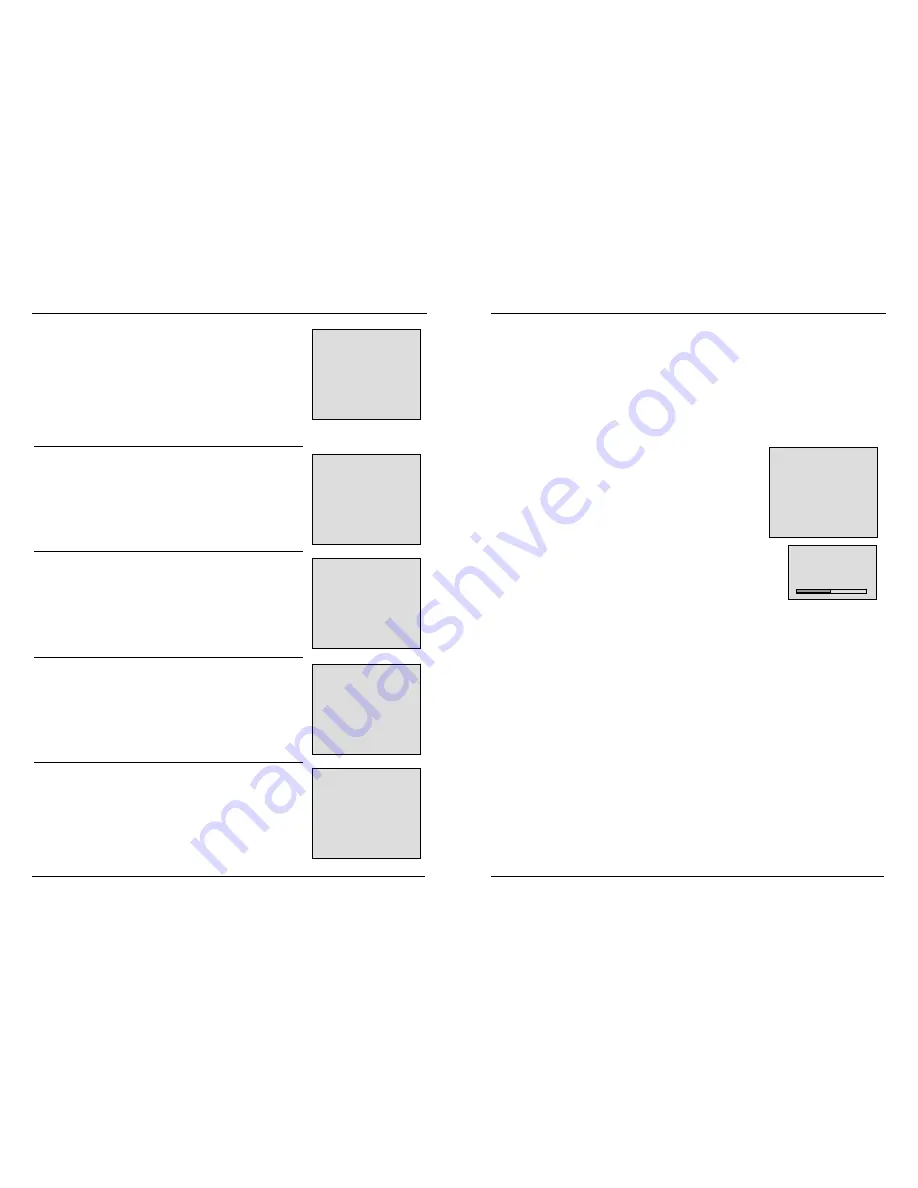
To use PC MENU 

There are BRIGHTNESS, CONTRAST, COLOR SETTING, AUTO CONFIG, 

H-POSITION V-POSITION, PHASE and CLOCK in PC MENU. 

For example: the “BRIGHTNESS”, the adjusting procedure is as follows: 

1.  Press <LCD-MENU> to enter into “PC MENU”. 

2. Press <

>/<

> to enter into “BRIGHTNESS” item. 

3. Press <

>/<

> to adjust the “BRIGHTNESS” to the best. 

Except “COLOR SETTING” and “AUTO CONFIG”, other 

items’ adjustment can refer to the above operation. 

COLOR SETTING: select among 9300K, 6500K and 

user define. 

When you select “user” mode in “COLOR SETTING” item, 

the screen displays “USER COLOR SETTING” sub-menu, the 

adjusting procedure is as “BRIGHTNESS” item. 

After you select “AUTO CONFIG” item, press <

>, the 

system will adjust PHASE, CLOCK and POSITION automatically. You can press <AUTO> 

key on the remote control directly to conduct AUTO function. 


The usage of menu on AV mode, SCART mode, S-VIDEO mode and 

DVD mode 

Press <INPUT> to select AV, SCART, S-VIDEO or DVD. 

On AV, SCART, S-VIDEO or DVD mode, press <LCD-MENU> continually

 the screen 

displays “VIDEO MENU”(“DVD MENU”)

 “AUDIO MENU” and “GENERAL MENU” 

respectively. 

Operation method is the same as that of the TV mode. 

PC MENU 

BRIGHTNESS 50 

CONTRAST 50 
COLOR SETTING  9300K 
AUTO CONFIG 


H-POSITION 50 
V-POSITION 50 


PHASE 50 
CLOCK 50 

USER COLOR SETTING 

RED 171 

GREEN 171 
BLUE 171 
 

Summary of Contents for AHH17LCDVD

Page 1: ...To connect the power 2 Remote control s battery installation 3 Brief introduction of operation system 3 Brief introduction of control panel 3 Brief introduction of the terminals on back cover 4 Remot...

Page 2: ...nder a heavy object Do not let it be spliced worn out or knotted Do not pull or bend the power cord Precaution If and when anything abnormal turn off the power immediately unplug the power plug from t...

Page 3: ...he antenna input terminal located at the back cover otherwise it will cause poor image Notes 1 Please use 75 coaxial cable in order to eliminate the interference caused by the radio wave 2 Do not band...

Page 4: ...Power key 2 0 9 Numeric key 3 Switch between one digit number and multi digital number 4 VOL VOL Decrease increase volume 5 CH CH Decrease increase the program number 6 AUTO To adjust the phase clock...

Page 5: ...e relevant number key When you select the channel numbers 10 99 press the until the screen displays then press the channel numbers When you select the channel numbers 100 199 press the until the scree...

Page 6: ...F AFC ON FINE TUNE 448MHz SWAP MANUAL SEARCH AUTO SEARCH DOWN UP 49 75MHz TV MENU CHANNEL 8 SYSTEM DK SKIP OFF AFC ON FINE TUNE 448MHz SWAP MANUAL SEARCH AUTO SEARCH 9 AFC 1 Open TV MENU press to sele...

Page 7: ...on PC mode On PC mode press LCD MENU continually the screen displays PC MENU AUDIO MENU and GENERAL MENU respectively AUDIO MENU and GENERAL MENU s operation methods are the same as that of the TV mod...

Page 8: ...ode MAMUAL STANDARD MILD and FRESH MAMUAL mode stores the picture the user sets 8 INPUT Input signal selection key 9 STOP Stop playback 10 PLAY PAUSE Press PLAY directly to begin playback under stop o...

Page 9: ...tions and Functions DVD Press POWER on the TV or the remote control then press TV AV to select DVD mode Place a disc Insert a disc with the date side facing towards you Do not touch the playing surfac...

Page 10: ...e or Off Subtitle Angle The serial number of playing angle the amount of optional angle or Off 17 TIME selection Compatible with DVD SVCD VCD CD HDCD discs 1 While playing DVD disc press TIME the scre...

Page 11: ...l be displayed on the screen and the program playback will be stopped also you can press stop and play to resume normal playback 4 The program indicator in the screen and the playing chapter track ill...

Page 12: ...you want to modify the password input the old password then input the new password the effective password is a four digit number 21 RATING When you play the disc that has locking function according t...

Page 13: ...LANG or MENU LANG in the menu you must be sure the setted language in the menu will display only when you insert the disc again Generally the disc will remind you whether to set the above language at...

Page 14: ...except the power cord AV equipment connecting procedure 1 Ensure this TV s power and external equipment s power are all turned off 2 Connect external equipment s Video out SCART out or S Video out to...

Page 15: ...Direct the remote control to the infrared sensor 13 Check battery in the remote control 14 Check the TV system 15 Check the TV system 16 Use AUTO key or adjust H POSITION and V POSITION manually 17 Ch...

Page 16: ...8 Interface AV S VIDEO VGA SCART 9 Compatible DISC DVD SVCD VCD CD HDCD WMA Digital Audio disc JPEG disc 10 Dimensions approximately See the package box 11 Quantity approximately See the package box...

Reviews: