


22
AUDIO LANG
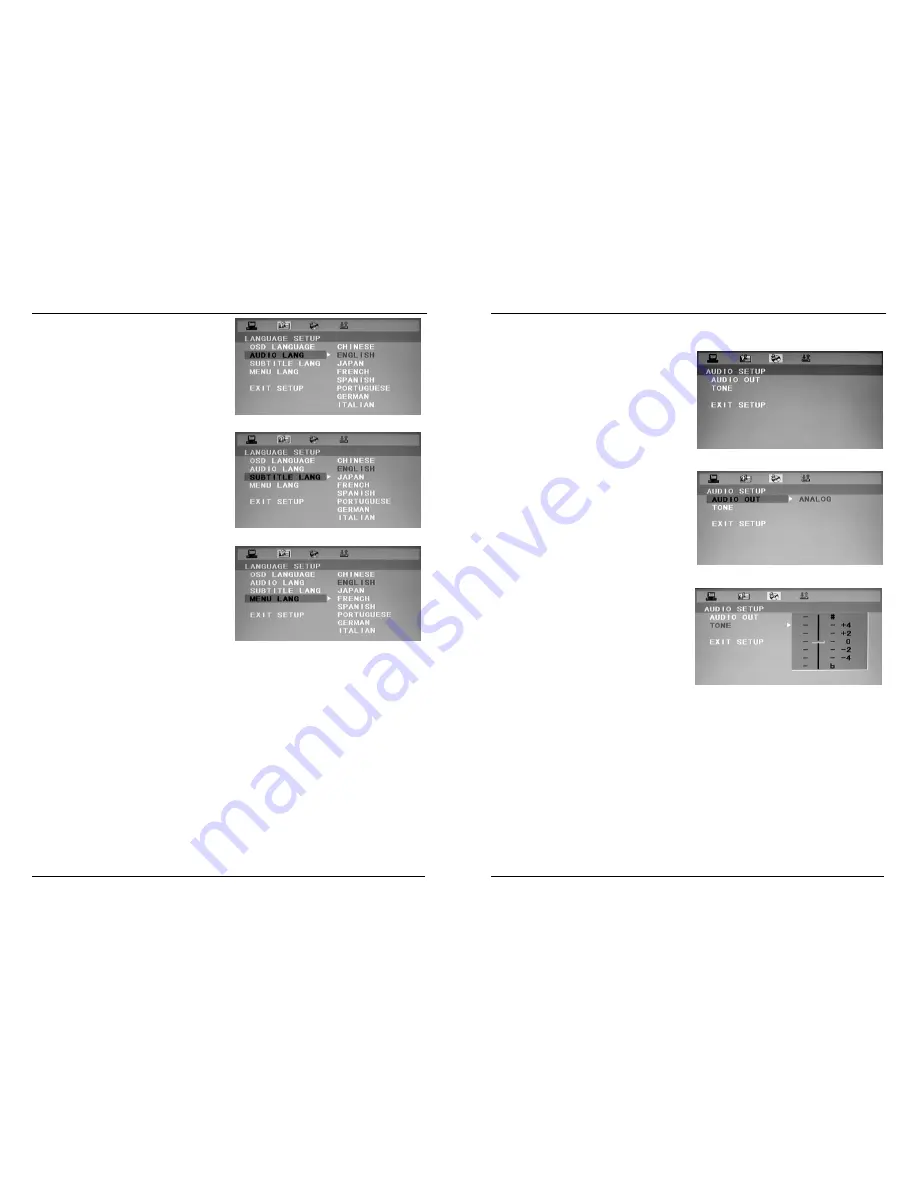
There are 8 languages for you to select:
CHINESE, ENGLISH, JAPAN, FRENCH,
SPANISH, PORTUGUESE, GERMAN and
ITALIAN.
SUBTITLE LANG
There are 8 languages for you to select:
CHINESE, ENGLISH, JAPAN, FRENCH,
SPANISH, PORTUGUESE, GERMAN and
ITALIAN.
MENU LANG
There are 8 languages for you to select:
CHINESE, ENGLISH, JAPAN, FRENCH,
SPANISH, PORTUGUESE, GERMAN and
ITALIAN.
Note: If you want to set AUDIO LANG,
SUBTITLE LANG or MENU LANG in
the menu, you must be sure the
setted language in the menu will display only when you insert the disc again.
Generally the disc will remind you whether to set the above language at the
beginning of the broadcasting.
If the language you select is not recorded in DVD disc, the DVD will select default
language the disc has recorded.
23
To Use AUDIO SETUP Menu
There are 2 items in AUDIO SETUP
menu.
AUDIO OUT
Here, the AUDIO OUT is defined as
ANALOG.
TONE
When the screen displays “AUDIO
SETUP” menu, press <
>/<
> to select
“TONE” item, press <ENTER> to confirm.
Press <
>/<
> again to adjust, press
<ENTER> to confirm.


