6
TV/VCR
PROG
PR
PR
MENU
EJECT
PAL/SEC
A.SEL
AV
SP/LP
INDEX
1
2
3
4
5
6
7
8
9
0
30
A
I
n
i
t
i
a
l
I N S TA L L AT I O N
Setting up the video recorder (continued)
Should you wish the stations
to have the same numbers as
those used on the TV, follow
the instructions in "Sorting
programme locations" on
page 22.
MANUAL SET
PR01 P-01
PR08 P-08
PR02 P-02
PR09 P-09
PR03 P-03
PR10 P-10
PR04 P-04
PR11 P-11
PR05 P-05
PR12 ----
PR06 P-06
PR13 ----
PR07 P-07
PR14 ----
PR+/-:SELECT
OK:CONFIRM MENU:END
Then type in the current time
and date.
CLOCK SET
1
2
3
4
5
6
7
8
9
0
MENU
0-9:SETUP (HOUR)
/
:CORRECT MENU:END
TIME - - : - -
DATE - - / - - /- - - -
◆
If you don´t see this picture, because
you don´t use a RCA cable
,
search this picture now (CH 52) with the station tuning functions of
your TV set (see its user manual).
◆
In case of interference problems on CH 52, type in
an other transmission channel between 21 and 69
using the number buttons.
OSD ON/OFF
ON
OFF
PR+/-:SELECT
OK:CONFIRM MENU:END
OSD(On Screen Display) ON & OFF
This VCR is set to “OSD (On Screen Display) ON” mode at the factory, but you can change it to OFF
mode. When a function is changed at the front display or remote control the change will be
displayed on the screen.
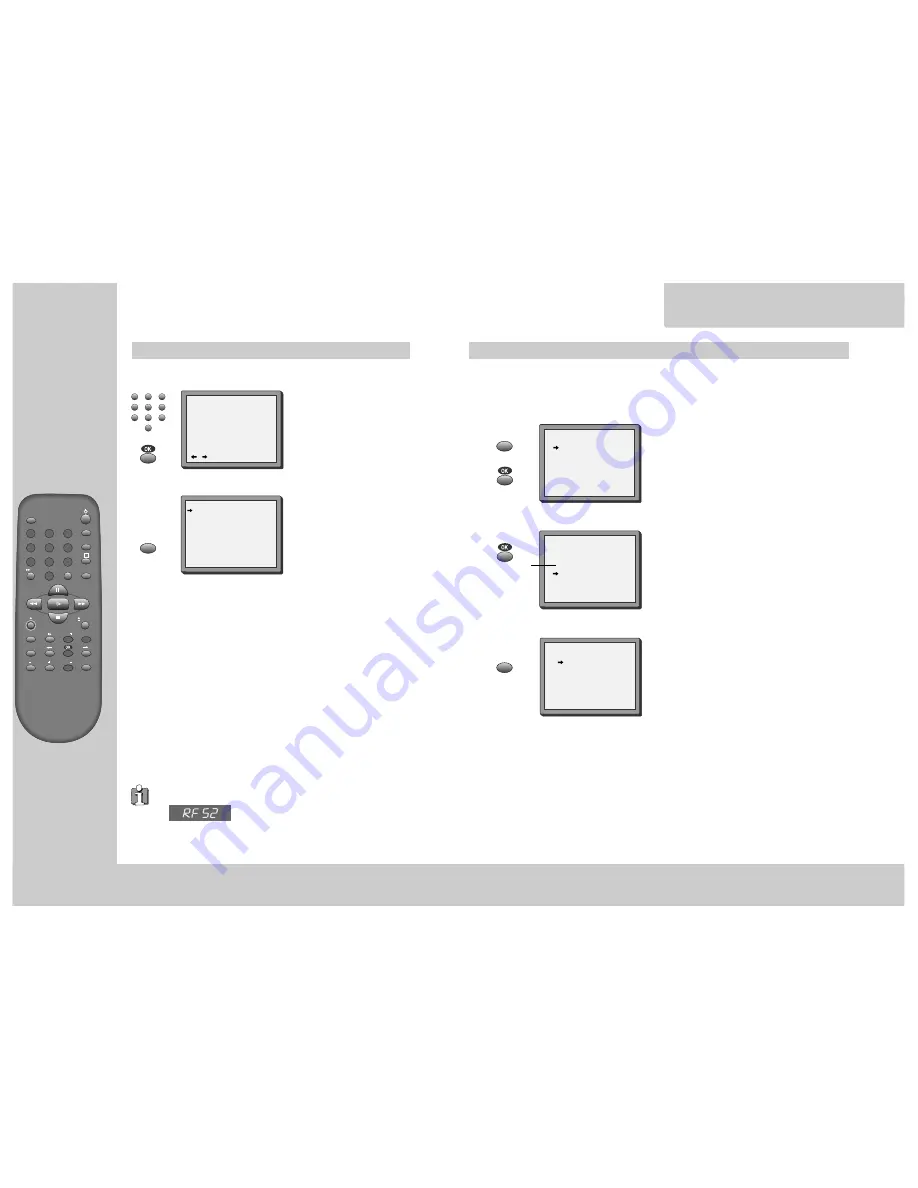
Call the video’s "MAIN MENU".
Choose “VCR SETUP”.
And press the OK button.
Select “OSD ON/OFF”.
If you want OSD OFF mode, select it and press OK
button to confirm.
Then OSD characters are not displayed in the
normal picture.
MENU
MENU
MAIN MENU
TIMER PROGRAM
PR PRESET
VCR SETUP
TAPE CONTROL
PR+/-:SELECT
OK:CONFIRM MENU:END
VCR SETUP
CLOCK SET
RF OUTPUT SET
16:9 SET
OSD ON/OFF
PR+/-:SELECT
OK:CONFIRM MENU:END
I
n
i
t
i
a
l
INSTALLATION
7
*
*
Though the ”16:9 Set” is displayed on the screen, this function is not available for this set.
Else ...
exit the basic installation function and enjoy your video
recorder.


