OM-229 158 Page 31
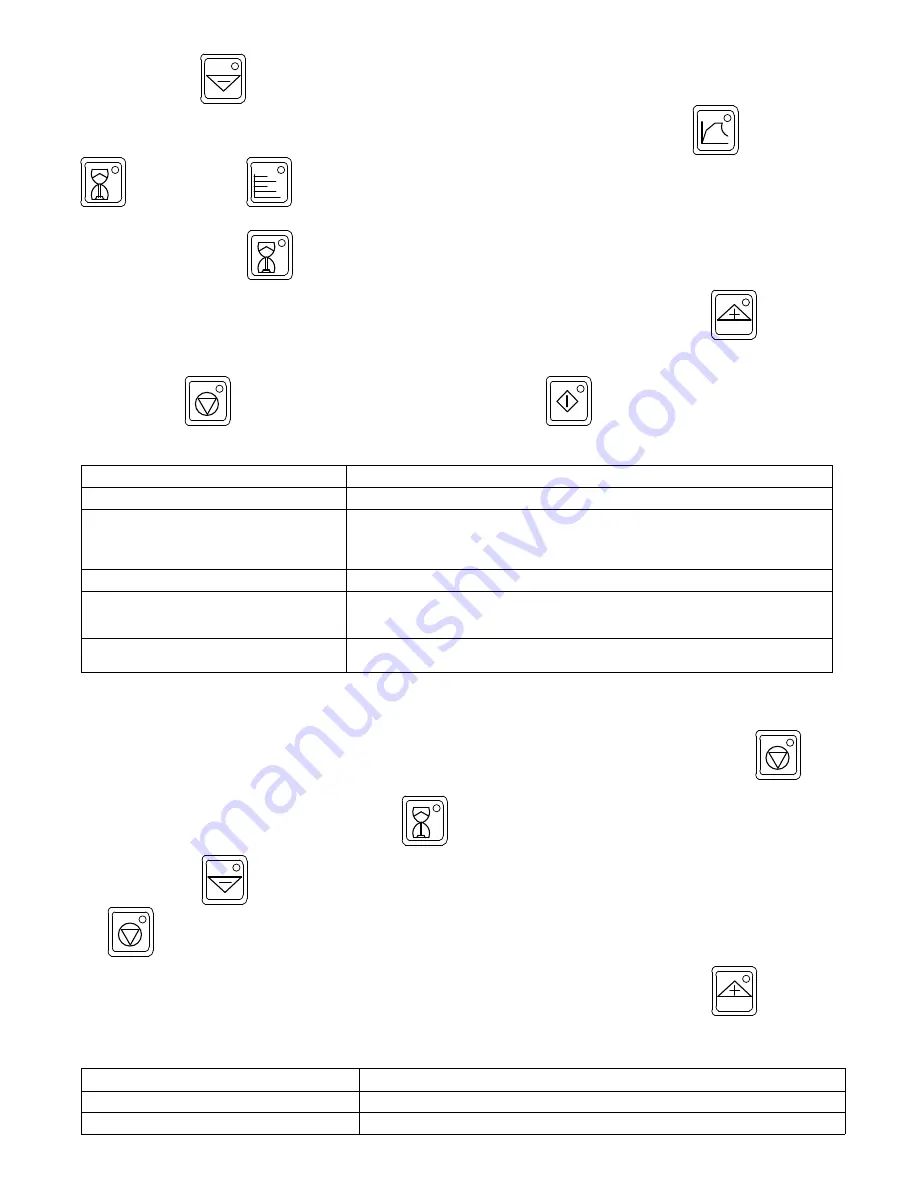
Pressing the Decrease
button will acknowledge the limit and continue operation with the existing setup. In the acknowledge state, the yellow
Limit LED will stop flashing and remain on continuously. The LCD display will revert to an active screen once the Program
button, Run Status
button, or Parameters
Hz
V
A
kW
button is pressed.
If a new limit condition should occur after the first is acknowledged, the yellow Limit LED will start flashing to indicate a new problem. To display the limit
condition, press the Run Status
button and the LCD display will show a message describing the new and previous limit messages.
To obtain additional information regarding the limit condition and suggested solutions to resolve the limit, press the Increase
button, and the
LCD display will indicate possible solutions based on the type of limit condition.
If the operator determines that the best course of action is to terminate operation and make suggested changes to the setup to eliminate the limit condi-
tion, press the Stop
button. After changes are made to the setup, press the Run
button to restart the process.
9-3. Limit Condition Codes
Limit Condition
Additional Information
L07: Output Voltage Limit
Tighten blanket against pipe surface
L08: Output Voltage Limit
Increase number of turns
Increase coil space
Shorten extension cable
Increase insulation width
L09: Output Current Limit
Tighten blanket against pipe surface
L10: Output Current Limit
Increase number of turns
Decrease coil space
Tighten cable on insulation
L12: Power Source Overtemp Limit
Check for blocked vents
Clean wind tunnel heat sinks
9-4. Fault Conditions
A fault condition occurs if the system encounters an isolation fault, encounters operating conditions outside operational limits, or if there is a serious
problem with the system. Should a fault condition occur, the output is immediately turned off, the red Fault LED flashes and the Stop
button
LED flashes. If the active screen on the LCD display is Run Status or Parameters, a message describing the particular fault condition will appear on the
display. If the active screen is Program, press the Run Status
button to display the fault condition.
Pressing the Decrease
button will acknowledge the fault and the red Fault LED will stop flashing and remain on continuously. However, the
Stop
button LED will continue to flash indicating that the process has stopped.
To obtain additional information regarding the fault condition and suggested solutions to resolve the fault, press the Increase
button, and the
LCD display will indicate possible solutions based on the type of fault condition. In most cases, a fault condition will indicate that service is required.
9-5. Fault Condition Codes
Fault Condition
Additional Information
F58: Output Voltage Fault
Service required
F59: Output Current Fault
Service required


