Page 9
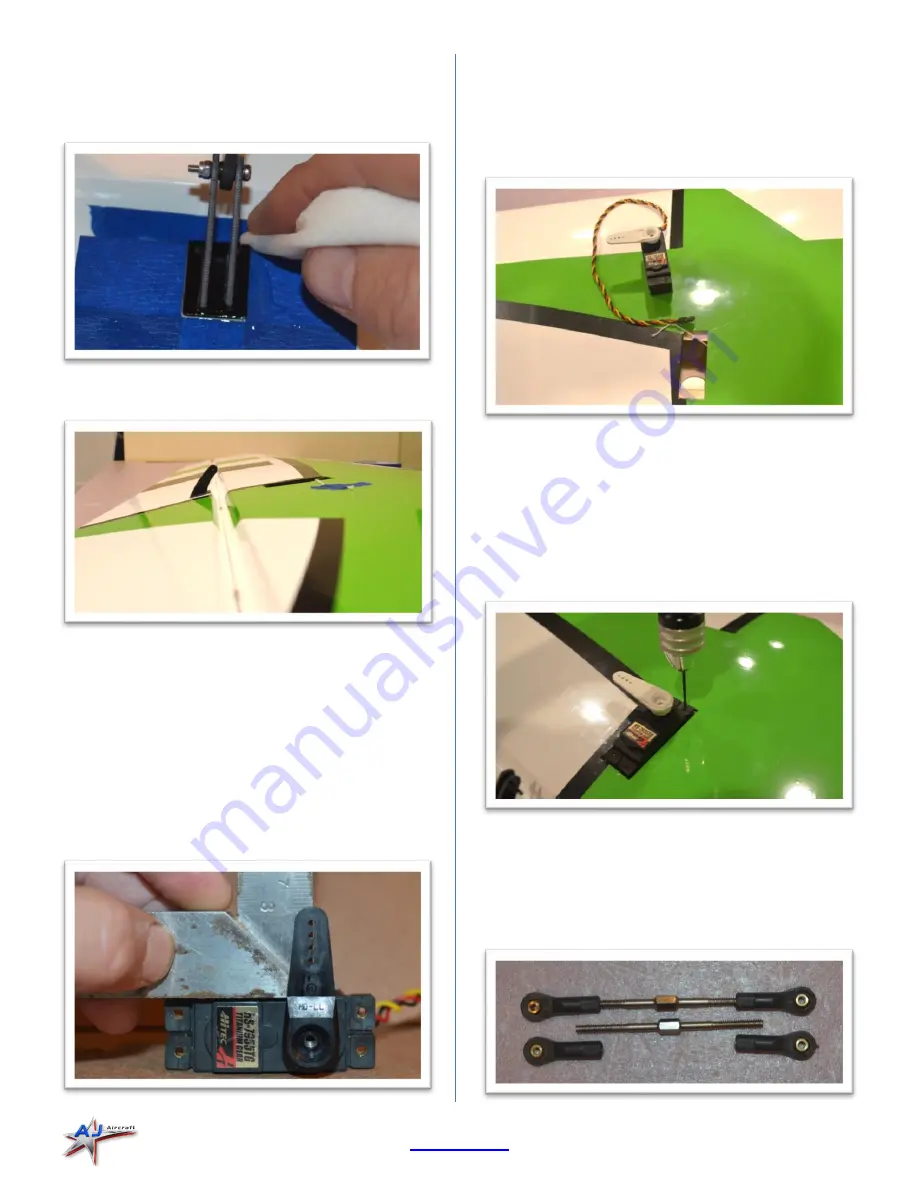
Wipe away excess epoxy using a paper towel soaked with
denatured alcohol. Use an upward rolling motion as you
wipe the excess epoxy to lift it from the surface. This
helps reduce smearing the epoxy.
Check the alignment along the hinge line as you did when
you test fit the control horn. Reposition as needed.
Allow the epoxy to partially cure. Peel away the masking
tape after the epoxy is securely holding the control horn
in place and still soft enough to easily remove the tape.
Set the wing aside and let the epoxy fully cure.
Connect the servo to a receiver and power supply. Turn
on you transmitter. Set trim and sub trim to zero. Install
a servo arm on the servo approximately perpendicular to
the servo side
. Use the transmitter’s sub trim to m
ake it
perpendicular.
Attach the servo wire to the installation string and gently
pull the wire through the wing as you insert the servo
into the wing. (Depending on the length of the servo wire
provided it may be necessary to install a servo extension
wire before installing through the wing.)
Pre-drill for the
servo mounting screws using a 1/16” drill
bit. Install the servo with the wood screws that came
with your servos. Remove the screws and servo. Apply a
drop of thin CA glue into each mounting screw hole. This
will harden the wood around the screws and provide a
more secure installation. (Allow the CA glue to dry before
reinstalling the servo.)
Thread 2 rod ends on to a turnbuckle connecting rod
engaging half the threads into the rod end. Notice that
one end of the rod has a right hand thread and the other
end has a left hand thread. This allows you to adjust the
connecting rod without removing it.


