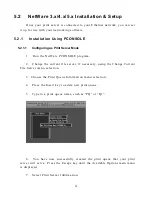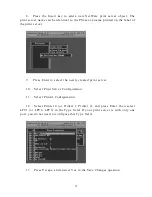
8. Press the Insert key to add a new NetWare print server object. The
print server name can be identical to the PSxxxxxx name printed on the label of
the print server.
9. Press Enter to select the newly created print server.
10. Select Print Server Configuration.
11. Select Printer Configuration.
12. Select Printer 0 (or Printer 1, Printer 2), and press Enter, then select
LPT1 (or LPT2, LPT3) in the Type field. If your print server is with only one
port, you do not need to configure this Type field.
13. Press Escape, and answer Yes to the Save Changes question.
35
Summary of Contents for P-201
Page 1: ...P 201 P 201U Wired Printer Server User s Manual ...
Page 13: ...NetWare Network see below 8 ...
Page 22: ...17 ...
Page 27: ...22 ...
Page 32: ...4 Windows NT 2000 2003 Network 27 ...
Page 36: ...5 NetWare Network 31 ...
Page 42: ...6 UNIX System Network 37 ...
Page 67: ...8 Web Management 62 ...
Page 94: ...get argument ipconfig reboot exit 89 ...
Page 100: ...95 ...
Page 104: ...Step7 You can print a file to check whether the Print Server is installed successfully 99 ...
Page 109: ...104 ...
Page 111: ...106 ...
Page 112: ...Step4 Select Exceptions tab and click Add Program 107 ...

