17
Contrast (2-3)
1. From the main display press
MENU
2. Use the
Selection Arrow
buttons to select SYSTEM MENU
3. Press the
Right Selection
button to select SYSTEM MENU
4. Use the
Selection Arrow
buttons to select CONTRAST
5.
Use the Left and Right Selection buttons to adjust the contrast of the screen
Information (2-4)
Important information regarding the ATDA and the connected transducer can be viewed in the
INFORMATION
section of the SYSTEM MENU. This information may be valuable when contacting AIMCO customer service or
technical support and it may be useful when setting up or calibrating a transducer for use with the ATDA.
Accessing the Information Screens
1. From the main display press
MENU
2. Use the
Selection Arrow
buttons to select SYSTEM MENU
3. Press the
Right Selection
button to select SYSTEM MENU
4. Use the
Selection Arrow
buttons to select INFORMATION
5. Use the
Left Selection
button to view information regarding the connected transducer
6. Use the
Right Selection
button to view information about the ATDA
7. To return to the SYSTEM MENU screen, press
ENTER
[Data Menu] (4)
The Data Menu options allow the user to print and clear the stored rundown data and associated statistical
information.
Accessing the DATA MENU
To access the DATA menu:
1. From the Main Display screen, press
MENU
2. Use the Selection Arrow buttons to scroll to Data Menu
3. Press the
Right Selection
button for
SELECT (SEL)
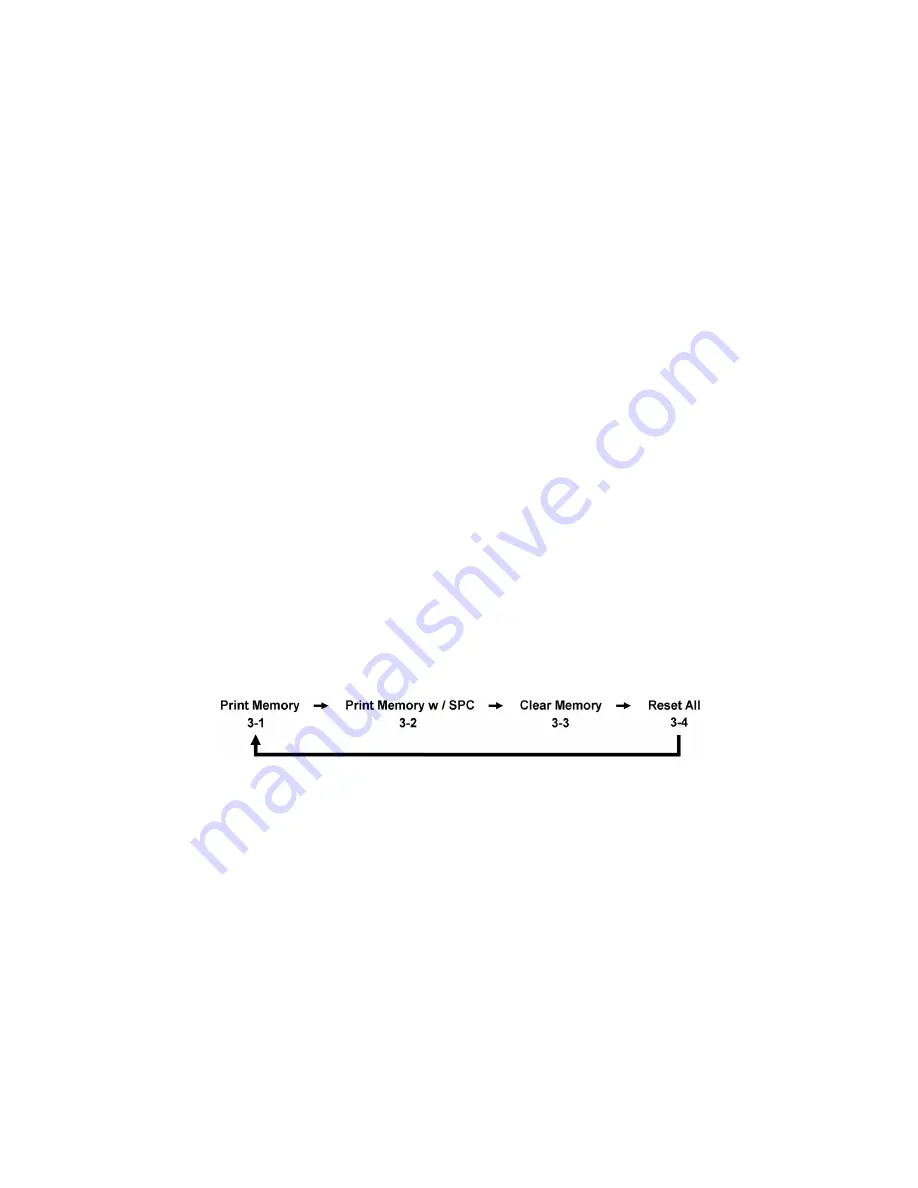
4. The user can then use the
SELECTION ARROW
buttons to scroll through the following options in the order
shown:
Print Data Requirements
Data can be transmitted by cable through the built in Serial port using AIMCO’s Part # RS232C. The data can be
transmitted to a serial printer or to a terminal emulation program on the user’s computer PC such as Hyper Terminal.
When connecting to a serial printer a NULL Modem adapter is also required.
RS232 Transfer Protocol (Single Direction)
Cable
9-pin to mini-plug
Protocol
Value
Baud Rate
9600
Parity
None
Bits
8
S bit
1
Flow
None


