24
Chapter 1
Installing the 82357A
Step 4: Configuring the 82357A
Setting 82357A Custom Configuration
This section shows steps to configure an 82357A for custom configuration
settings using the Connection Expert utility. Typically, you will need to set
custom configuration only for specialized applications, such as changing
VISA and/or SICL interface IDs or for use in side-by-side operation with
National Instruments VISA.
1
Check LED Status.
Before setting 82357A configuration, verify that all
three LEDs on the 82357A are still ON to indicate the 82357A has
been successfully installed, but has not yet been configured.
2
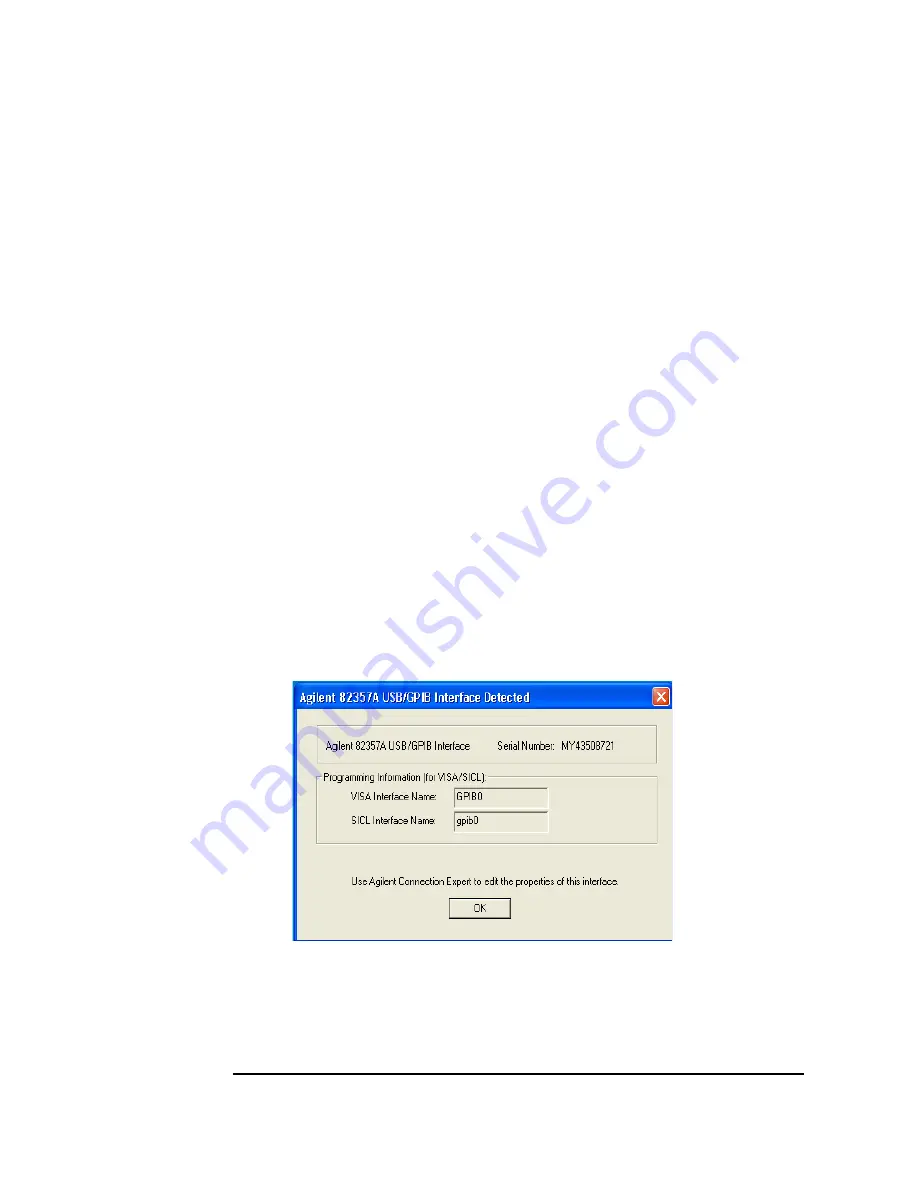
82357A Interface Detected Box Appears.
After an 82357A is connected
to a USB port and the Windows Plug and Play Manager installation
sequence completes, an
Agilent 82357A USB/GPIB Interface Detected
dialog box may appear. This dialog box will not appear if the
Connection Expert utility is already running.
3
If this dialog box does not appear,
and
Connection Expert is not
running,
STOP
. See
Chapter 3 -Troubleshooting the 82357A
before
proceeding.
4
Accept the default settings by clicking
OK
. You will change the
settings in the next steps.
Summary of Contents for USB/GPIB Interface Converter 82357A
Page 1: ...Agilent 82357A USB GPIB Interface Converter User s Guide ...
Page 2: ......
Page 5: ...1 Installing the 82357A ...
Page 33: ...2 Using the 82357A ...
Page 42: ...42 Chapter 2 Using the 82357A Setting Configuration Parameters Notes ...
Page 43: ...3 Troubleshooting the 82357A ...
Page 57: ...4 82357A User s Guide Information ...
Page 63: ...A 82357A Specifications ...
Page 69: ......


