


Part of the image is masked by the black border
Details
During the automatic collimation process, NX normally
applies black borders to the image. These black borders
are intended to mask non relevant areas of the images.
Nevertheless it can occur that the black borders do mask
useful diagnostic information. In this case you must be
able to either hide the black border or re-collimate the
image manually.
Cause
Failing auto collimation.
Brief Solution
This problem is solved by:
• Hiding the black border.
• Applying manual collimation.
To prevent this problem, use the ROI detection exposure
techniques as described in “Working with collimation”.
Solution Steps
To show/hide black borders:
1.
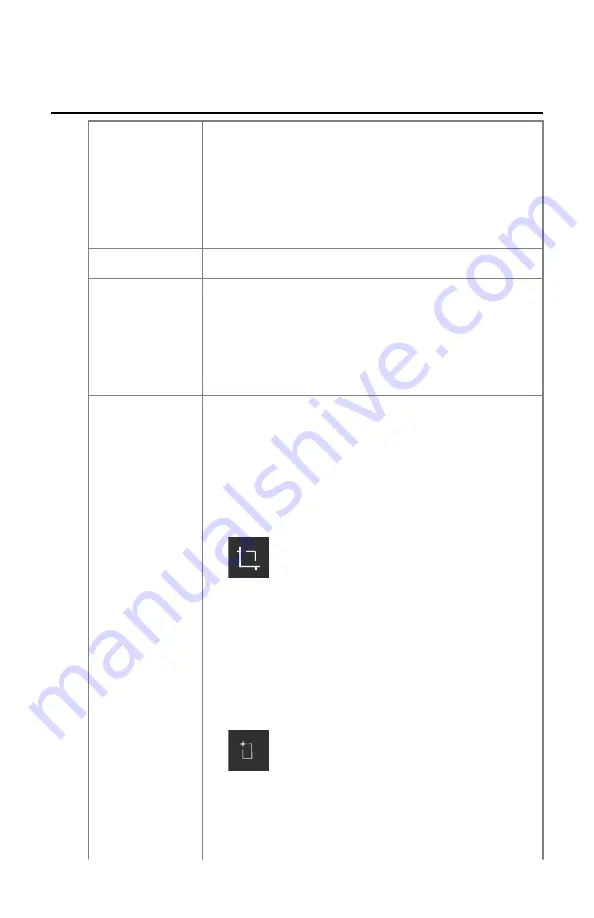
The
Image Detail
pane in the
Examination
window
has a set of buttons to perform basic operations on an
image. With this button you can remove the black
border in case of failed collimation. Click the button
to show/hide black borders.
To draw a rectangular collimation area:
1.
Select an image in the
Image Overview
pane.
2.
In the
Editing
window, from the first drop-down list
in the
Image Processing
tool section, select the icon
below.
3.
Click once to define one corner of the rectangle.
4.
Move the pointer.
5.
Click again to define the opposite corner.
DR Full Leg Full Spine | Problem solving |
69
0179E EN 20210708 1527


