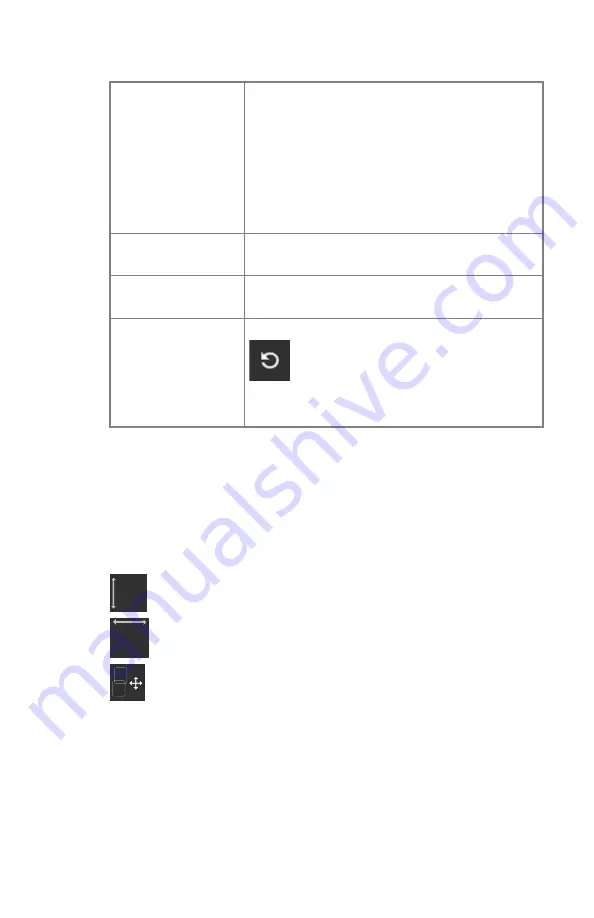
Table 8: Manual alignment
Adjusting the posi-
tion of the lower im-
age
Right click-hold the image and drag the mouse
arrow to any direction.
Press the SHIFT or CTRL button while dragging
the mouse arrow to adjust the vertical or horizon-
tal alignment only.
Use the arrow keys on the keyboard.
Click the arrow buttons on the screen.
Roaming over the
images
Left click-hold the image and drag the mouse ar-
row to any direction.
Zooming in/out on
the images
Use the scroll wheel on the mouse.
Restoring the origi-
nal alignment
Click the
Revert
button.
Figure 29: Revert button
The relative position of the partial images, compared to their initial
relative position, is illustrated by two crosshairs displayed in the image,
each of which is locked to the position of one of the partial images.
3.
If the anatomical structures in the partial images are aligned, click
Accept
to confirm.
Next to the stitching areas this label is displayed, as well as the vertical and
horizontal relative position of the partial images.
0.0
-0.1
Figure 30: Stitching tools: manual alignment
To turn the black borders or cropping on or off
To turn the black borders or cropping on or off:
Click the following icon:
DR Full Leg Full Spine | Getting started |
61
0179E EN 20210708 1527


