background image

Albert 2 User Manual


February 2018| ©AEVI International GmbH 

PAGE 30/46 


9.2


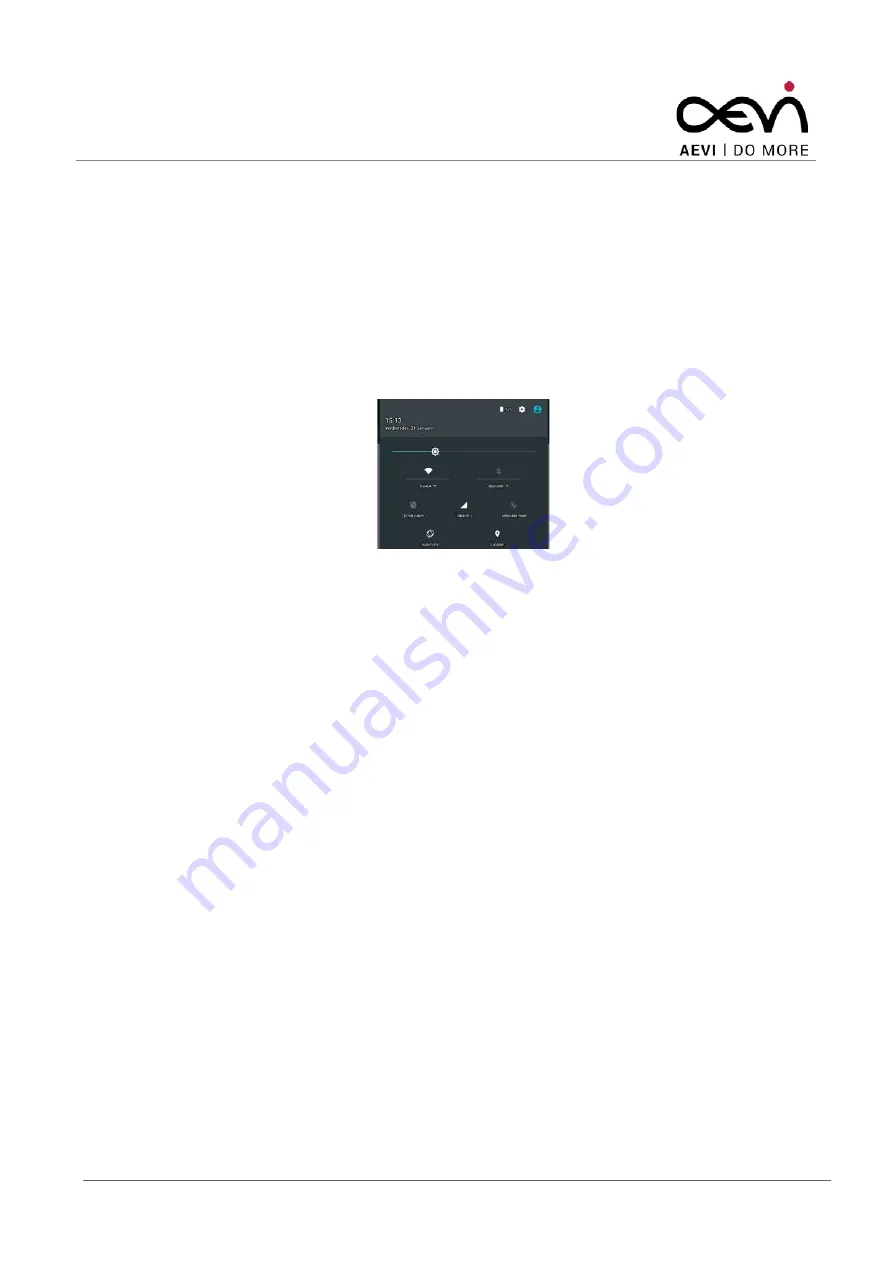
Brightness Settings 

To adjust the brightness of the display: 
Open 

Settings -> Display -> Brightness

 and move the slider. 

If the Adaptive brightness option is enabled, the payment terminal uses the integrated light sensor 

for the ambient light to adapt the screen brightness to the environment. 


Summary of Contents for ALBERT 2

Page 1: ...1 ALBERT 2 User Manual...

Page 2: ...ective owners Copyright AEVI International GmbH 2018 The reproduction transmission or use of this document or its contents is not permitted without express authority Offenders will be liable for damag...

Page 3: ...nt Notes 7 2 Introduction 9 2 1 Care of the Payment Terminal 9 2 2 Recycling the Payment Terminal 9 2 3 Warranty 10 3 Product Overview 11 3 1 General Description 11 4 Before First Time Use 12 4 1 Chec...

Page 4: ...on 23 7 4 Normal Power up 23 7 5 Power down 24 7 5 1 Correct Procedure 24 7 5 2 Forced Power Down 24 7 5 3 Automatic 24 7 5 4 Reboot 25 8 Communication Settings 26 8 1 LAN 26 8 2 Wi Fi 26 8 3 Mobile N...

Page 5: ...oll 34 11 1 2 Preventing and Remove a Paper Jam 36 11 1 3 Removing Paper Jams 37 11 2 Charging the Battery 37 11 2 1 Charging Station Cradle 38 11 3 Cleaning 38 11 3 1 Magnetic Stripe Reader 38 11 3 2...

Page 6: ...oduct complies with EU requirements regarding restriction of exposure of persons to radio frequency energy RF emitted by telecommunication and radio devices as it is designed and manufactured in such...

Page 7: ...into the Non activated mode which takes it out of service and requires Security Inspection and Re activation by the vendor or an authorized service provider 1 5 Important Notes The payment terminal c...

Page 8: ...evice to temperatures above 45 C as e g it may be behind glass with direct sun radiation and do not expose the device to temperatures below 5 C Removing or damaging type labels or seals on the device...

Page 9: ...nt free cloth If that does not suffice please use a suitable plastic surface cleaner Make sure that the power plug is disconnected and that no liquid finds its way into the device 2 2 Recycling the Pa...

Page 10: ...which occurs during normal use of the product Damage because of improper or insufficient maintenance improper use of the product or unauthorized modifications of the product inadequate location or su...

Page 11: ...t 2 is easily portable and can also be used in a fixed location The Albert 2 runs on a standard version of the Google Android operating system The Operating System has been adapted and hardened for se...

Page 12: ...y ticket or functional problems please inform your contracting party immediately Please indicate the number of your delivery ticket and the position of the delivery ticket on the devices and the seria...

Page 13: ...al February 2018 AEVI International GmbH PAGE 13 46 Payment terminal with a printer module Charging cradle Power supply with country specific AC cable This diagram is schematic only and may differ fro...

Page 14: ...GE 14 46 4 4 Countertop Installation as simple Tablet If you have ordered the simple tablet module the delivery should include the following components Payment terminal as simple tablet Charging cradl...

Page 15: ...AEVI International GmbH PAGE 15 46 4 5 Pole Mount Installation with connectivity box If you have ordered the pole mount module the delivery should include the following components Payment terminal wit...

Page 16: ...e modules e g the printer module must only be done in case of maintenance and when the device is powered off Attaching and detaching these modules when the device is powered on can lead to malfunction...

Page 17: ...connectivity box can also mounted directly onto a surface e g a wall Consider the wall material when choosing the screws and anchors Specification for screws Head min 6 0 mm max 8 0 mm Head heights m...

Page 18: ...ome apps the merchant button opens a merchant context menu which offers options that are available from a particular app screen refer to the relevant application documentation to see if and how an app...

Page 19: ...Albert 2 User Manual February 2018 AEVI International GmbH PAGE 19 46...

Page 20: ...vibrations dust moisture heat and strong magnetic fields Select a location for comfortable use Keep the device away from direct sunlight Do not use the terminal outside Caution The device is not wate...

Page 21: ...ins more slowly When the device is ON Switch it OFF by pressing the power button for a second and answering OK at the on screen prompt that appears Alternatively you can switch it OFF by holding the p...

Page 22: ...you disconnect it from cradle the LED goes OFF and the device stops charging and remains OFF You can switch the Albert 2 ON by pressing and holding down the power button for about 4 seconds until the...

Page 23: ...one or more passwords It might be necessary first to insert the SIM follow the instructions of your mobile network operator Follow the instructions of your payment service provider on any other first...

Page 24: ...on screen feedback After a second a confirmation prompt appears on screen If it is necessary to power down Albert 2 we encourage the use of this method in order to prevent data loss 7 5 2 Forced Power...

Page 25: ...bH PAGE 25 46 7 5 4 Reboot To reboot the device the same procedure as forced power down has to be executed In the dialog select then the reboot option Rebooting can be necessary in the event of a devi...

Page 26: ...ly if the device is using the connectivity box This module is intended for using the Albert 2 in a fixed location The module is primarily intended for permanent locations 8 2 Wi Fi The Wi Fi settings...

Page 27: ...Manual February 2018 AEVI International GmbH PAGE 27 46 Select a Wi Fi connection from the pop up menu Enter the password and connect Wi Fi Status The status bar indicates whether a Wi Fi connection...

Page 28: ...m UMTS fourth generation 4G with a significantly higher transmission rate than the transmission rate of the second Generation 2G and third Generation 3G 4G LTE is only available when a proper SIM Card...

Page 29: ...adjust on Albert 2 9 1 Bluetooth Keep your Albert 2 within sight of the device you want to pair it with You can activate a Bluetooth connection by switching on Settings Bluetooth for example Select th...

Page 30: ...tness Settings To adjust the brightness of the display Open Settings Display Brightness and move the slider If the Adaptive brightness option is enabled the payment terminal uses the integrated light...

Page 31: ...t card into the smart card reader slot in a smooth continuous motion until it seats firmly Remove the card only when the application indicates the transaction is complete premature card removal will i...

Page 32: ...rming a Contactless Card For data transfer place the card a few centimetre above the NFC landing zone below the display 10 4 System Bar The terminal shows a system bar at the top of the screen It is v...

Page 33: ...Albert 2 User Manual February 2018 AEVI International GmbH PAGE 33 46 On Screen Printed E mail...

Page 34: ...ter Module optional A quick silent thermal printer is integrated in the printer module Before you use it insert a receipt roll with thermosensitive paper in the printer 11 1 1 Changing the receipt rol...

Page 35: ...t 2 User Manual February 2018 AEVI International GmbH PAGE 35 46 The cover opens downwards Remove the nearly empty paper roll and any residual paper If necessary clean the print head and the rubber ro...

Page 36: ...he receipt roll cover by gently pressing directly on the cover until it clicks Caution Pull out the paper slowly and carefully Please do not touch the thermal printer head as electrostatic charge can...

Page 37: ...tch the device back on to re establish the power connection 11 2 Charging the Battery The standard option of charging the battery is via the charging cradle Before first time operation it is recommend...

Page 38: ...device to be charged is placed on the station Make sure that the device is properly placed on the cradle The LED lights white through during charging 11 3 Cleaning 11 3 1 Magnetic Stripe Reader To gua...

Page 39: ...y sensor Rear Camera Rear camera 8 mega pixel Front camera 2 mega pixel Wi Fi 802 11 b g n Bluetooth 4 1 GPS Standard GNSS WAN 4G LTE Modem with fall back to 3G 2G optional USB Connectivity Box 4x 480...

Page 40: ...Battery Pack Storage Temperature 60 C less than one month 40 C less than three months 20 C less than one year Ingress Protection Rating IP31 AC Adaptor Input 100 240V 1 5A 50 60 Hz 65W Output 19V3 42A...

Page 41: ...hysical penetration attempt of the device is detected A tampered terminal can be detected by any the following observations during or immediately after power up The message Tamper detected check manua...

Page 42: ...mentioned codes is as follows Code Explanation 001 Secure Boot Element failure 002 Secure Boot Element invalid key 004 Secure Boot Element failure 008 Secure Boot Element MAC refused 010 Security Ele...

Page 43: ...Network LED Light Emitting Diode MSR Magnetic Stripe Reader NFC Near Field Communication RFID Radio Frequency IDentification at 13 56 kHz OS Operating System PCI PTS Payment Card Industry PIN Transact...

Page 44: ...s uses and can radiate radio frequency energy and if not installed and used in accordance with the instructions may cause harmful interference to radio communications However there is no guarantee tha...

Page 45: ...ho Res 680 is applicable Este equipamento n o tem direito prote o contra interfer ncia prejudicial e n o pode causar interfer ncia em sistemas devidamente autorizados RES 533 SAR only to those devices...

Page 46: ...TPT20 W Responsible Party AEVI Intl GmbH Box 5010 PMB 204 Rancho Santa Fe California 92067 USA Tel 1 404 428 7848 e mail jeff dumbrell aevi com Copyright Published by AEVI International GmbH Heinz Nix...

Reviews: