PCA-6008VG User Manual
32
3.6.1
IDE HDD Block Mode
If your IDE hard drive supports block mode select Enabled for automatic detection of
the optimal number of block read/writes per sector the drive can support.
3.6.2
IDE DMA Transfer Access
Use this field to enable or disable IDE DMA transfer access.
3.6.3
On-Chip IDE Device
IDE Primary Master/Slave PIO/UDMA Mode (Auto). The channel has both a master
and a slave, making four IDE devices possible. Because two IDE devices may have a
different Mode timing (0, 1, 2, 3, 4), it is necessary for these to be independent. The
default setting “Auto” will allow auto detection to ensure optimal performance.
3.6.4
On-Chip Serial ATA
Choose the status of serial ATA, the default setting is "Auto" which let system to
arrange all parallel and serial ATA resource automatically. The "Disabled" will disable
SATA controller. The "Combined Mode" will combine PATA and SATA, and max of 2
IDE drives in each channel. The "Enhanced Mode" will enable both SATA and PATA,
and maxes of 4 IDE drives are supported. The "SATA Only" means SATA is operat-
ing in legacy mode.
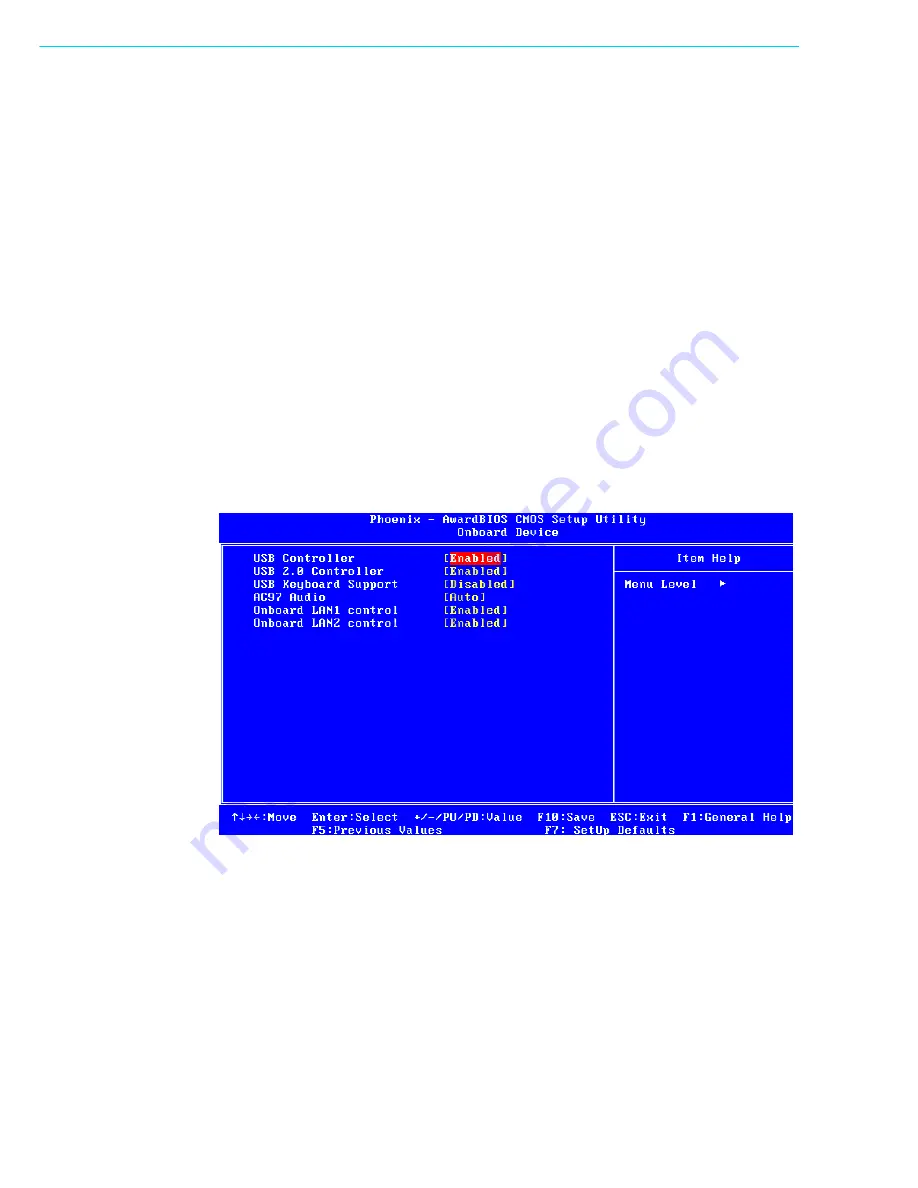
Figure 3.7 Onboard Device
3.6.5
USB Controller
Select Enabled if your system contains a Universal Serial Bus (USB) controller and
you have USB peripherals. The choices: "Enabled," "Disabled."
3.6.6
USB 2.0 Controller
This entry is to disable/enable the USB 2.0 controller only. The BIOS itself may/may
not have high-speed USB support. If the BIOS has high speed USB support built in,
the support will automatically turn on when a high speed device is attached. The
choices are : "Enabled" or "Disabled."
Summary of Contents for PCA-6008VG
Page 1: ...User Manual PCA 6008VG Celeron M Processor Card with VGA Single Gigabit LAN HISA 400 MHz FSB...
Page 14: ...PCA 6008VG User Manual xiv...
Page 15: ...Chapter 1 1 Hardware Configuration...
Page 25: ...Chapter 2 2 Connecting Peripherals...
Page 37: ...Chapter 3 3 Award BIOS Setup...
Page 55: ...Chapter 4 4 Chipset Software Install Utility...
Page 58: ...PCA 6008VG User Manual 44 5 Click Next when you see the following messages...
Page 60: ...PCA 6008VG User Manual 46...
Page 61: ...Chapter 5 5 VGA Setup...
Page 64: ...PCA 6008VG User Manual 50...
Page 65: ...Chapter 6 6 LAN Configuration...
Page 68: ...PCA 6008VG User Manual 54 4 Click Finish to complete the installation...
Page 69: ...Chapter 7 7 USB 2 0 Configuration...
Page 71: ...Appendix A A Programming the Watchdog...
Page 79: ...Appendix B B Programming the GPIO...
Page 83: ...Appendix C C Pin Assignments...


