29
And then IP Camera Registration window will appear. Enter the camera ID and PW to click the TEST
button to see if the connection is successful. If all the information is correct, you will see “SUCCESS”
indicating that the camera is ready for operation. If the connection has failed, double check the
information entered. Once everything is successful, then click the OK button.
When Search button is clicked, it will search all the
registered IP cameras again. If you would like to
add remote site IP camera, click the “Manual Add”
tab.
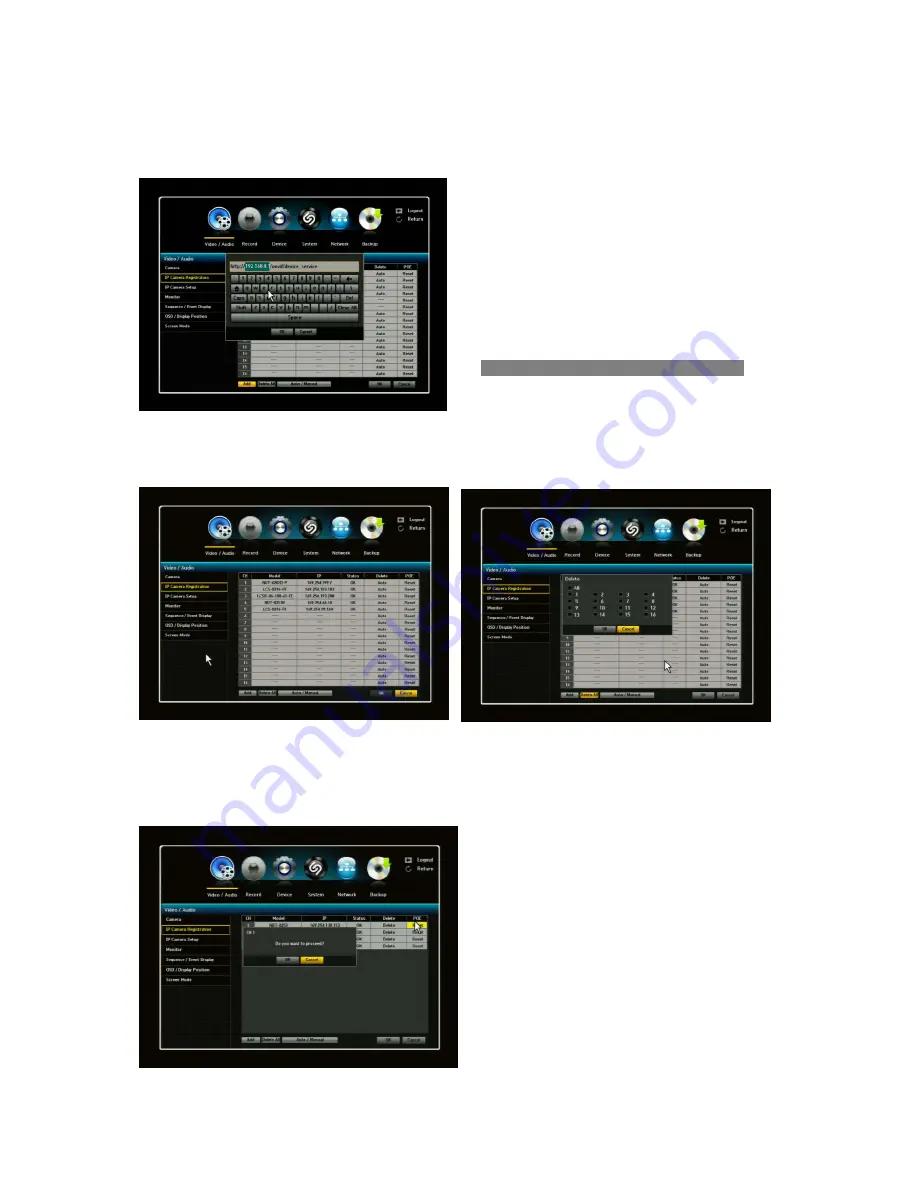
A window will appear to enter IP camera
information. Enter the camera Address, ID and PW
to click the TEST button to see if the connection is
successful. If it’s successful, click the OK button.
For the camera Address should be as:
Ex)http://192.168.10.110/onvif/device_service. The
colored part should be entered with the correct IP
camera Address. In this case, the IP camera must
support Onvif.
By clicking the IP tab, you will be able to edit your IP camera registration. Once you have made the
changes, click the TEST button to see if it was successful.
When all IP cameras are registered and ready for use, you can always go back and delete the
cameras.
Simply by clicking the delete button, a window will appear in the middle of the page asking if you would
like to delete. Click OK to delete the specific camera channel or all.
PoE Reset: will power ON/OFF of the camera
automatically.
When a RESET tab is clicked, a popup window
will appear to confirm your selection and then
proceed.
Summary of Contents for NVR16P
Page 66: ...66 ...
Page 97: ...97 ...
Page 109: ...109 APPENDIX ...
Page 125: ...125 8 16 Channel PoE Network Video Recorder ...


