219
ADOBE PHOTOSHOP ELEMENTS 2.0
User Guide
Setting up animated GIFs
To create an animated GIF file, you work with
layers. Each layer becomes a frame when
Photoshop Elements generates an optimized
animation. For more information about working
with layers, see “About layers” on page 91.
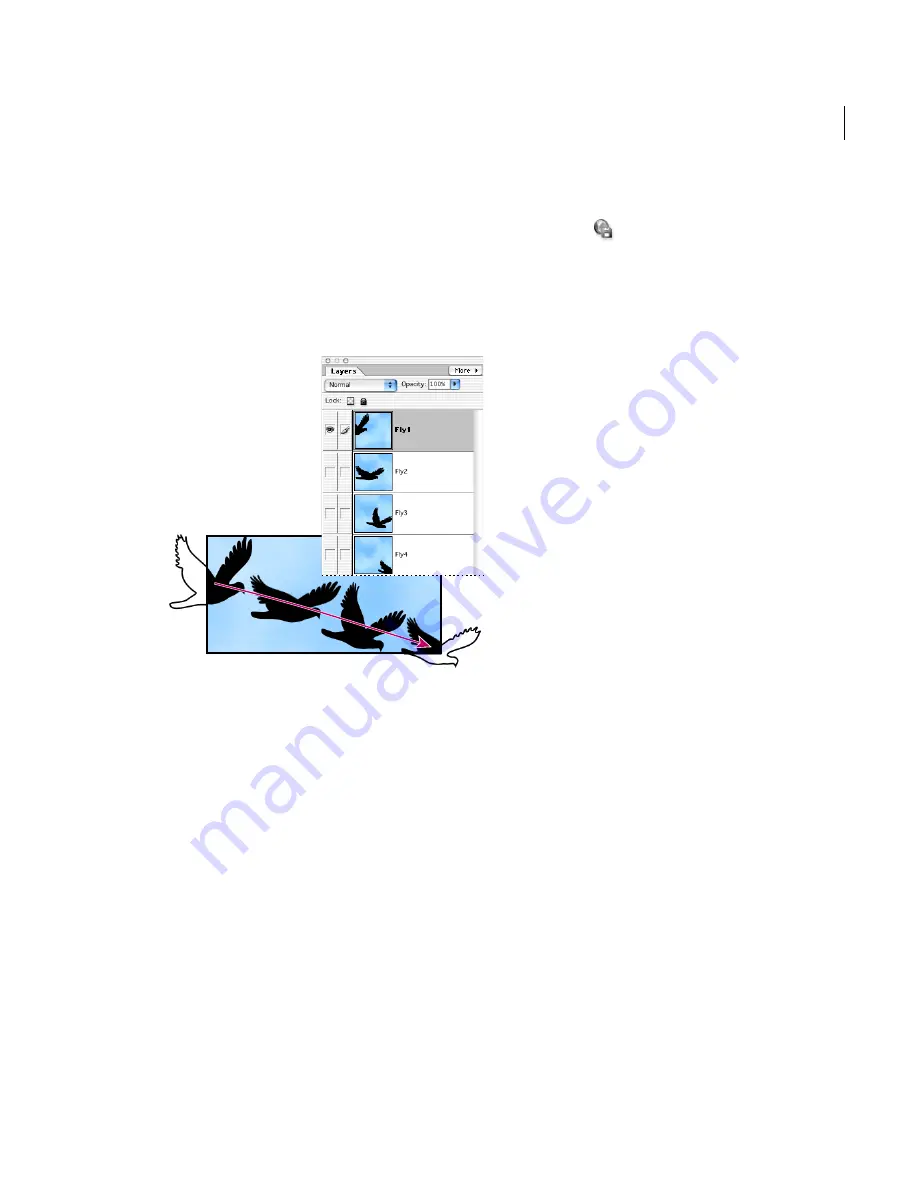
Images in separate layers can be sequenced together to create
an animation
To set up an animated GIF:
1
Place the images you want to appear in each
frame of the animation on separate layers. For
example, to create an animation of an eye
blinking, you would place an image of the open
eye on one layer, and an image of the eye closed on
another layer.
2
Choose File > Save for Web, or click the Save for
Web button
in the shortcuts bar.
Note:
If your image has multiple layers, you can also
open the Save for Web dialog box from the Save As
dialog box by choosing CompuServe GIF format and
selecting Layers As Frames.
3
Optimize the image in GIF format. (See “Using
predefined optimization settings” on page 210 or,
“Setting optimization options for GIF and PNG-8
formats” on page 212.)
4
Select Animate.
5
Set additional options in the Animation section
of the dialog box:
•
Loop to continuously repeat the animation in a
Web browser.
•
Frame Delay to specify the number of seconds
that each frame is displayed in a Web browser.
Use a decimal value to specify fractions of a
second. For example, use .25 to specify one-
quarter of a second.
Previewing animated GIFs
You can preview an animation in the Save For Web
dialog box or in a Web browser. The Save For Web
dialog box shows the animation as still frames. You
must preview the animation in a browser to view
the frames in timed sequence.


