


236
USING FLASH CS4 PROFESSIONAL
Filters and Blends
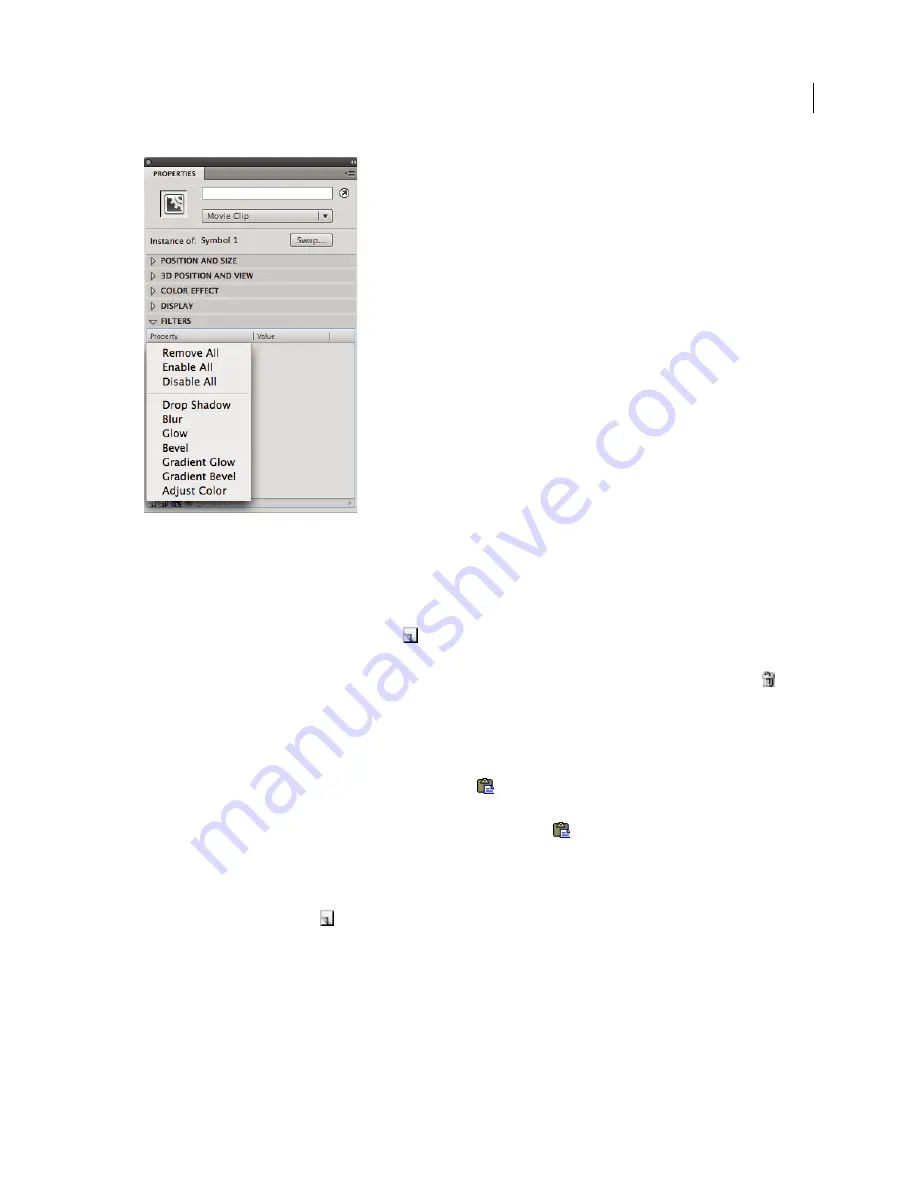
The Add Filter menu in the Property inspector
Apply or remove a filter
1
Select a text, button, or movie clip object to apply a filter to or remove a filter from.
2
In the Filters section of the Property inspector, do one of the following:
•
To add a filter, click the Add Filter button
, and select a filter. Experiment with the settings until you get the
desired look.
•
To remove a filter, select the filter to remove in the list of applied filters, and click the Remove Filter button
. You
can delete or rename any presets.
Copy and paste a filter
1
Select the object to copy a filter from, and select the Filters panel.
2
Select the filter to copy, and click the Clipboard button
and choose Copy Selected from the pop-up menu. To
copy all filters, choose Copy All.
3
Select the object to apply the filter to, and click the Clipboard button
and choose Paste from the pop-up menu.
Apply a preset filter to an object
1
Select the object to apply a filter preset to, and select the Filter tab.
2
Click the Add Filter button
, and select Presets.
3
Select the filter preset to apply from the list of available presets at the bottom of the preset menu.
Note:
When you apply a filter preset to an object, Flash replaces any filters currently applied to the selected objects with
the filters used in the preset.
Enable or disable a filter applied to an object
❖
Click the enable or disable icon next to the filter name in the Filter list.
Updated 5 March 2009


