Adobe 65016169 - Photoshop CS4 Extended Tutorial Download Page 11

Adobe Photoshop CS4 p. 11


Selects an object by drawing a rectangle or an ellipse around it. 

Click the tool button, choose a rectangular or an elliptical marquee. Drag the marquee 

over the area of the image you wish to select. 

Used to select and move objects on the page. 

Click the tool button, then click on any object on the page you wish to move. 

Selects an object by drawing a freehand border around it. 

Click the tool button, drag to draw a freehand border around the are of the image you 

wish to select. 

Selects an object by drawing a straight-edge border around it. 

Click the tool button, click on the starting point on the image, drag to draw a straight-edge 

border, click and drag again to select the are of the image you wish to select. Double-

click to finish. 

Selects an object by drawing a border that snaps to the edges of the defined area of the 

object. 

Click on the starting point on the image, drag around the are of the image. The tool will 

make fastening points at the edges. To finish selecting, drag the border to the starting 

point and click precisely in the point. 

Selects all objects in a document with the same or similar fill color, stroke weight, stroke 

color, opacity, or blending mode. By specifying the color range, or tolerance, you can 

control what the Magic Wand tool selects. 

Click the tool button, then click on the area of the image you wish to select. 

Selects and cuts parts of an image. 

Click the tool button, then click and drag the tool over the part of the image that you want 

to keep. Resize the selected area dragging the squares at the sides and corners. Click 

the RETURN key when your crop box is sized correctly. 

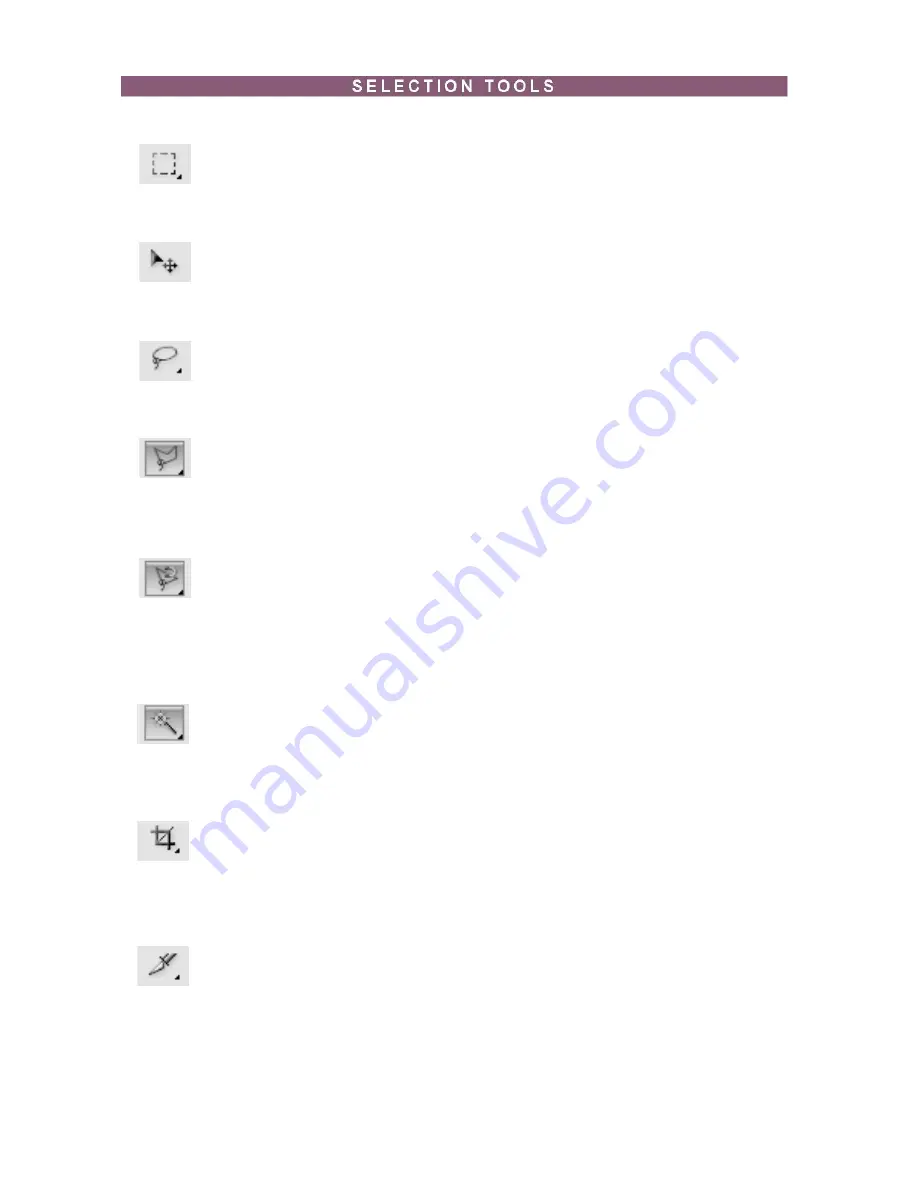
Used to cut images into slices, which can be exported to a web page. 

Marquee  


Move  


Lasso  


Polygonal  

Lasso 


Magnetic Lasso  


Magic Wand  


Crop Tool 


Slice Tool  


Summary of Contents for 65016169 - Photoshop CS4 Extended

Page 1: ...Adobe Photoshop CS4 p 1 PHOTOSHOP CS4 TUTORIAL...

Page 2: ...to use the interface and how to modify images with basic Section 1 Getting Started Pg 3 Section 2 Interface Layout Pg 5 Section 3 Palettes Pg 6 Section 4 Toolbox Pg 10 Section 5 Selection Tools Pg 11...

Page 3: ...the icon in the Dock Fig 1 Navigation to Photoshop CS4 on a Mac SETTING UP THE DOCUMENT Setting up your document correctly from the start will make your job much easier as you work through your proje...

Page 4: ...ter is the quality of the image However high resolution increas es the size of the file The standard recommended resolution for printed images is 150 300 for Web images it is 72 Color Mode Choose a co...

Page 5: ...e Tool bar for easy access The Image The image will appear in its own window once you open a file Image Name The name of any image that you open will be at the top of the image window as shown above P...

Page 6: ...e foreground and background colors in dif ferent color modes You can also choose a color from the spectrum of colors displayed in the color ramp at the bottom of the palette Fig 2 Color palette In the...

Page 7: ...n image the new state of that image is added to the palette The History palette can store up to 20 stages However you can always go back to the first stage for example opening the document It is impor...

Page 8: ...ify the transparency of the entire layer F Layer Lock The icon shows when the layer is locked and disappears when it is unlocked Double click the icon to unlock the layer G Layer Options Menu Click th...

Page 9: ...Adobe Photoshop CS4 p 9 Fig 6 Layer palette...

Page 10: ...are a novice user of Adobe products you should keep in mind that you might not need to use all of the tools In this tutorial only the basic tools will be discussed in depth Some tools in the toolbar...

Page 11: ...border that snaps to the edges of the defined area of the object Click on the starting point on the image drag around the are of the image The tool will make fastening points at the edges To finish se...

Page 12: ...ate or snapshot Select the tool specify the Brush Blending Mode Opacity Style Area and Tolerance Removes part of an existing path or stroke You can use the Erase tool on paths but not on text Select t...

Page 13: ...ct the tool click and drag on the page to draw a shape The shape will be automati cally filled with the current foreground color Type Tool Pen Tool Rectangle Tool Direct Selection Tool Takes color sam...

Page 14: ...e default foreground and background colors click the Default Colors icon the little black and white boxes in the toolbox NOTE If you are using the Gradient Tool the currently selected foreground and b...

Page 15: ...e Photoshop 1 Cropping with the Crop Tool 2 Cropping to a specific size 3 Cropping with the Marquee Tool CROPPING WITH THE CROP TOOL The Crop Tool allows you to make a precise selection of an image yo...

Page 16: ...IFIC SIZE If you wish to print your digital photos or other images on standard size photo paper you will have to crop your images to a specific size such as 8x10 To crop an image to a specific size do...

Page 17: ...If you are in a hurry and need just a simple crop you can use the Marquee Tool and a menu command To crop with the Marquee Tool follow the steps below 1 Open the image you wish to crop 2 Select the R...

Page 18: ...Adobe Photoshop CS4 p 18 Fig 5 Drawing a marquee 4 In the main menu go to Image Crop Fig 6 The image will be immediately cropped Fig 5 Image Crop...

Page 19: ...u will see several preset sizes such as 2x3 4x6 and 5x7 with the preset resolution of 300 ppi Fig 1 Fig 1 Preset size in the New dialog box 3 Choose the size that you wish and click OK NOTE All the pr...

Page 20: ...gital photos without loosing the quality follow these steps 1 Open the digital photo you wish to resize 2 In the main menu go to View Rulers You will be able to see the dimension of your photo Fig 3 F...

Page 21: ...follow these steps 1 Open the digital image you wish to enlarge 2 In the main menu go to Image Image Size 3 In the Image Size dialog box make sure the Resample Image box is checked off and choose Bicu...

Page 22: ...in Photoshop To remove the red eye follow the steps below 1 Open a photo you wish to correct 2 Select the Zoom Tool from the Toolbox Click and drag to draw a rectangle around the eye Fig 1 Fig 1 Red e...

Page 23: ...ct the Clone Stamp Tool from the Toolbox 3 In the Options bar change the Blend Mode from Normal to Darken Figure 5 Fig 5 Setting the options for the Clone Stamp Tool 4 Set the Opacity to 50 percent 5...

Page 24: ...tal photo you wish to correct Fig 8 Fig 8 Underexposed photo 2 In the main menu go to Layers Duplicate In the Duplicate Layer dialog box name the layer Layer 1 3 Make sure Layer 1 is selected in the L...

Page 25: ...e you wish to correct 2 In the main menu go to Image Adjustments Levels You will see a dialog box displaying a diagram of the colors in your image Fig 11 The black triangle is for shadows the gray is...

Page 26: ...ack triangle to the right will make the shadows in your photo darker dragging the white triangle to the left will make the higlights in your photo lighter dragging the gray triangle to the left will m...

Page 27: ...see the Unsharp Mask dialog box Fig 1 Fig 1 Unsharp Mask dialog box 4 Enter 125 for the Amount 1 for the Radius and 3 for the Threshold 5 Click OK You will see how the image has become more in focus...

Page 28: ...and change its opacity to 50 Fig 3 The objects or people in your image will have a soft glowing effect Fig 3 Opacity 5 Select the Eraser Tool from the Toolbox choose a soft edged brush and erase over...

Page 29: ...the Save As text field 4 Choose a format to save your project in from the Format dropdown menu Fig 1 Fig 1 Saving a document 5 Click the Save button in the bottom right corner of the dialogue box 6 C...

Reviews: