Color management workflow in Adobe After Effects CS4
10
If you wish to use film stocks that are not represented in the presets list in the Simulate Output
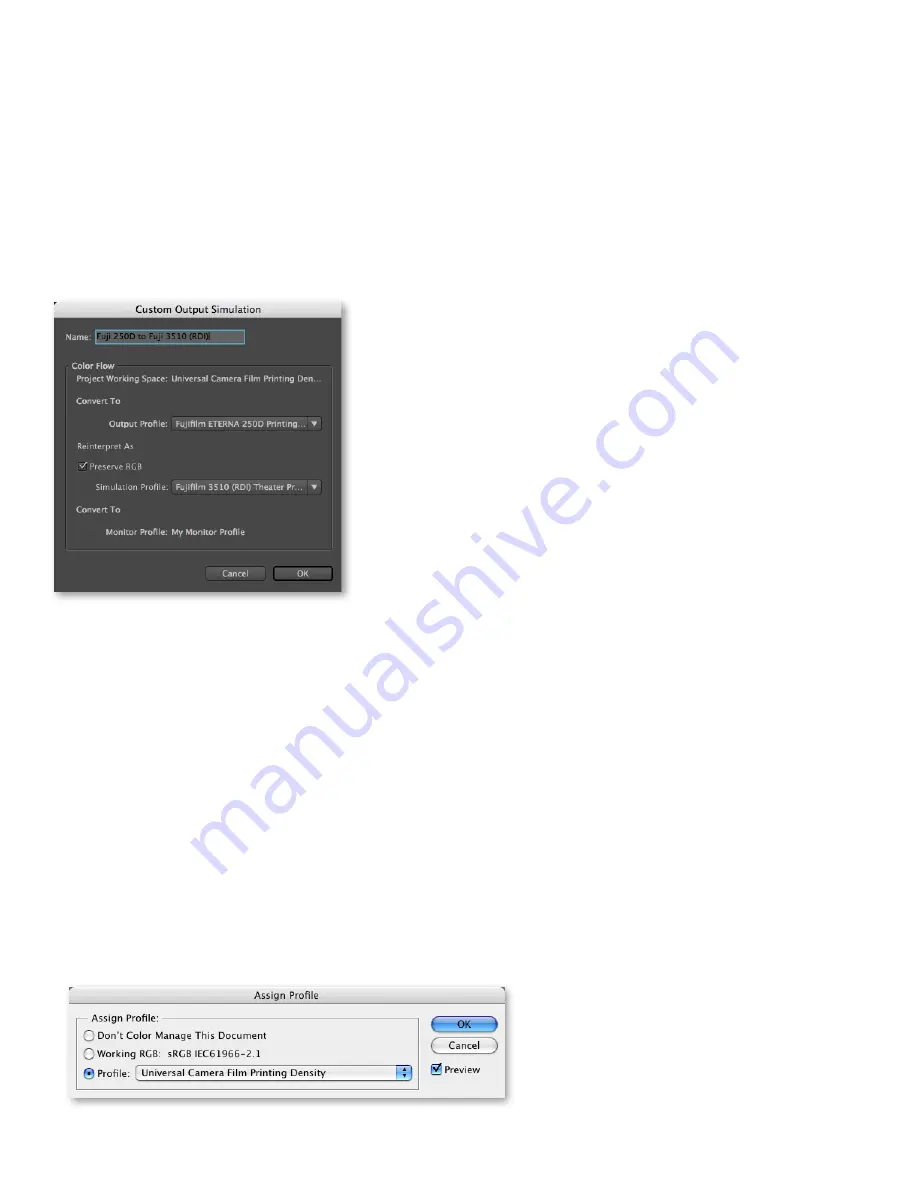
menu, choose View > Simulate Output > Custom. The Custom Output Simulation dialog box
allows you to select a wider range of commonly-used film stocks to use for simulation.
Choose the camera negative film stock from the Output Profile menu that represents the film
stock used to capture scenes. This film stock will be used as a basis for colors sent to the film
recorder during film-out. Choose the print stock you will be using for final theatrical distribu-
tion from the Simulation Profile menu. Note that the Preserve RGB option is selected. Colors are
not converted from the output profile to the simulation profile; output colors are reinterpreted
using the simulation profile.
After choosing these film and print stocks, type a name appropriate for this setup in the Name
box. The name of this custom output simulation setup appears above the Custom command in
the Simulate Output menu.
Figure 6 - Custom Output Simulation dialog box settings for film-out workflow
Step 4: (optional) Edit imported footage and graphics in Photoshop
In some cases, imported graphics may require editing in Photoshop. Using color management
allows you to maintain color appearance as you switch between After Effects CS4 and
Photoshop CS4. Follow these steps to preserve consistent appearance in After Effects CS4
and Photoshop CS4.
Note:
If you have not selected a Color Settings file in Photoshop, choose Edit > Color Settings. Select
North America General Purpose 2 from the Settings menu (this setting is the default, so it should
be selected already). This Color Setting recognizes ICC profiles already embedded in images and
embeds profiles when saving to file formats that support embedding ICC profiles. Cineon/DPX files
do not support embedded profiles.
Select the footage you would like to edit in the After Effects Project panel. Choose Edit > Edit
Original and do the following:
for Cineon/dPX files:
1 In Photoshop, choose Edit > Assign Profile and choose an appropriate profile that represents
the film stock used to capture the original footage. This should be the same profile you selected
in the After Effects Interpret Footage dialog box (see step 2 of this workflow, above).
Figure 7- Photoshop Assign Profile dialog box
SETTing A ProfilE in Color SETTingS
If you are working with a large number of files in
Photoshop, it will be helpful to choose the Universal
Camera Film Printing Density profile as the RGB
Working Space in the Color Settings dialog box in
Photoshop (Edit > Color Settings). This allows you to
use the Universal Camera Film Printing Density profile
without the time-consuming step of assigning the
profile to each file in your image sequence.


