62 Copyright © Acronis, Inc., 2000-2007
screen. Then your settings will be saved as default. See
7.4 Setting restore options
for more
information.
12. Click
Next
.
13. Set filters for the specific types of files that are not to be restored. For example, you may
want hidden and system files and folders, as well as files with
.~, .tmp and .bak
extensions, not to be restored from the archive.
You can also apply custom filters, using the common Windows masking rules. For example,
to exclude all files with extension .exe, add
*.exe
mask.
My???.exe
mask will reject all .exe
files with names consisting of five symbols and starting with “my”.
All of these settings will take effect for the current task. How to set the default filters that
will be called each time you restore data, see
7.4.1 Files to exclude from restoration
.
14. Click
Next
.
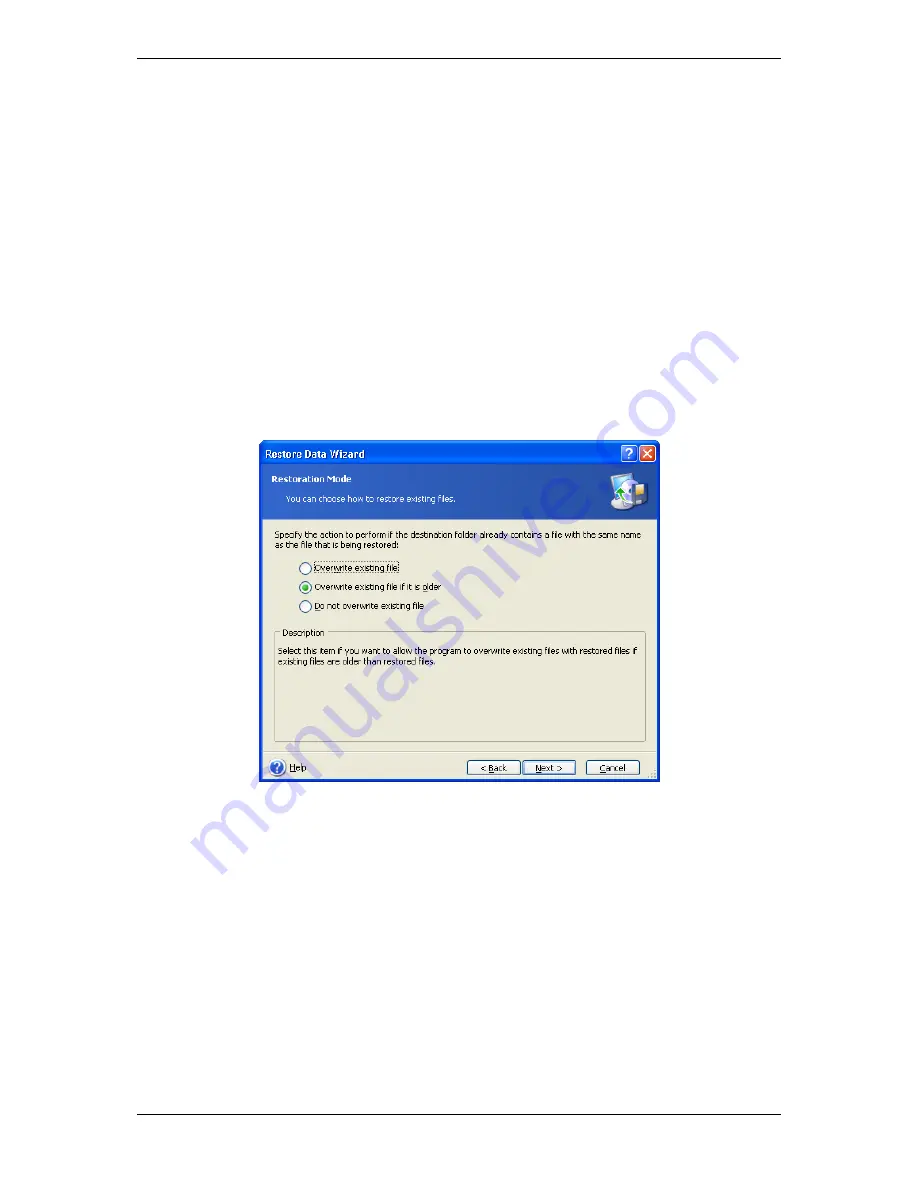
15. The next selection allows you to keep useful data changes made since the selected
backup was created. Choose what to do if the program finds in the target folder a file with
the same name as in the archive.
Overwrite existing file
– this will give the archived file unconditional priority over the file
on the hard disk.
Overwrite existing file if it is older
– this will give the priority to the most recent file
modification, whether it be in the archive or on the disk
Do not overwrite existing file
– this will give the file on the hard disk unconditional
priority over the archived file.
16. At the final step, the restoration summary is displayed. Up to this point, you can click
Back
to make changes in the created task. Clicking
Proceed
will launch the task execution.
17. (For Acronis True Image Enterprise Server local or standalone version) The task will
appear on the
Active tasks
pane of the main window. The task progress will be shown in a
special window. You can stop the procedure by clicking
Cancel
. Please keep in mind that the
aborted procedure still may cause changes in the destination folder.


