


21
Turning on the system
After making sure that you have properly set up the system, applied
power, and connected all necessary peripherals, you can now power on
the system.
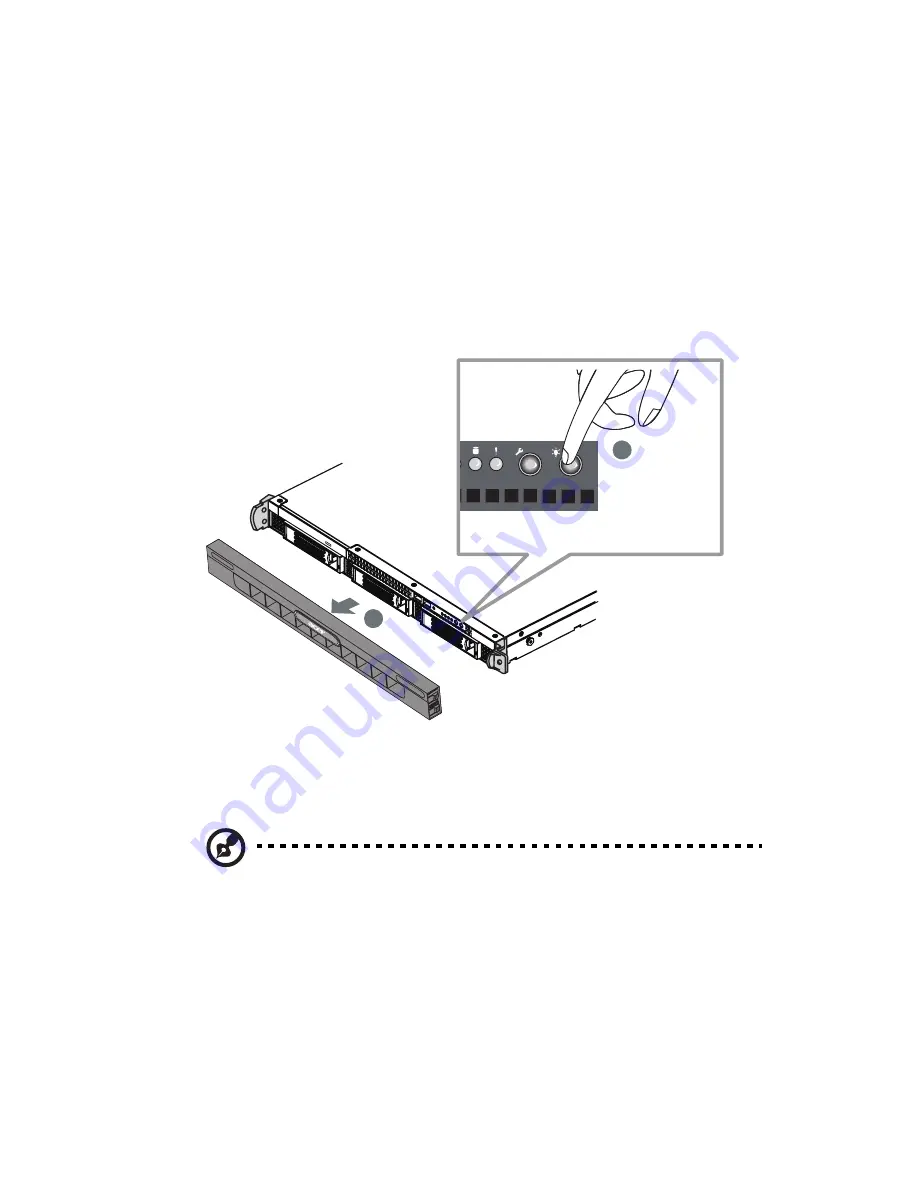
To power on the system:
1
Remove the front bezel
(A)
.
2
Press the power button
(B)
.
The system starts up and displays a welcome message on the monitor.
After that, a series of POST messages appears. The POST messages
indicate if the system is running well or not.
Note:
If the system does not turn on or boot after pressing the
power button, go to the next section for the possible causes of the
boot failure.
Aside from the POST messages you can determine if the system is in
good condition by checking if the following occurred.
•
The power indicator on the front panel lights up green.
•
The Num Lock, Caps Lock, and Scroll Lock indicators on the
keyboard light up
B
A
Summary of Contents for Altos R5250 Series
Page 1: ...Acer Altos R5250 Series User s Guide ...
Page 18: ...xviii ...
Page 19: ...1 System tour ...
Page 35: ...2 System setup ...
Page 43: ...3 System upgrade ...
Page 75: ...4SystemBIOS ...
Page 103: ...5 System troubleshooting ...
Page 114: ...5 System troubleshooting 96 ...
Page 115: ...Appendix A Server management tools ...
Page 124: ...Appendix A Server management tools 106 ...
Page 125: ...Appendix B Rack mount configuration ...
Page 126: ...This appendix shows you how to set up the Altos R5250 server in a rack mount configuration ...
Page 134: ...Appendix B Rack mount configuration 116 6 Fully extend the mounting rails on the rack ...
Page 138: ...Appendix B Rack mount configuration 120 ...
Page 142: ...124 ...


